
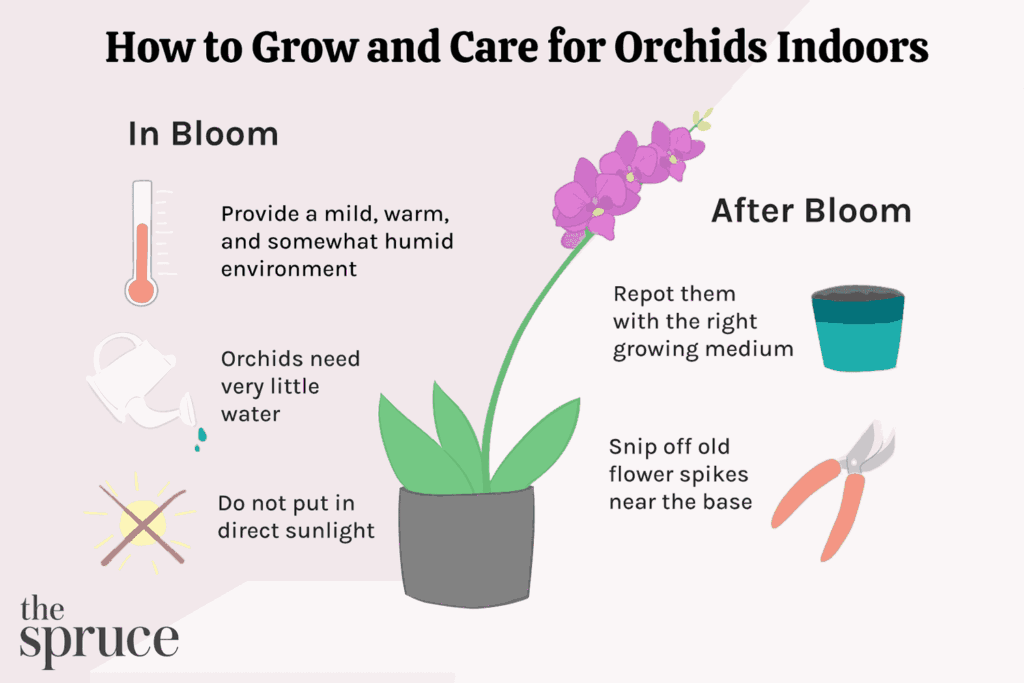
As anyone who has ever owned an orchid can attest, these beautiful flowers require specific care to thrive. If you’re new to growing orchids, it’s essential to understand their needs before bringing one home.
Before purchasing an orchid, make sure your home is not too dark. Orchids need some sunlight to grow, especially during the winter months when natural light is scarce. In fact, if your home is exposed to north-facing windows, it may be best to choose a different type of plant.
In this article, we’ll explore the basics of caring for orchids in pots, including how to provide them with the right amount of water and nutrients. We’ll also discuss common problems that can affect your orchid, such as yellowing leaves or infestations by pests.
I. Caring for Orchids
I.1 Lighting
Orchids require some sunlight to grow, but too much direct light can be detrimental. Place them near a sunny window, but avoid direct sunlight during the hottest part of the day. East- and west-facing windows are ideal for orchids, as they provide gentle, indirect light.
When choosing a location for your orchid, consider the following factors:
- Intensity: Orchids need some intensity to grow, so choose a spot with bright, indirect light.
- Duration: Most orchids require 4-6 hours of direct sunlight per day. However, this can vary depending on the type of orchid and its specific needs.
- Temperature: Avoid placing your orchid near heating or cooling vents, fireplaces, or drafty windows.
I.2 Watering
Overwatering is one of the most common mistakes people make when growing orchids. Check the moisture level by sticking your finger into the potting mix up to the first knuckle. If it feels dry, it’s time to water. Water at the base of the plant, avoiding the leaves and crown.
To prevent overwatering:
- Water once a week: Water your orchid once a week during the spring and summer months when it’s actively growing.
- Reduce watering in winter: Reduce watering in the winter months when the orchid is dormant.
- Check the potting mix: Use a well-draining potting mix to prevent waterlogged soil.
I.3 Nutrients
Fertilize your orchid with a balanced fertilizer (20-20-20) once a month. You can also use a liquid fertilizer specifically designed for orchids.
To fertilize your orchid:
- Choose the right fertilizer: Select a fertilizer that is specifically designed for orchids and contains a balanced blend of nutrients.
- Dilute the fertilizer: Dilute the fertilizer to half the recommended strength to prevent burning the roots.
- Fertilize at the right time: Fertilize your orchid during the growing season (spring and summer) when it’s actively producing new growth.
II. Common Problems
II.1 Yellowing Leaves
If your orchid has yellow leaves, it may be due to overwatering or underwatering. Check the moisture level and adjust your watering schedule accordingly. If the problem persists, inspect your plant for pests or diseases.
To prevent yellowing leaves:
- Check the moisture level: Stick your finger into the potting mix up to the first knuckle to check the moisture level.
- Adjust the watering schedule: Adjust your watering schedule based on the moisture level and the time of year.
- Inspect for pests or diseases: Inspect your plant regularly for signs of pests or diseases.
II.2 Infestations by Pests
Pests like mealybugs, spider mites, and scale can infest orchids. Check your plant regularly and treat any infestations promptly with insecticidal soap or neem oil.
To prevent infestations:
- Check the plant regularly: Inspect your plant regularly for signs of pests.
- Use insecticidal soap or neem oil: Treat any infestations promptly with insecticidal soap or neem oil.
- Isolate the plant: Isolate the affected plant to prevent the infestation from spreading.
III. Orchid Care Tips
III.1 Choosing the Right Potting Mix
Use a well-draining potting mix specifically designed for orchids to prevent root rot.
To choose the right potting mix:
- Look for good drainage: Choose a potting mix that drains well and prevents waterlogged soil.
- Avoid mixes with added fertilizers: Avoid using potting mixes that contain added fertilizers, as these can burn your plant’s roots.
- Consider using an orchid mix: Consider using an orchid-specific potting mix to provide the best care for your orchid.
III.2 Repotting
Repot your orchid every 2-3 years to refresh the potting mix and provide a larger pot if necessary.
To repot your orchid:
- Choose the right time: Repot your orchid during the growing season (spring and summer) when it’s actively producing new growth.
- Use fresh potting mix: Use a fresh potting mix that drains well and prevents waterlogged soil.
- Provide enough space: Provide enough space for the roots to grow, especially if you’re repotting into a larger pot.
IV. Misting Orchids
Orchids need some misting to maintain humidity, but overwatering can be detrimental. Mist your orchid with room-temperature water once or twice a week, depending on the humidity level in your home.
To mist your orchid:
- Use room-temperature water: Use room-temperature water to prevent shocking your plant.
- Mist at the right time: Mist your orchid when it needs moisture, especially during dry periods.
- Avoid overwatering: Avoid overwatering by checking the moisture level and adjusting the misting schedule accordingly.
V. Conclusion
Growing orchids at home requires attention to detail and patience. By following these care tips and troubleshooting common problems, you’ll be well on your way to enjoying beautiful blooms from your orchid.
By understanding the needs of your orchid and providing the right care, you can enjoy a thriving and healthy plant that produces stunning blooms for years to come.


