
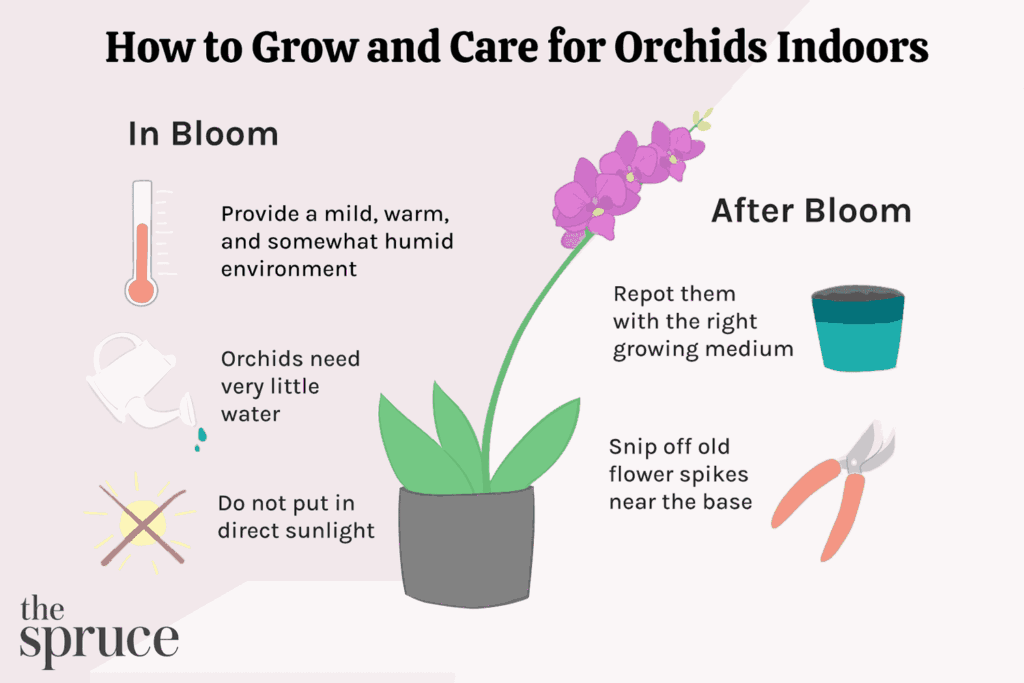
The Ultimate Guide to Repotting Orchids: A Step-by-Step Approach
When it comes to repotting orchids, many enthusiasts find themselves overwhelmed by the task. However, with a little guidance, you can successfully relocate your orchid to a new pot and give it the best chance of thriving.
Why Repot Your Orchid?
Repotting is an essential part of an orchid’s care routine, as it allows you to provide fresh growth medium, prune old roots, and improve air circulation. However, not all orchids need to be repotted every year. In fact, some species may only require repotting once a decade.
When to Repot Your Orchid
The ideal time to repot an orchid depends on several factors, including the type of orchid, its growth rate, and the environment it’s in. As a general rule, repot your orchid every 2-3 years, but if you notice any of the following signs, it may be time for a new pot:
- The roots have grown out of the pot
- The plant is top-heavy or unstable due to weak roots
- The potting medium has broken down and is no longer providing adequate nutrients
Choosing the Right Potting Medium
A good potting medium for orchids should be well-draining, acidic, and provide aeration for the roots. Popular options include:
- Sphagnum moss
- Peat moss
- Bank (a mix of wood fibers and peat moss)
- Coccio (small rocks or pebbles)
Selecting the Right Vase
When choosing a vase for your orchid, make sure it has enough drainage holes to prevent waterlogged soil. The vase should also be slightly larger than the previous one to provide room for growth.
The Repotting Process
Here’s a step-by-step guide on how to repot an orchid:
- Prepare the Plant: Water the plant thoroughly 24 hours before repotting to make the roots easier to handle.
- Remove the Plant from the Old Pot: Gently turn the pot over and slide out the orchid, taking care not to damage the roots.
- Clean the Roots: Use a soft-bristled brush or a toothbrush to gently remove any dead or damaged tissue from the roots.
- Trim the Old Growth: Use sterile pruning tools to trim away any old or rotting growth.
- Immerse the Roots in Fungicide Solution: Dip the roots in a fungicide solution for 1-2 minutes to prevent root rot and other diseases.
- Prepare the New Pot: Fill the new pot with a well-draining potting medium, leaving enough space for the plant’s roots to grow.
- Plant the Orchid: Place the orchid in the new pot, making sure the rhizome (the thick stem that connects the leaves to the roots) is at the same level as it was in the old pot.
- Add Additional Potting Medium: Fill in the gaps around the roots with additional potting medium, gently firming it into place.
Aftercare
- Avoid watering the plant for 10 days after repotting to allow the new potting medium to settle.
- Reduce or eliminate fertilization until the orchid has fully recovered from the repotting process.
- Provide bright, indirect light and maintain a consistent temperature between 50-70°F (10-21°C).
Frequently Asked Questions
- How often should I water my orchid?
- Why do my orchid’s roots keep getting wet?
- Can I repot an orchid in the summer?
- What is the best way to fertilize an orchid?
- How can I prevent root rot in my orchid?
By following these steps and providing your orchid with proper care, you’ll be well on your way to becoming an expert in orchid cultivation.
Terriccio per Orchidee Fai da Te
Want to create your own custom potting mix for your orchid? Check out our guide on making a homemade terriccio for orchidee!
Orchidea Blu
Ready to add some color to your life with an orchid of your own? Take a look at our feature on the stunning Orchidea Blu!


