
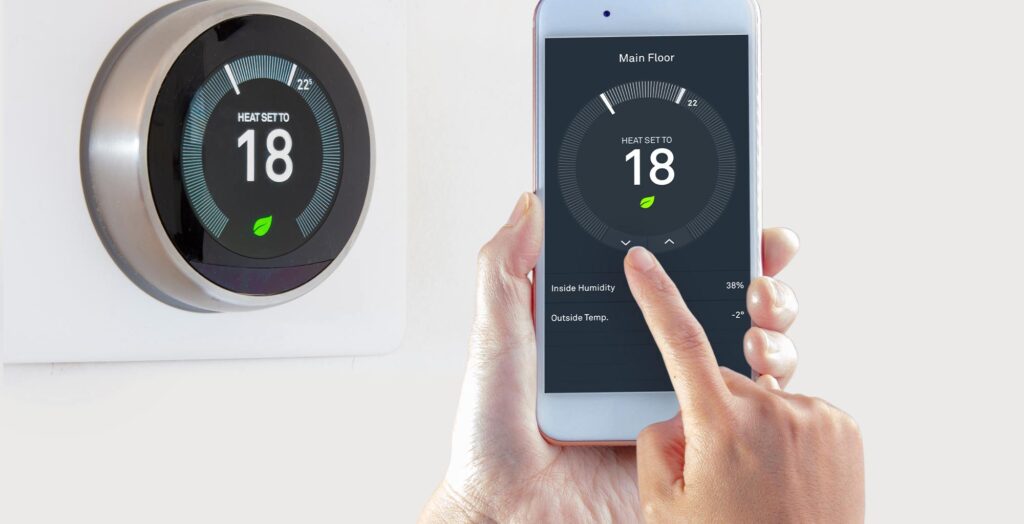
Are you considering installing a smart thermostat like the popular Nest device? Look no further! In this comprehensive guide, we’ll walk you through the process of installing a Nest thermostat, including the necessary steps, tools, and precautions. We’ll also cover the different components, features, and benefits of the Nest system.
What is the Nest Thermostat?
The Nest thermostat is a Wi-Fi enabled, programmable thermostat that learns your schedule and preferences to optimize energy consumption and temperature control. It’s designed to work seamlessly with your heating and cooling systems, providing a comfortable and efficient home climate.
Key Features of the Nest Thermostat
- Smart Learning Technology: The Nest thermostat can learn your schedule and preferences to adjust the temperature accordingly.
- Energy Efficiency: The Nest system helps you save energy by optimizing the use of your heating and cooling systems.
- Remote Access: You can control the Nest thermostat remotely using the Nest app on your smartphone or tablet.
- Customizable Temperature Settings: Set specific temperature settings for different times of the day to optimize energy consumption.
Benefits of Using a Nest Thermostat
- Energy Savings: The Nest system can help you save up to $130 per year on your energy bills.
- Increased Comfort: The Nest thermostat ensures that your home is at the perfect temperature, providing a comfortable living space.
- Remote Monitoring: You can monitor the temperature of different zones in your home remotely.
Components and Accessories
- Nest Thermostat: The main component of the Nest system, which learns your schedule and preferences to optimize energy consumption.
- HeatLink Device: A wireless transmitter that connects your heating system to the Nest thermostat.
- Wires and Connectors: Required for connecting the HeatLink device to your heating system.
Installation Process
Installing a Nest thermostat is a relatively straightforward process that can be completed with basic tools and DIY skills. Here’s a step-by-step guide to help you get started:
Step 1: Prepare the Installation Area
Before starting the installation, make sure you have all the necessary components, including the Nest thermostat, HeatLink device, and any required cables or connectors.
- Tools: Screwdriver, wire strippers, and needle-nose pliers.
- Components: Nest thermostat, HeatLink device, wires, and connectors.
Step 2: Connect the HeatLink Device
The HeatLink device is a wireless transmitter that connects your heating system to the Nest thermostat. It’s essential to install it correctly to ensure proper communication between the two devices.
- Locate HeatLink Connector: Find the heat link connector on your heating system.
- Attach HeatLink Device: Attach the HeatLink device according to the manufacturer’s instructions.
- Connect Wires: Connect the wires to the correct terminals on the HeatLink device.
Step 3: Install the Nest Thermostat
Once you’ve connected the HeatLink device, it’s time to install the Nest thermostat. Make sure you have all the necessary tools and follow these steps:
- Locate Outlet: Find a wall outlet with an electrical switch.
- Remove Outlet Cover Plate: Remove the outlet cover plate.
- Insert Nest Thermostat: Insert the Nest thermostat into the outlet.
- Connect Wires: Connect the wires to the corresponding terminals on the thermostat.
Step 4: Configure the Nest Thermostat
After installation, you’ll need to configure the Nest thermostat to work seamlessly with your heating and cooling system. Follow these steps:
- Download Nest App: Download the Nest app on your smartphone or tablet.
- Create Nest Account: Create a Nest account and log in to the app.
- Follow In-App Instructions: Follow the in-app instructions to set up your Nest thermostat.
Step 5: Test the Installation
Once you’ve completed the installation and configuration process, test the system to ensure it’s working properly. Adjust the temperature settings as needed to optimize energy consumption and comfort.
Additional Tips and Considerations
- Ensure Compatibility: Ensure that your heating system is compatible with the Nest thermostat.
- Check Local Building Codes: Check local building codes and regulations before installing a smart thermostat.
- Consult Professional: Consult a professional if you’re unsure about any aspect of the installation process.
Troubleshooting Common Issues
- Incorrect Temperature Setting: If the temperature is not setting correctly, check that all connections are secure and the HeatLink device is properly installed.
- No Wi-Fi Signal: If there’s no Wi-Fi signal, try restarting your router or moving closer to it to improve connectivity.
Conclusion
Installing a Nest thermostat is a straightforward process that can help you save energy, increase comfort, and enjoy remote monitoring. By following the steps outlined in this guide, you’ll be able to install a Nest thermostat in your home and experience the benefits of smart, energy-efficient heating systems.


