
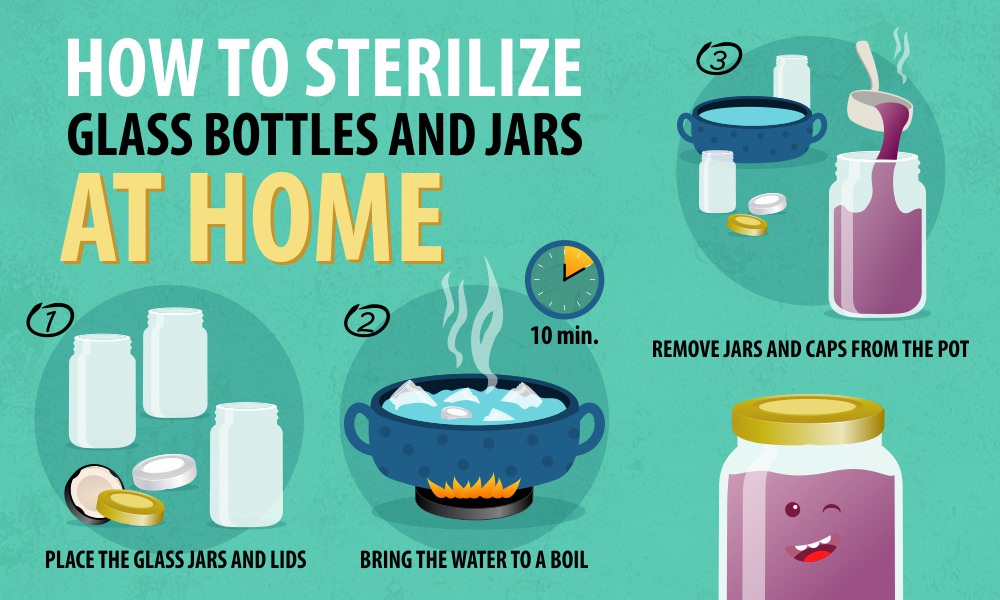
As a homemaker, it’s essential to know how to sterilize glass jars effectively to ensure the safety of your homemade food. In this article, we’ll explore various methods for sterilizing glass jars in a conventional oven, microwave, or even a dishwasher.
Why Sterilize Glass Jars?
Sterilizing glass jars is crucial to prevent bacterial growth and contamination, especially when storing homemade food like jam, pickles, or other preserves. While the process of sterilization itself might seem straightforward, there are some nuances to consider, such as temperature differences between hot and cold foods.
Choosing the Right Method
There are three primary methods for sterilizing glass jars: using a conventional oven, microwave, or dishwasher.
Using a Conventional Oven
The conventional oven is our top choice for sterilizing glass jars due to its reliability and ease of use. Here’s how to do it:
- Preheat your oven to 110°C (250°F).
- Place the jars on a baking sheet lined with parchment paper.
- Make sure the jars don’t touch each other to prevent breakage.
- Close the oven door and let the jars sterilize for 20 minutes.
Benefits of Using a Conventional Oven:
- Consistency: The temperature in a conventional oven is consistent, ensuring that all jars are sterilized evenly.
- Ease of Use: Simply preheat the oven and place the jars on the baking sheet.
- No Special Equipment Needed: You don’t need any specialized equipment to sterilize glass jars in a conventional oven.
Using a Microwave
The microwave is another viable option for sterilizing glass jars, although it requires some extra precautions:
- Use an appropiate container or bag to create a sterile environment around the jar.
- Place the jar in the microwave and heat it for 3-4 minutes (depending on its size).
- Let the jar cool down before using.
Benefits of Using a Microwave:
- Convenience: The microwave is quick and easy to use, making it perfect for small batches or emergency sterilization.
- Space-Saving: Microwaves are ideal for small kitchens or those with limited storage space.
- Energy Efficiency: Microwaves use less energy than conventional ovens.
Using a Dishwasher
Some modern dishwashers come equipped with a temperature control feature that allows you to sterilize glass jars. If your dishwasher has this feature, follow these steps:
- Set the dishwasher to a high-temperature cycle.
- Place the jars in the designated compartment.
- Let the cycle complete before using.
Benefits of Using a Dishwasher:
- Effortless Sterilization: The dishwasher does all the work for you, ensuring that your glass jars are sterilized evenly and efficiently.
- Energy Efficiency: Dishwashers use less energy than conventional ovens or microwaves.
- Convenience: Simply load the jars into the dishwasher and let it do its magic.
Temperature Differences and Safety Precautions
It’s essential to be aware of temperature differences between hot and cold foods when sterilizing glass jars. Avoid mixing hot and cold foods in the same jar, as this can lead to breakage or contamination.
- Hot Foods: Sterilize hot foods at temperatures above 70°C (158°F) for a minimum of 20 minutes.
- Cold Foods: Sterilize cold foods at temperatures below 40°C (104°F) for a minimum of 1 hour.
- Temperature Control: Always check the temperature of your sterilization method to ensure that it’s within the safe range.
Sterilizing Toppers (Lids)
Toppers are also an essential component of glass jars for storing food. However, it’s crucial to note that old or used toppers might be difficult to sterilize and could compromise the seal. To avoid this issue:
- Purchase new lids from reputable suppliers.
- If you must reuse an old lid, make sure it’s been thoroughly washed and dried.
Additional Tips:
- Label Your Jars: Always label your jars with the date and contents to ensure that they’re used before expiration.
- Store Jars Correctly: Store glass jars in a cool, dry place away from direct sunlight and heat sources.
- Regular Cleaning: Regularly clean and sanitize your glass jars to prevent bacterial growth and contamination.
Frequently Asked Questions (FAQs)
- Q: What’s the best way to sterilize glass jars?
A: The conventional oven method is our top choice for its reliability and ease of use. - Q: How long does it take to sterilize a jar using a microwave?
A: Typically, 3-4 minutes per jar (depending on size). - Q: Can I reuse old toppers after sterilization?
A: It’s not recommended; purchase new lids for optimal food safety. - Q: What’s the purpose of creating a sterile environment around the jar when using a microwave?
A: To prevent bacterial growth and contamination. - Q: How often should I sterilize my glass jars?
A: Regularly, especially after storing homemade food or when handling new ingredients. - Q: Can I use a dishwasher to sterilize glass jars?
A: Yes, but only if your dishwasher has a temperature control feature and is set correctly. - Q: What’s the most common reason for contamination in glass jars?
A: Poor hygiene practices or inadequate sterilization procedures. - Q: How do I prevent breakage when handling hot glass jars?
A: Use oven mitts, tongs, or a jar lifter to handle the jars safely.
By following these guidelines and best practices, you’ll be able to maintain your glass jars in optimal condition, ensuring that your homemade food remains safe and delicious.


