
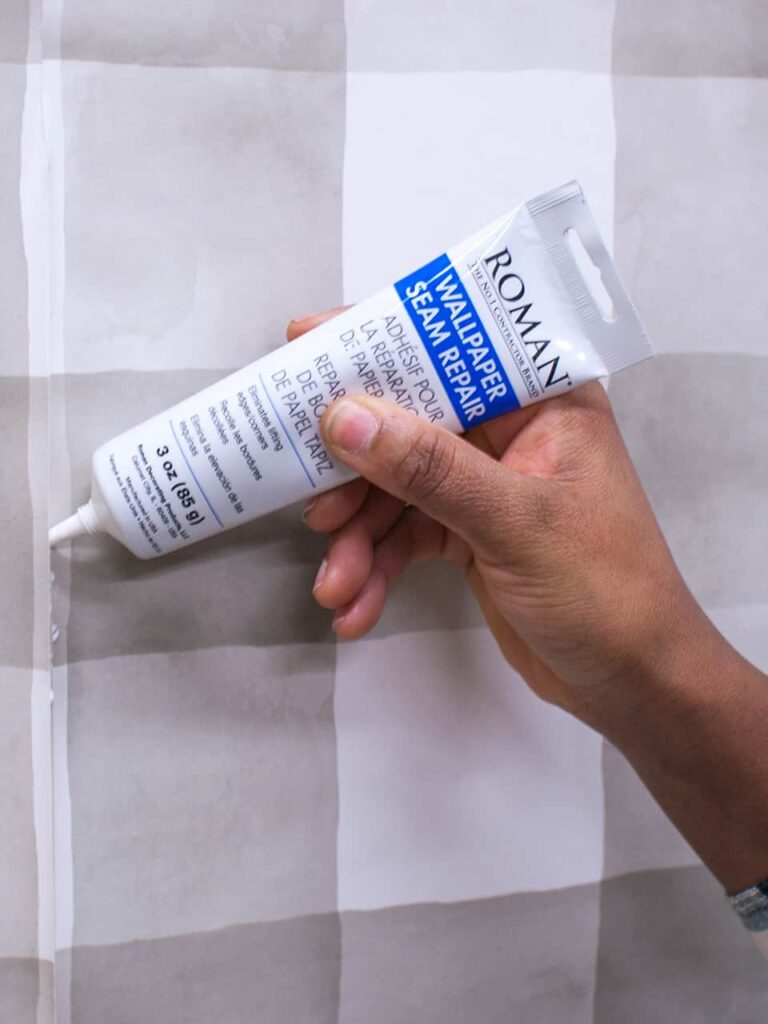
Repairing wallpaper is a simple DIY task that can save you money and extend the life of your wall coverings. In this article, we will guide you through the process of repairing common issues such as scrunched or peeling wallpaper, stubborn bubbles, tears, and stains.
Understanding Wallcovering Issues
Before we dive into the repair methods, it’s essential to understand the causes of these problems. Wallpaper that doesn’t stick properly can be caused by poor surface preparation, inadequate adhesive, or insufficient drying time. Scratched or torn paper can result from accidental damage, while stubborn bubbles may form due to improper application.
Common Issues and Repair Solutions
- Schrunching or Peeling Wallpaper
- Causes: Poor surface preparation, inadequate adhesive, or insufficient drying time.
- Solution:
- Use a scraper or putty knife to gently remove loose material.
- Apply a specialized adhesive, such as Metylan Direct Controll, specifically designed for this purpose.
- Follow the manufacturer’s instructions and mix the adhesive according to the package.
- Cut out the affected area with a utility knife.
- Apply the adhesive to the cut edge of the wallpaper, making sure it’s evenly spread.
- Press the edge firmly onto the wall, using a firm but even pressure.
- Hold the paper in place for about 30 seconds to allow the adhesive to set.
- Stubborn Bubbles and Air Pockets
- Causes: Improper application or inadequate surface preparation.
- Solution:
- Apply a small amount of adhesive directly into the bubble using a brush or syringe.
- Gently push the bubble with an object, such as a screwdriver or needle, without applying too much pressure.
- Tears and Rips
- Causes: Accidental damage or poor handling.
- Solution:
- Cut a piece of new paper slightly larger than the damaged area.
- Apply adhesive to both the torn area and the back of the patch.
- Press the patch firmly onto the wall, ensuring it’s centered.
- Trim the edges with scissors or a utility knife.
- Stains
- Causes: Spills, accidents, or environmental factors.
- Solution:
- For water-based stains, use a damp cloth to gently blot the stain.
- If the stain persists, apply a small amount of white vinegar to the affected area using a soft-bristled brush.
- For grease or oil-based stains, mix equal parts water and baking soda to form a paste. Apply the paste to the stain using a soft-bristled brush.
Additional Tips
- Always follow the manufacturer’s instructions for any cleaning products or adhesives used on your wallpaper.
- To prevent future scrunched paper, make sure to smooth out wrinkles as you apply the adhesive.
- Regularly inspect your wallpaper for signs of damage and address issues promptly to maintain its appearance.
Preparation is Key
Before starting any repair job, it’s crucial to prepare the surface of your wallpaper. This involves cleaning and dusting the wall thoroughly. For stubborn cases of peeling or scrunched paper, use a scraper or putty knife to gently remove loose material. Make sure to wear protective gloves and eyewear when working with adhesives and other chemicals.
Choosing the Right Adhesive
The type of adhesive you choose depends on the specific repair job and the type of wallpaper you have. For scrunched or peeling paper, use a specialized adhesive, such as Metylan Direct Controll, specifically designed for this purpose. Follow the manufacturer’s instructions and mix the adhesive according to the package.
Common Adhesives
- Metylan Direct Controll: A specialized adhesive for repairing scrunched or peeling wallpaper.
- PVA Adhesive: A common adhesive used for most wallpaper repairs.
- Hot Melt Adhesive: A type of adhesive used for bonding paper to other materials.
Repairing Wallpaper: A Step-by-Step Guide
- Clean and Dust the Wall
- Use a soft-bristled brush or vacuum cleaner to remove dust and debris from the wall.
- Apply Adhesive
- Follow the manufacturer’s instructions for applying adhesive to the affected area.
- Press the Paper
- Press the paper firmly onto the wall, using a firm but even pressure.
- Hold the Paper in Place
- Hold the paper in place for about 30 seconds to allow the adhesive to set.
Tips and Tricks
- Use a level to ensure the paper is straight and evenly aligned.
- Apply even pressure when pressing the paper onto the wall to prevent wrinkles or creases.
- Regularly inspect your wallpaper for signs of damage and address issues promptly to maintain its appearance.
By following these simple steps and tips, you can easily repair common issues with your wallpaper, saving you time and money in the long run. Whether you’re dealing with scrunched paper, stubborn bubbles, tears, or stains, there’s a solution available to help you get back to enjoying your beautiful wall coverings.
Conclusion
Repairing wallpaper is a simple DIY task that can save you money and extend the life of your wall coverings. By understanding the causes of common issues and using the right adhesives and techniques, you can easily repair scrunched or peeling paper, stubborn bubbles, tears, and stains. Regularly inspecting your wallpaper for signs of damage and addressing issues promptly will help maintain its appearance and extend its lifespan.
Frequently Asked Questions
- Q: How do I prevent scrunched paper from happening in the first place?
A: To prevent scrunched paper, make sure to smooth out wrinkles as you apply the adhesive. - Q: What is the best adhesive for repairing wallpaper?
A: The type of adhesive you choose depends on the specific repair job and the type of wallpaper you have. For scrunched or peeling paper, use a specialized adhesive, such as Metylan Direct Controll. - Q: Can I use any type of adhesive to repair my wallpaper?
A: No, it’s essential to use the right adhesive for the specific repair job and type of wallpaper you have.
Additional Resources
- Wallpaper Repair Guide: A comprehensive guide to repairing common issues with your wallpaper.
- Adhesive Selection Guide: A guide to choosing the right adhesive for your specific repair job.
- DIY Wallcovering Project: Tips and techniques for installing new wall coverings, including wallpaper.


