
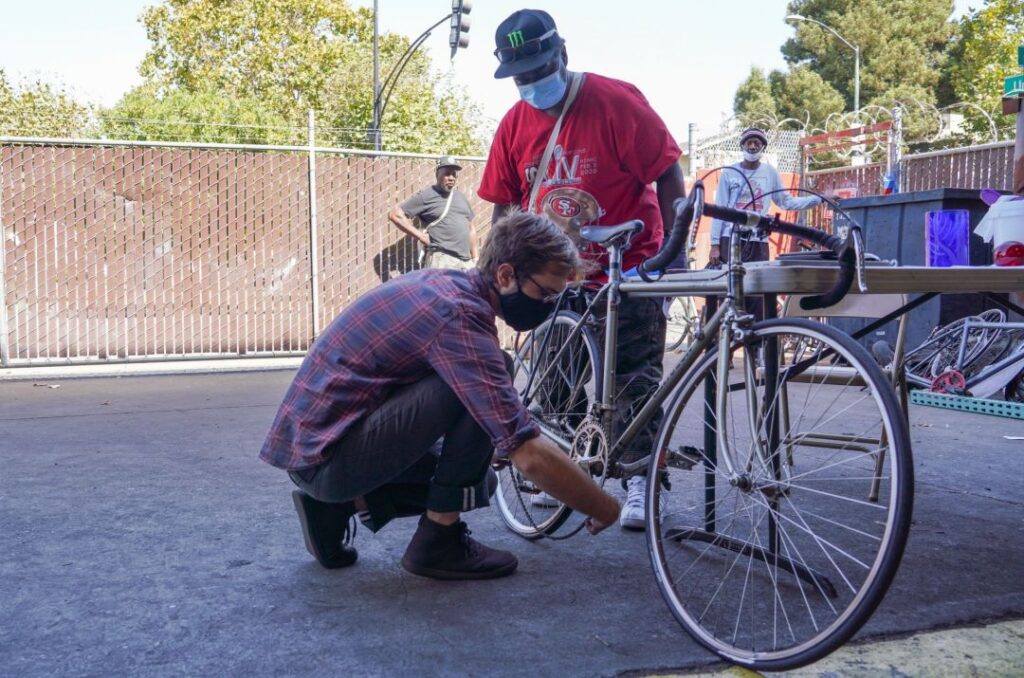
As the days start to stretch on, many of us begin to crave the freedom and excitement of cycling. However, what happens when your trusty old bike has been relegated to the garage for years? With neglect, problems can arise that may leave you with a bike in dire need of repair or even replacement.
When a bike is left stationary for an extended period, its components can suffer from wear and tear, leading to issues such as:
- Worn-out tires (punctures, cracks)
- Rusted or weakened wheels
- Damaged saddles
- Severely dried-out chains
- Cracked or broken cables
Don’t worry; many of these components can be salvaged with the right care and attention. In this article, we’ll explore a step-by-step guide on how to revive your old bike without breaking the bank.
Gathering Materials and Tools
Before you begin, make sure you have the following materials and tools:
- Replacement wheels (if necessary)
- Chain lube
- Cable grease
- New cogs and chainrings (for more efficient pedaling)
It’s also essential to have a few basic tools in your toolkit, including:
- Allen wrenches (different sizes)
- Screwdrivers (flathead and Phillips)
- Pliers
- Tire levers
- Pump or CO2 cartridges
Step 1: Cleaning and Preparation
Start by giving your bike a good clean. This will help remove dirt, grime, and old lubricants that may be affecting the performance of your components.
Next, focus on tackling the rusty parts, such as the pedals, handlebars, and frame. Use a mixture of baking soda and water to create a paste, which you can apply to the affected areas using a brush or cloth. Let it sit for about an hour before rinsing with water.
For more severe rust damage, consider using acid oxalate and vinegar to create a solution that will help dissolve the rust without damaging your bike’s metal components.
Tips for Cleaning Your Bike:
- Always read the manufacturer’s instructions for any cleaning solutions or products you’re using.
- Wear protective gloves and safety glasses when working with chemicals.
- Avoid using harsh chemicals, abrasive cleaners, or scouring pads, which can damage your bike’s finish or harm its components.
- Regularly clean your bike to prevent dirt and grime from building up.
Step 2: Changing the Wheels
If your old wheels are beyond repair, now is the perfect time to replace them. Make sure to choose wheels that match the original specifications as closely as possible to maintain optimal performance.
When changing the wheels, remember to check the position of the brakes and adjust them accordingly to ensure proper alignment.
Tips for Changing Your Wheels:
- Always consult your owner’s manual or online resources before attempting to replace any components.
- Use a wheel truing tool to ensure accurate alignment and precise adjustments.
- Consider seeking professional advice if you’re unsure about any aspect of the process.
- Regularly inspect your wheels for signs of wear, such as cracks, dents, or worn-out spokes.
Step 3: Lubricating the Chain
To keep your chain running smoothly, apply a generous amount of chain lube. This will help reduce friction and prevent wear on the moving parts.
For an eco-friendly alternative, try using a synthetic oil or plant-based lubricant.
Tips for Lubricating Your Chain:
- Always clean your chain before applying lubricant to ensure optimal performance.
- Use a high-quality chain lube that’s designed specifically for bicycles.
- Regularly check and adjust the tension of your chain to prevent wear and tear.
- Consider using a chain cleaner or degreaser to remove dirt, grime, and old lubricants.
Step 4: Replacing the Saddles and Pedals
While a classic leather saddle can be comfortable, modern saddles made from gel or other materials may provide better support and comfort for long rides.
If your old pedals are no longer secure, consider replacing them with new ones that have improved grip and stability.
Tips for Replacing Your Saddles and Pedals:
- Always consult your owner’s manual or online resources before attempting to replace any components.
- Consider seeking professional advice if you’re unsure about any aspect of the process.
- Regularly inspect your saddles and pedals for signs of wear, such as cracks, dents, or worn-out materials.
- Choose high-quality replacements that match your original specifications.
Step 5: Assembling and Adjusting the Cables
When reassembling the cables, make sure to properly tension them and adjust the brake pads for optimal performance.
Remember to check the bike’s overall alignment and adjust as needed to ensure a smooth ride.
Tips for Assembling and Adjusting Your Cables:
- Always consult your owner’s manual or online resources before attempting to assemble or adjust any cables.
- Use a cable cutter to remove old, frayed, or damaged cables.
- Regularly check and adjust the tension of your cables to prevent wear and tear.
- Consider seeking professional advice if you’re unsure about any aspect of the process.
Tips for Maintaining Your Bike:
- Regularly clean and lubricate your chain and other moving parts.
- Check and adjust the tire pressure, brakes, and suspension regularly.
- Inspect your bike’s components for signs of wear or damage.
- Consider seeking professional advice if you’re unsure about any aspect of maintenance.
Common Mistakes to Avoid:
- Over-tightening or under-tightening bolts, nuts, or screws.
- Using the wrong type of lubricant or cleaning solution.
- Ignoring rust or corrosion and allowing it to spread.
- Failing to check and adjust the tension of cables, chains, and tires.
Frequently Asked Questions:
- Q: Can I revive an old bike if it’s been damaged in an accident?
A: Yes, many components can be salvaged, but it’s essential to assess the damage and seek professional advice before proceeding. - Q: How often should I clean my chain?
A: Regularly clean your chain to prevent rust and wear on moving parts. - Q: What type of lubricant is best for my bike?
A: Choose a high-quality, synthetic lube that’s designed specifically for bicycles. - Q: Can I use household items to clean my bike?
A: While some household items may be suitable for cleaning certain components, others can damage or discolor your bike’s finish. Always consult your owner’s manual or online resources before using any cleaning solutions. - Q: How do I adjust the brakes on my old bike?
A: Consult your owner’s manual or seek professional advice to ensure proper brake alignment and adjustment.
Reviving an old bike is a rewarding experience that requires patience, persistence, and the right guidance. By following these steps and tips, you can breathe new life into your trusty steed and enjoy many more miles of cycling bliss!


