
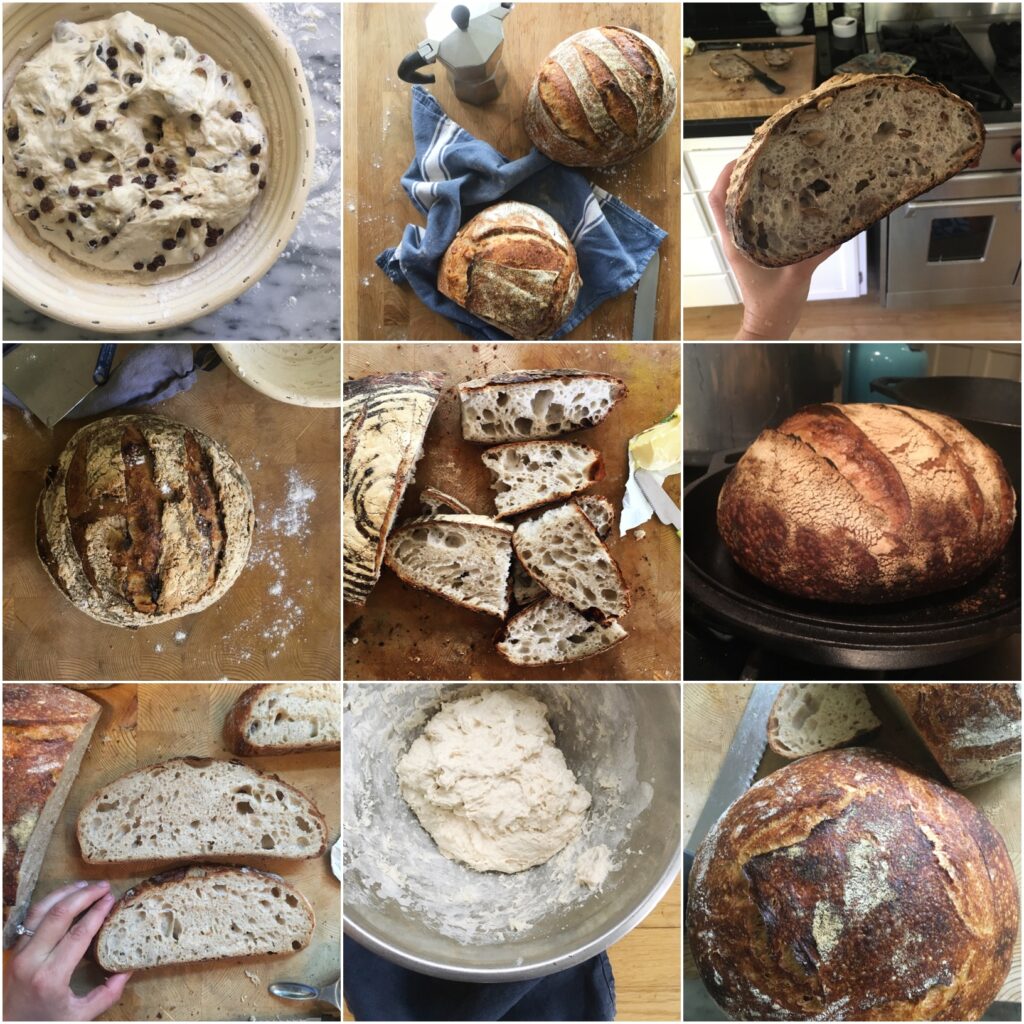
As a baker, you’re likely no stranger to the importance of yeast in creating that perfect loaf or pizza crust. But have you ever stopped to think about what makes homemade yeast truly special? For those who prefer a more authentic baking experience, using natural yeast is the way to go. In this article, we’ll explore the benefits of using homemade yeast and provide a step-by-step guide on how to make it yourself.
What’s So Special About Homemade Yeast?
When it comes to baking, yeast is often the unsung hero that makes all the difference. But store-bought yeast can’t compare to the real deal – homemade yeast made from natural sources like flour and water is where it’s at. Not only does it produce a more complex flavor profile, but it also gives your baked goods a unique texture that’s hard to replicate with commercial yeast.
Why Choose Homemade Yeast?
So why should you bother making your own yeast instead of using store-bought? For one, homemade yeast is far healthier than its commercial counterpart. Without the need for preservatives or additives, it’s a more natural option for those looking to avoid processed ingredients. Plus, by controlling the fermentation process yourself, you can ensure that your yeast is producing the perfect balance of carbon dioxide and nutrients for your dough.
The Benefits of Using Homemade Yeast
Using homemade yeast has numerous benefits for bakers:
- Unique Flavor Profile: Homemade yeast produces a more complex flavor profile than commercial yeast, with notes of fruit and spices.
- Better Texture: The texture of baked goods made with homemade yeast is often lighter and airier, with a more delicate crumb.
- Improved Digestibility: Homemade yeast is less likely to cause digestive issues in some people due to its natural composition.
What You Need to Make Homemade Yeast
To get started with making your own yeast, you’ll need the following ingredients:
- 250 ml of water
- 120 grams of flour
- A pinch of salt (optional)
- 1-2 tablespoons of sugar (optional)
Step-by-Step Guide to Making Homemade Yeast
Making homemade yeast is a straightforward process that requires some patience and attention to detail. Here’s what you need to do:
Day 1: Mixing the Starter
Combine the water, flour, salt, and sugar (if using) in a clean glass or ceramic container.
Mix the ingredients together until they form a smooth, thick batter.
Cover the container with a cloth or plastic wrap and let it sit at room temperature (around 68-72°F) for 24-48 hours. This is where fermentation begins!
Day 2: Feeding the Starter
After 24-48 hours, your starter should be frothy and bubbly. This means that fermentation has begun, and you can start feeding it to make more yeast.
Mix 1 part of flour with 1 part of water, adding a pinch of salt if desired. Add this mixture to the original starter and stir well.
Cover the container again and let it sit at room temperature for another 24 hours. Repeat this process every 24 hours for the next few days to create a thriving yeast culture.
Storage and Maintenance
Once you’ve created your homemade yeast, it’s essential to store it properly to maintain its health and potency. Here are some tips:
- Store the starter in an airtight container in the refrigerator at 39-41°F.
- Feed the starter once a week with equal parts flour and water to keep it active.
- Before using your homemade yeast, make sure to feed it one last time and let it sit at room temperature for 24 hours.
Using Your Homemade Yeast
Now that you have your very own batch of homemade yeast, it’s time to put it to use! Here are some tips for incorporating it into your baking routine:
- Use 1-2 teaspoons of active dry starter per cup of flour in bread recipes.
- Mix the starter with warm water (around 90°F) and let it sit for 10-15 minutes before adding it to dough.
- Experiment with different types of flour and ingredients to find the perfect combination for your homemade yeast.
Tips and Tricks for Working with Homemade Yeast
Here are some additional tips and tricks for working with your homemade yeast:
- Use the right temperature: Make sure your starter is at room temperature (around 68-72°F) when feeding it or using it in recipes.
- Don’t over-mix: Mix your dough just until the ingredients come together – over-mixing can lead to a dense, tough crumb.
- Keep it clean: Make sure all of your equipment and surfaces are clean and sanitized before handling your homemade yeast.
Common Mistakes to Avoid When Making Homemade Yeast
Here are some common mistakes to avoid when making your own yeast:
- Over-fermenting: Don’t over-ferment your starter – this can lead to a sour or unpleasant flavor.
- Under-feeding: Make sure to feed your starter regularly to keep it healthy and active.
- Using old ingredients: Use fresh, high-quality ingredients when making your homemade yeast to ensure the best results.
Conclusion
Making homemade yeast is a fun and rewarding process that can elevate your baking game. With its unique flavor profile, better texture, and improved digestibility, this natural yeast is an essential tool for any serious baker.
By following our step-by-step guide, you’ll be well on your way to creating your very own batch of homemade yeast in no time! Just remember to be patient, keep it clean, and experiment with different recipes to find the perfect combination for your new best friend – your homemade yeast.


