
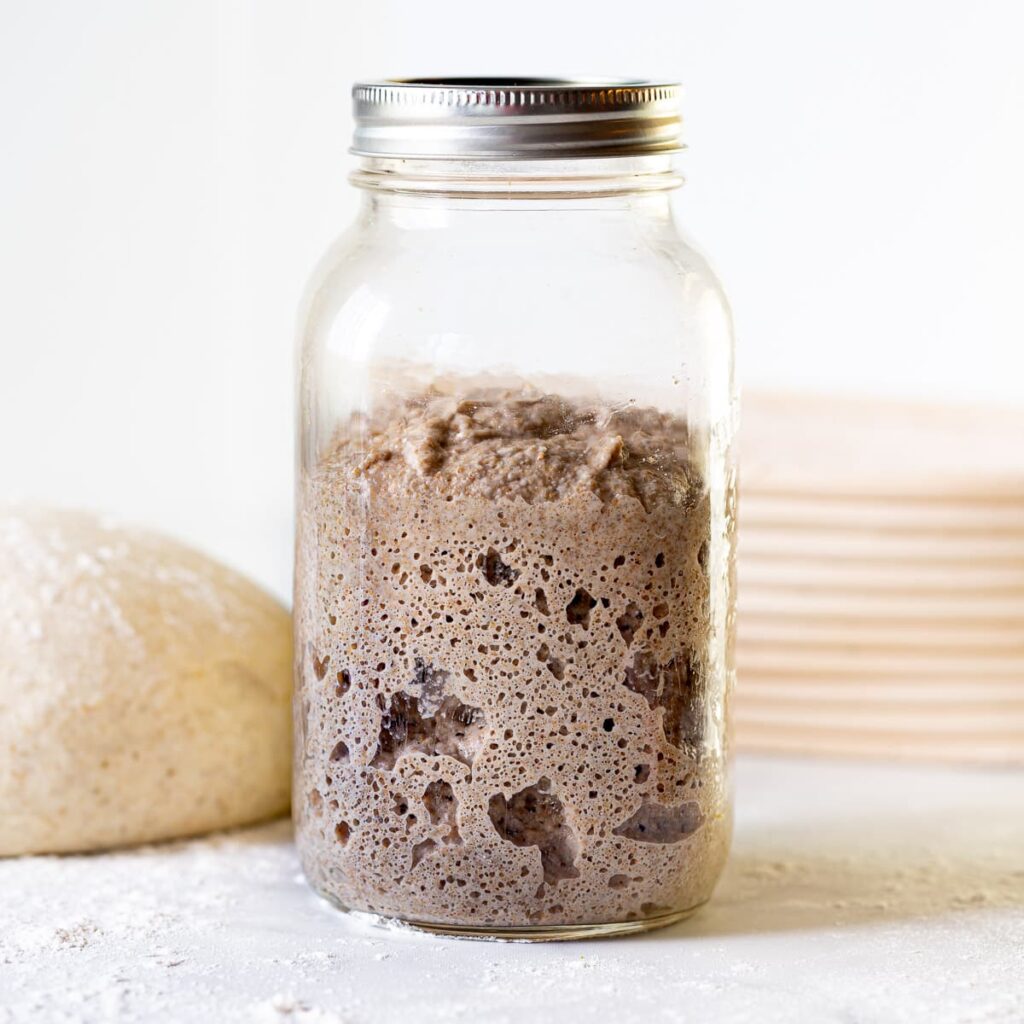
When you dedicate yourself to natural fermentation, speed up the fermentation process by adding a substance called mother dough, which provides nutrients to the microorganisms present in the flours. There are various starters available, and usually, we choose one based on the level of acidity desired. The key is learning how to create mother dough without waste.
Creating your own starter can be an exciting experience, as it allows you to control the fermentation process and produce a wide variety of delicious breads and other baked goods. With this article, we will guide you through the entire process, from preparing the initial mixture to managing and maintaining the mother dough. By following these steps, you’ll learn how to create a nutritious starter that can be used to make a variety of tasty treats without generating any waste.
Content
- Creating Mother Dough without Waste
- Nutrient-Rich Mother Dough: Feeding It
- Using Mother Dough Without Waste
Creating Mother Dough without Waste
Let’s start preparing a starter with simple and easily accessible ingredients, which we’ll also use to feed it in the days that follow.
- 25g of wheat flour
- 15g of white flour
- 40g of water at room temperature
Take a bowl, preferably made of glass, and combine the flours and water. Mix until you get an dough similar to pancake batter. Cover it with a lid or a cloth and let it rest in a warm but not too hot place. Let it rest for several days, mixing it every few hours, until we see bubbles forming. From this point on, we need to learn how to manage it to feed and use it without waste.
During the fermentation process, it’s essential to maintain a consistent temperature between 25°C and 30°C (77°F-86°F), which will help promote healthy microbial growth. Avoid placing your starter near direct sunlight or heating sources, as this can cause the microorganisms to become overactive or even die off.
Nutrient-Rich Mother Dough: Feeding It
From the dough created earlier, we must conserve only 20% of it, the rest is discarded but can be used immediately to cook something delicious. If you’re looking for some inspiration, you can find it further ahead. Now, let’s focus on the 20% of mother dough that needs to be fed and managed. To this small quantity of mother dough, we must add fresh flour and water (40g of each). Always mix and cover the dough with a cloth or lid to let it rest.
We must continue to feed our starter as we did earlier, always conserving 20% and removing the rest to set aside and use in cooking. This will ensure that your mother dough remains healthy and continues to ferment properly. By feeding your starter regularly, you’ll be able to monitor its growth and adjust the amount of flour and water accordingly.
After approximately five days or one week of regular feeding, we’ll see the mother dough double in size within about four hours after the last feeding. We now have our starter and can use it to make bread. Keep in mind that different flours may require varying levels of feeding and maintenance, so be sure to observe your starter’s behavior closely.
Using Mother Dough Without Waste
In the process of preparing mother dough for natural fermentation, we’ve set aside so many “80%”. Now it’s time to learn how to use them. If we followed the instructions correctly, we have enough material to experiment with various recipes multiple times.
We can prepare pancakes (ciałde), fritters (frittelle), or pretzels (pretzel). Let’s see how:
Preparing Pancakes
To make a batch of 10 pancakes using natural yeast, you’ll need:
- 1 cup of starter at room temperature
- 2 cups of milk
- 2 cups of flour. It’s better to mix the flour made from whole wheat grain with that of rye.
- ¼ cup of melted butter
- 2 eggs
- A pinch of salt
- A teaspoon of baking powder
Start working the night before, mixing the starter with milk and flour, covering it with a cloth or lid and letting it rest during the night when the classic bubbles will form. The next morning, mix the melted butter and eggs, adding salt and baking powder, and let the batter rest for another night.
When the pancakes are hot, we can cook them lightly golden brown and then consider how to fill them with your favorite ingredients.
Preparing Fritters
For preparing fritters using mother dough, there are only a few steps. You’ll need:
- ½ cup of un-fed starter (from the refrigerator)
- 1 tablespoon of flour
- 1 large egg
- 1 tablespoon of butter
- A pinch of salt and a teaspoon of baking powder.
Mix the starter with flour to get softer fritters. In addition, beat the eggs and heat a pan with a little oil at medium-high heat. Mix the starter with the flour, then the eggs, butter, salt, and baking powder. As soon as the batter gets thicker, we take about half of it and pour it into the hot pan to cook until golden brown on both sides.
Preparing Pretzels
The most complex recipe is now here. To prepare pretzels, you’ll need:
- 1 cup of un-fed starter (at room temperature)
- 2 teaspoons of active dry yeast
- 1 cup of warm water
- 2 cups of white flour and 1 cup of whole wheat flour
- Salt, oil, sugar, and baking powder
Dissolve the yeast and sugar in warm water. Set it aside for about 10 minutes until it becomes frothy. In a bowl, combine white flour, whole wheat flour, and salt. When the yeast is ready, add it to the dough along with additional flour if necessary to maintain consistency. Let the dough rest on a flat surface for about 7 minutes, until it’s smooth and elastic, then shape into a ball.
Take a bowl and generously oil it, then put the ball in there and make it rotate so that it becomes shiny. Let the dough rise for at least an hour before dividing it into 12 equal parts.
Before shaping our pretzels, we can preheat the oven to 475°F and grease two baking sheets. Each portion of dough should become a cord to shape into pretzels. In a pot, boil water with baking soda, then dip the pretzel one or two at a time before placing them on the baking sheet sprinkled with salt.
Conclusion
Creating your own mother dough is an excellent way to start exploring the world of natural fermentation and bread making. By following these steps and learning how to manage and maintain your starter, you’ll be able to create delicious baked goods without generating any waste. Remember to observe your starter’s behavior closely and adjust the amount of flour and water accordingly.
With this knowledge, you can now experiment with various recipes using your mother dough, such as pancakes, fritters, or pretzels. Don’t be afraid to try new ingredients and flavor combinations – after all, that’s what makes bread making so exciting!
So go ahead, get started, and join the world of natural fermentation. With patience, practice, and a little creativity, you’ll soon become a master of creating delicious baked goods using your own mother dough. Happy baking!


