
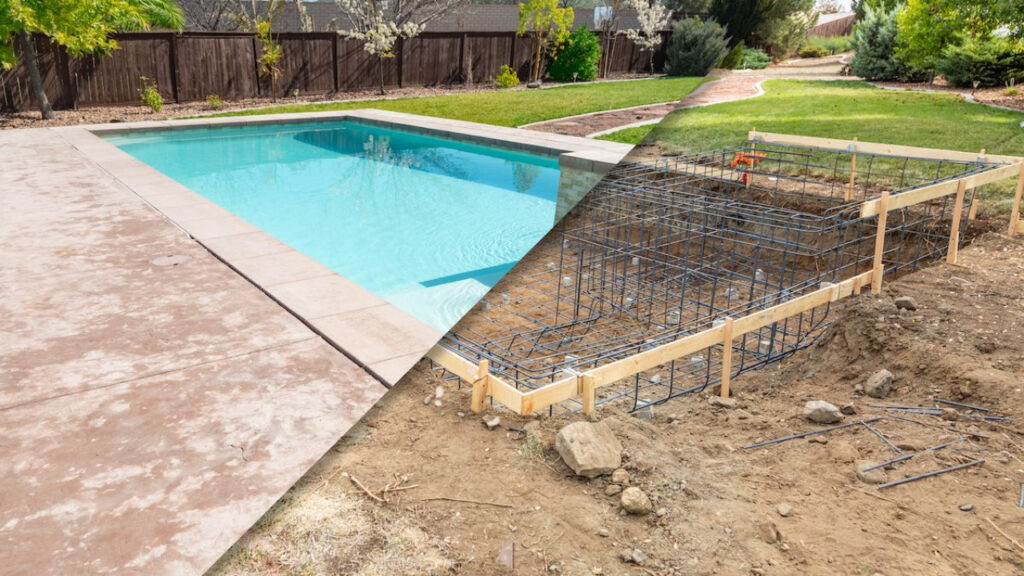
Congratulations on deciding to build an in-ground swimming pool! This article will guide you through the entire process, from preparation to completion. We’ll cover the necessary permits, DIY installation options, and provide valuable insights into the costs involved.
Why Build an In-Ground Pool?
A well-designed in-ground pool can be a stunning addition to your backyard, providing years of entertainment and relaxation. However, it’s essential to consider the challenges involved in building one yourself.
In this article, we’ll explore the benefits and drawbacks of building an in-ground pool fai da te (do-it-yourself) and provide tips on how to overcome common obstacles.
Understanding Permits and Costs
Before starting your project, ensure you have the necessary permits and obtain quotes from contractors for a smooth process. The cost of building an in-ground pool can vary significantly depending on factors like location, material choices, and labor costs.
Preparing the Site
When choosing a location for your pool, consider the following:
- Sunlight: Ensure the area receives sufficient sunlight to maintain water clarity.
- Wind protection: Select a spot that provides some windbreaks to prevent debris from entering the pool.
- Level ground: The site should be level and even to avoid unevenness in the pool’s surface.
To prepare the site, follow these steps:
- Conduct a thorough inspection of your yard to identify any obstacles or underground utilities.
- Mark out the area where you plan to build your pool using stakes and twine.
- Check for any local building codes or regulations that may impact your project.
- Hire a professional to assess your site and provide guidance on the next steps.
Digging the Hole
Once you’ve prepared the site, it’s time to start digging. Here are some key considerations:
- Depth: The hole should be at least 1 foot deeper than the pool’s bottom to accommodate the pipes and other plumbing components.
- Width and length: Make sure the hole is the correct size for your pool, taking into account any excess material that will need to be removed.
To dig the hole:
- Use a backhoe or trenching machine to excavate the site quickly and efficiently.
- Remove any debris and soil from the excavation area.
- Compact the soil at the bottom of the hole using a hand tamper or plate compactor.
Building the Walls
With the hole dug, it’s time to start building the walls of your pool. Here are some key considerations:
- Material: Choose a durable material that can withstand the elements and provide structural support for your pool.
- Depth: The walls should be at least 12-15 inches deep to accommodate the pipes and other plumbing components.
To build the walls:
- Construct the wall using concrete blocks or poured concrete, depending on your chosen material.
- Ensure the wall is level and plumb throughout its length.
- Install any necessary electrical or plumbing components.
Installing the Liner
Once the walls are complete, it’s time to install the liner. Here are some key considerations:
- Material: Choose a high-quality liner that is durable and resistant to cracking.
- Size: Ensure the liner is the correct size for your pool, taking into account any excess material that will need to be removed.
To install the liner:
- Unroll the liner and place it in the hole, ensuring it’s centered and smooth out any wrinkles or creases.
- Secure the liner using clips or straps, making sure they’re tightened evenly throughout its length.
- Fill the pool with water to test for leaks and make any necessary repairs.
Installation of Pumps, Filters, and Heaters
Once the liner is installed, it’s time to install the pumps, filters, and heaters that will keep your pool running smoothly. Here are some key considerations:
- Pump selection: Choose a pump that meets your specific needs and can handle the size and volume of water in your pool.
- Filter selection: Select a filter that is efficient and effective at removing dirt and debris from the water.
- Heater selection: Choose a heater that provides adequate heat to maintain the desired temperature in your pool.
To install the pumps, filters, and heaters:
- Follow the manufacturer’s instructions for installation and maintenance.
- Ensure all components are properly sized and connected for optimal performance.
- Regularly inspect and clean the components to prevent damage and maintain efficiency.
Finishing Touches
Once all the necessary systems are installed, it’s time to add the finishing touches to your pool. Here are some key considerations:
- Pool decking: Choose a durable material that can withstand heavy foot traffic and provide traction.
- Lighting: Install lighting that provides adequate illumination for safety and aesthetics.
- Decorations: Add any decorative elements, such as plants or sculptures, to enhance the visual appeal of your pool.
To finish the touches:
- Follow the manufacturer’s instructions for installation and maintenance.
- Ensure all components are properly sized and connected for optimal performance.
- Regularly inspect and clean the components to prevent damage and maintain efficiency.
Conclusion
Building an in-ground swimming pool can be a challenging but rewarding project. By following these steps and considering the necessary permits, costs, and materials, you can create a stunning backyard oasis that provides years of enjoyment.


