
Are you tired of wasting water and money on a leaky faucet? Do you want to save some cash by fixing it yourself? Look no further! In this article, we’ll walk you through the process of repairing a leaky faucet without calling an plumber.
First and foremost, water is a precious resource that shouldn’t be wasted. Leaky faucets can waste up to 20 gallons of water per day, which adds up quickly. So, let’s get started with fixing yours!
Understanding Leaks
Leaky faucets are usually caused by worn-out O-rings or gaskets. These parts are designed to seal the faucet and prevent leaks, but over time, they can wear out due to corrosion, mineral buildup, or normal wear and tear.
When an O-ring or gasket becomes damaged, it allows water to escape from the faucet, causing a leak. If left unchecked, this can lead to further damage and costly repairs down the line. However, with a simple DIY fix, you can save money and prevent these issues.
Tools You’ll Need
To fix a leaky faucet, you’ll need some basic tools:
- Adjustable wrench
- Channel-type pliers (for removing old O-rings)
- Needle-nose pliers (for reaching small spaces)
- Teflon tape
- New O-rings or gaskets
These tools are widely available at most hardware stores or home improvement centers. You may also need a bucket to catch any water that spills out during disassembly.
Why Not Call an Plumber?
While it’s always best to call a professional plumber for complex tasks, fixing a leaky faucet is a relatively simple process that can be done with some basic tools and knowledge.
In fact, many plumbers would rather you DIY the fix yourself, especially if it’s just a minor issue. This will save you money on labor costs and give you a sense of accomplishment when you finish the job.
Step-by-Step Guide
Here’s how to fix a leaky faucet:
Step 1: Shut Off the Water Supply
Before starting any DIY project, make sure to shut off the water supply to the faucet. Locate the shut-off valves under the sink and turn them clockwise until they stop. Open the faucet to drain the water from the pipes.
Shutting off the water supply is an essential step in preventing water damage and ensuring your safety while working with plumbing fixtures.
Step 2: Disassemble the Faucet
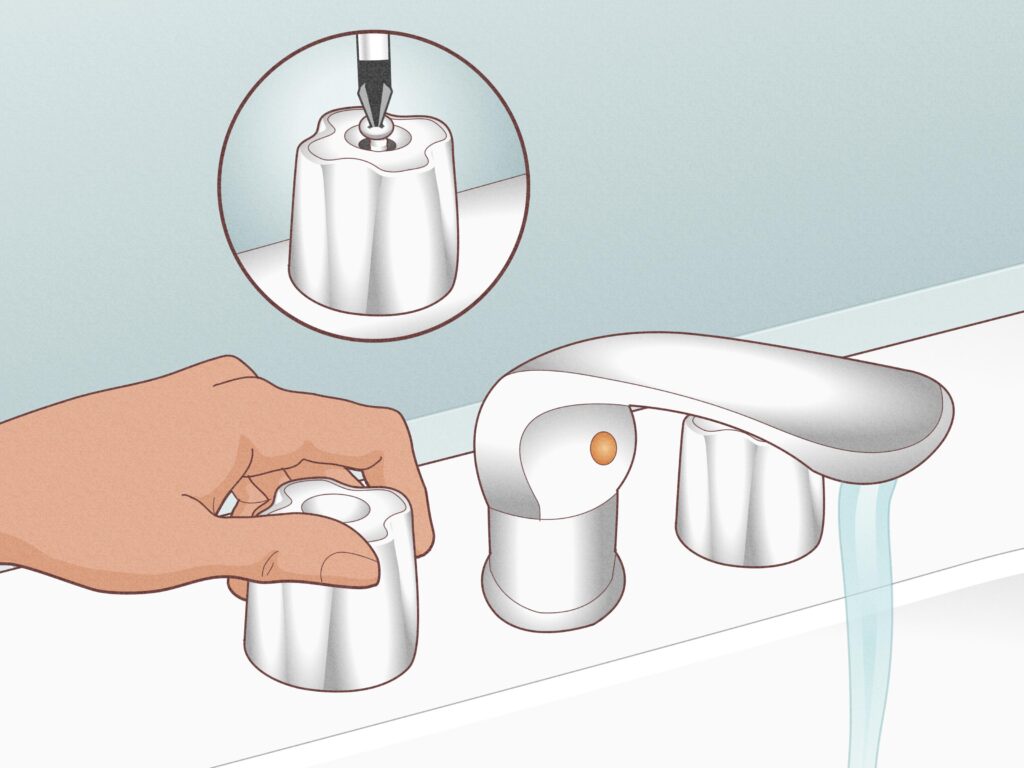
Use an adjustable wrench to loosen the packing nut that holds the stem in place. Once loose, use a channel-type pliers to remove the old O-ring or gasket.
Disassembling the faucet may require some patience and elbow grease, but it’s essential to access the leaky area. Take your time, and be careful not to damage any surrounding components.
Step 3: Inspect and Clean the Area
Inspect the area around the faucet for any mineral buildup or corrosion. Use a soft cloth and some vinegar to clean the area.
Mineral buildup can cause leaks and other issues, so it’s essential to clean the area thoroughly before installing new parts. This will ensure a watertight seal and prevent future problems.
Step 4: Apply Teflon Tape
Apply a thin layer of Teflon tape to the new O-ring or gasket. This will help create a watertight seal.
Teflon tape is a must-have for any plumbing repair, as it creates a durable seal that can withstand high water pressure. Make sure to apply a thin layer, as excess tape can cause more problems than it solves.
Step 5: Reassemble the Faucet
Reattach the stem and packing nut, making sure they’re tightened securely. Test the faucet by running hot water through it to ensure there are no leaks.
Reassembling the faucet is straightforward, but it’s essential to do it correctly. Make sure all parts are securely attached, and the water supply is turned back on.
Common Leaks and Fixes
- Sinks: If your sink is leaking, check the drain assembly for mineral buildup or corrosion.
- Faucets with a Single Handle: Replace the O-ring or gasket on the handle stem.
- Faucets with Two Handles: Check the valve seat for mineral buildup. Clean it out and apply new gaskets.
These common leaks can often be fixed with simple DIY repairs, saving you money and hassle in the long run.
Tips and Tricks
- Use a bucket to catch any water that spills out during disassembly.
- Apply a thin layer of silicone grease to the O-ring or gasket before installing.
- If you’re not comfortable with DIY repairs, consider hiring a professional plumber.
- Regularly inspect and clean your faucets to prevent future leaks.
Conclusion
Fixing a leaky faucet is easier than you think! By following these simple steps and using some basic tools, you can save money on water waste and labor costs. Remember to always turn off the water supply before starting any DIY project, and don’t be afraid to seek help if you’re unsure about anything.
FAQs
- Q: Why do faucets leak?
A: Faucets leak due to worn-out O-rings or gaskets that can be replaced with new ones. - Q: What tools do I need to fix a faucet?
A: You’ll need an adjustable wrench, channel-type pliers, needle-nose pliers, Teflon tape, and new O-rings or gaskets. - Q: Can I fix a leaky faucet myself?
A: Yes! Fixing a leaky faucet is a relatively simple process that can be done with basic tools and knowledge. - Q: Why not call a plumber?
A: While it’s always best to call a professional plumber for complex tasks, fixing a leaky faucet is a simple process that can save you money on labor costs. -
Q: How do I prevent leaks in the future?
A: Regularly inspect and clean your faucets, and consider replacing worn-out O-rings or gaskets regularly to prevent future leaks. -
Q: Can I use any type of Teflon tape?
A: No! Use a high-quality Teflon tape specifically designed for plumbing. -
Q: How often should I replace O-rings or gaskets?
A: Replace them every 5-10 years or when you notice signs of wear and tear. -
Q: What if I’m not comfortable with DIY repairs?
A: Consider hiring a professional plumber who can do the job for you.
By following these simple steps and tips, you’ll be able to fix your leaky faucet without breaking the bank. Remember to always prioritize water conservation and take care of your plumbing fixtures to prevent future problems.


