
As the summer months approach, we often look forward to spending time outdoors with friends and family. However, when it comes to our indoor plants, we tend to forget about them until they’re left parched and wilting. It’s easy to overlook the needs of our green companions, especially when we’re busy with other things.
But neglecting our plants can lead to disaster. Without proper care, they can quickly become stressed, leading to poor growth, disease, and even death. The good news is that there are simple and effective ways to ensure your plants receive the water they need, without breaking the bank or relying on expensive automated systems.
In this article, we’ll explore three unique DIY irrigation systems that you can create using everyday materials. These eco-friendly solutions are perfect for gardeners of all levels, from beginners to seasoned green thumbs.
The Gel Method: A Low-Cost and Environmentally Friendly Solution
One simple and innovative method is the use of hydrogel capsules. These small, gel-like packets release water as they absorb it, providing a steady supply of moisture to your plants. You can purchase these capsules at most nurseries or online stores, and they’re incredibly easy to use.
To get started, simply follow these steps:
- Purchase hydrogel capsules suitable for your plant type
- Follow the manufacturer’s instructions for soaking the capsules in water
- Place the soaked capsules near the base of your plants
The gel method is a low-cost solution that provides excellent results. The best part? It’s completely biodegradable and non-toxic, making it an attractive option for eco-conscious gardeners.
Benefits of Using Hydrogel Capsules
Hydrogel capsules offer several benefits for plant watering:
- Convenience: Simply soak the capsules in water, and they’ll release moisture as needed.
- Efficiency: These packets provide a consistent supply of water to your plants, reducing waste and runoff.
- Environmentally friendly: Hydrogel capsules are biodegradable and non-toxic, making them an eco-friendly choice.
Tips for Using Hydrogel Capsules
To get the most out of hydrogel capsules:
- Soak the capsules correctly: Follow the manufacturer’s instructions for soaking the capsules in water.
- Use them near the base of your plants: This will help prevent overwatering and ensure that the water reaches the roots.
- Replace them regularly: Replace every 1-2 months, depending on plant type and usage.
The Plastic Bottle Method: A Zero-Cost Solution
Another creative way to create a DIY irrigation system is by repurposing plastic bottles. This method requires minimal materials, including:
- Clean, dry plastic bottles
- A sharp object (such as scissors or a nail)
- A drill or sharp pencil
To make this system work, you’ll need to create a small hole in the bottom of each bottle using your chosen tool. Next, fill the bottle with water and attach it to a plant stem using twine or wire.
When the bottle is positioned over the soil, gravity will cause the water to flow down into the pot, providing a gentle and consistent supply of moisture. The plastic bottle method is an excellent option for small plants or seedlings, as it allows you to control the amount of water delivered without wasting resources.
Benefits of Using Plastic Bottles
Plastic bottles offer several benefits for plant watering:
- Cost-effective: Repurposing plastic bottles eliminates the need for expensive irrigation systems.
- Easy to set up: This method requires minimal materials and setup time.
- Adjustable water supply: You can adjust the amount of water delivered by adjusting the position of the bottle.
Tips for Using Plastic Bottles
To get the most out of plastic bottles:
- Use them for small plants or seedlings: The plastic bottle method is ideal for smaller plants that require less water.
- Position the bottle correctly: Place the bottom of the bottle over the soil, ensuring that it’s centered and stable.
- Adjust the water supply: Adjust the position of the bottle to control the amount of water delivered.
The Trough Method: A More Comprehensive Solution
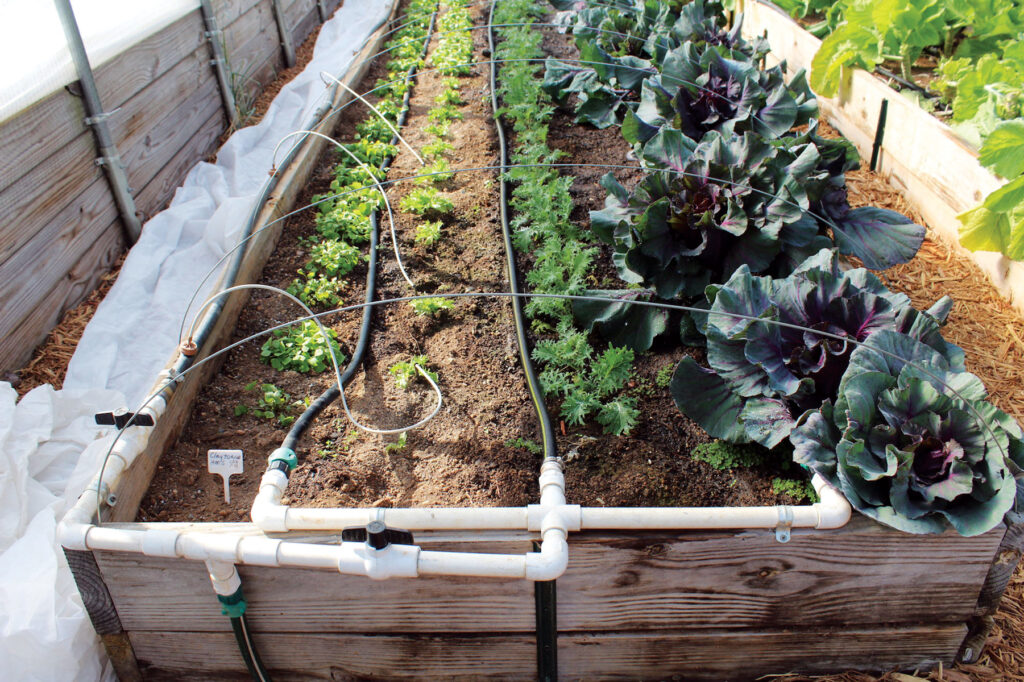
For larger plants or those requiring more extensive irrigation, consider using a DIY system based on a trough and tubing setup. This method requires a few more components, including:
- A large, shallow container (or “trough”) filled with water
- Tubing made from rubber or PVC
- Valves and connectors
To create this system, simply follow these steps:
- Fill the trough with water to the desired level.
- Connect the tubing to the trough using valves and connectors.
- Position the trough near your plants, ensuring that the water is accessible through the connected tubing.
The trough method provides a more comprehensive irrigation solution for larger plants or those requiring multiple watering points. This system allows you to control the amount of water delivered and tailor it to specific plant needs.
Benefits of Using a Trough System
Trough systems offer several benefits:
- Comprehensive coverage: The trough method covers all your plants, providing consistent moisture levels.
- Adjustable water supply: You can adjust the amount of water delivered by adjusting the position of the trough.
- Easy to set up and maintain: This system is relatively easy to set up and maintain.
Tips for Using a Trough System
To get the most out of a trough system:
- Position the trough correctly: Place the trough near your plants, ensuring that it’s centered and stable.
- Adjust the water supply: Adjust the position of the trough to control the amount of water delivered.
- Use valves and connectors carefully: These components should be used with caution to prevent leaks or blockages.
Conclusion
Creating a DIY irrigation system can be a fun and rewarding experience, allowing you to take control of your plants’ hydration without breaking the bank. By exploring these three unique methods – the gel method, plastic bottle method, and trough method – you’ll discover simple and effective solutions for providing your indoor plants with the water they need.
So why not give one (or all!) of these DIY irrigation systems a try? Not only will you be able to provide better care for your plants, but you’ll also be contributing to a more sustainable and eco-friendly approach to gardening.
Frequently Asked Questions
Q: What materials are needed for the gel method?
A: Hydrogel capsules, water
Q: How often should I replace hydrogel capsules?
A: Replace every 1-2 months, depending on plant type and usage
Q: Can I use this method for outdoor plants?
A: Yes, but be aware that gel packets may break down more quickly in direct sunlight.
Q: What materials are needed for the plastic bottle method?
A: Plastic bottles, scissors or sharp object, twine or wire
Q: How do I position the plastic bottle over my plant?
A: Place the bottom of the bottle over the soil, ensuring that it’s centered and stable.
Q: Can I use this method for multiple plants?
A: Yes, but be aware that you’ll need to adjust the water supply accordingly.
Q: What materials are needed for the trough method?
A: Trough or container, tubing (PVC or rubber), valves and connectors
Q: How do I connect the tubing to the trough?
A: Use a drill or sharp pencil to create holes in the tubing, then attach valves and connectors.
Q: Can I use this method for large plants or those requiring extensive irrigation?
A: Yes, but be aware that the trough system may require more materials and setup time.


