
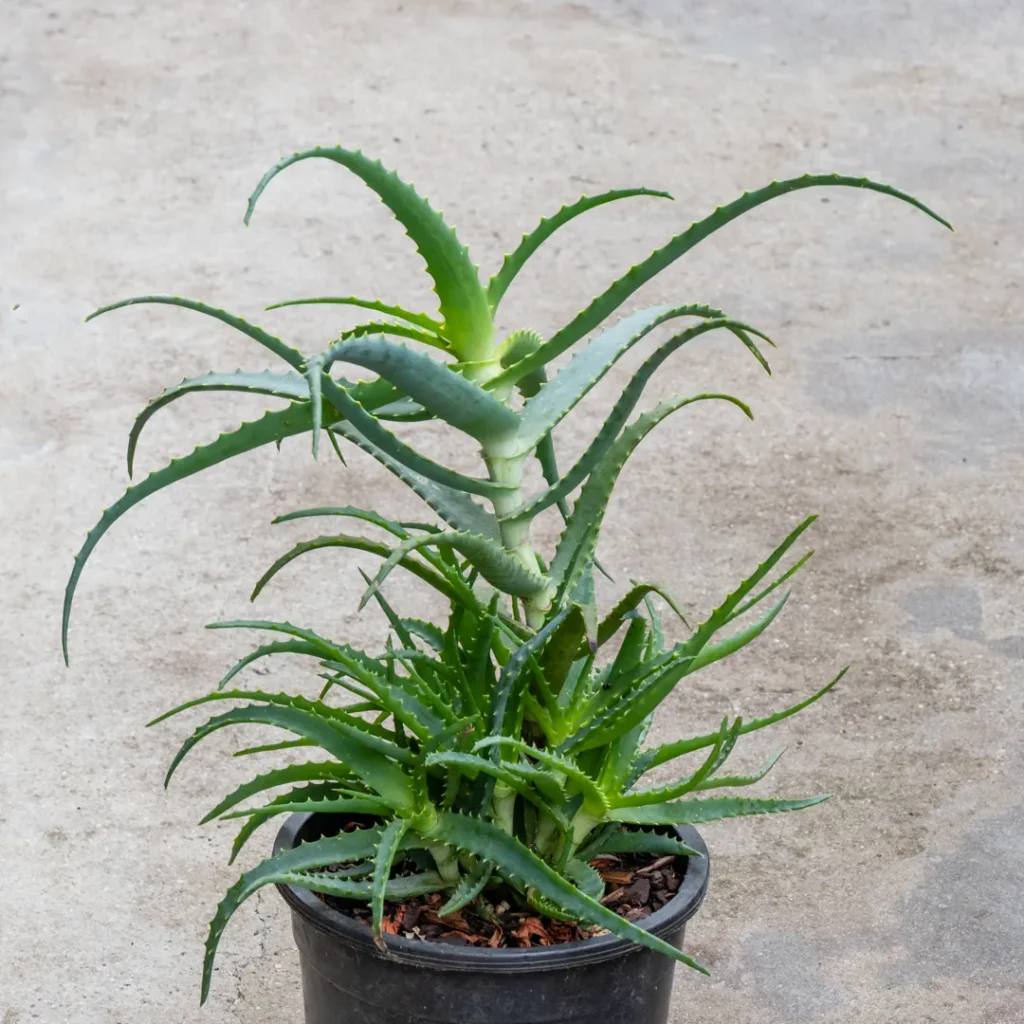
As one of the most popular and versatile succulent plants, aloe vera has been a staple in many gardens for centuries. Not only is it known for its medicinal properties, but it’s also an excellent choice for beginners looking to start their own indoor garden. In this article, we’ll explore the art of propagating aloe vera using the technique of stem cutting, and provide you with a comprehensive guide on how to do it successfully.
Why Propagate Aloe Vera?
Aloe vera is a relatively easy plant to propagate, making it an ideal choice for beginners and experienced gardeners alike. By propagating your own aloe vera, you can:
- Share plants with friends and family
- Create new varieties or hybrids
- Save money on seedlings from nurseries
- Enjoy the satisfaction of growing something yourself
Choosing the Right Aloe Vera Species
Not all aloe vera species are created equal when it comes to propagation. The most popular species, Aloe Arborescens and Aloe Barbadensis Miller (also known as aloe vera), can be propagated using stem cutting.
Other species, like Aloe striatula and Aloe ferox, may require more specialized techniques or equipment.
Materials Needed
Before we dive into the propagation process, make sure you have the following materials:
- A container with drainage holes
- Potting soil (a mix of sand and peat moss works well)
- Water
- A sharp, sterile knife or pruning tool
- Optional: fungicide and rooting hormone
Step 1: Preparing for Stem Cutting
To increase your chances of success, it’s essential to choose the right time to propagate. In general, spring is the best season for stem cutting, as the plant is actively growing and producing new leaves.
Before you start, make sure to disinfect your tools with a solution of 1 part bleach to 10 parts water. This will prevent any bacteria or fungi from transferring to the plant.
Step 2: Selecting the Right Leaves
When selecting leaves for propagation, look for ones that are:
- Firm and free of soft spots
- Have at least two sets of leaves (for a stronger root system)
- Not too old or too young (opt for ones with a good balance between the two)
Step 3: Making the Cut
Using your sterile knife, make a clean cut just above a node (where a leaf meets the stem). The cut should be about 2-3 inches long and at an angle to promote rooting.
It’s essential to make the cut carefully, as this will affect the success rate of propagation. A clean cut will help prevent infection and promote healthy growth.
Step 4: Preparing the Substrate
Fill your container with a mix of sand and peat moss (50/50 ratio), leaving about an inch at the top for watering. Moisten the substrate with water, making sure it’s not too wet or dry.
The key to successful propagation is providing a suitable environment for the cutting to develop roots. A well-draining substrate will help prevent root rot and other problems.
Step 5: Planting the Cutting
Gently place the cutting into the substrate, burying the node in the soil. Firm the soil around the cutting to secure it in place.
Make sure not to pack the soil too tightly, as this can prevent proper rooting. Instead, gently firm the soil to create a snug fit for the cutting.
Step 6: Watering and Caring for Your New Plant
Water your new plant thoroughly, making sure the soil is moist but not waterlogged. Keep the soil consistently moist during the first few weeks after propagation. Once established, reduce watering to once a week.
Additional Tips:
- Keep your newly propagated plants away from direct sunlight until they establish themselves.
- Avoid over-watering, as this can lead to root rot and other problems.
- Consider using a rooting hormone to increase the chances of successful propagation.
- Monitor your plant for any signs of pests or diseases, such as mealybugs or fungal infections.
Common Mistakes and Troubleshooting
While propagation is an exciting process, it’s not without its challenges. Here are some common mistakes and solutions:
- Over-watering: This can lead to root rot and other problems. Check the soil regularly, making sure it’s not too wet or dry.
- Under-watering: This can cause the cutting to dry out and become stressed. Increase watering frequency, but avoid overdoing it.
- Insufficient light: This can slow down the rooting process. Provide bright, indirect light for your newly propagated plant.
FAQs
Q: Can I propagate aloe vera in water instead of soil?
A: Yes, you can propagate aloe vera in water, but it’s essential to provide adequate light and prevent over-watering.
Q: How long does it take for an aloe vera cutting to root?
A: Typically, it takes 2-4 weeks for the cutting to develop roots, but this can vary depending on factors like temperature, humidity, and lighting.
Q: Can I propagate aloe vera in winter?
A: While it’s technically possible to propagate aloe vera in winter, it may not be the best time due to reduced growth and increased risk of disease.
Q: What are some common mistakes when propagating aloe vera?
A: Over-watering, under-watering, and insufficient light can all lead to failed propagation attempts.
Q: Can I use other materials instead of soil for rooting?
A: While it’s possible, using alternative materials like perlite or vermiculite may not provide the best results.
Q: How often should I fertilize my newly propagated aloe vera plants?
A: Fertilize your new plant sparingly, once every 2-3 months during the growing season.
Advanced Techniques and Variations
While stem cutting is an excellent way to propagate aloe vera, there are other techniques and variations you can try:
- Leaf Propagation: This involves removing individual leaves from the mother plant and allowing them to form new roots. This method is more time-consuming but can produce healthier plants.
- Division: Divide mature plants into smaller sections, making sure each section has at least one set of leaves. Replant the divisions in well-draining soil.
- Seeds: Aloe vera seeds are relatively rare and difficult to obtain. If you do have seeds, make sure to sow them in a sterile environment with proper care.
Conclusion
Propagating aloe vera using stem cutting is an exciting process that can produce healthy, thriving plants. By following the steps outlined in this guide, you’ll be well on your way to successfully propagating your own aloe vera. Remember to choose the right time of year, select firm and healthy leaves, and provide adequate light and care for your newly propagated plant.
With practice and patience, you’ll become a pro at propagating aloe vera, and enjoy the rewards of growing this amazing succulent plant. Happy planting!


