
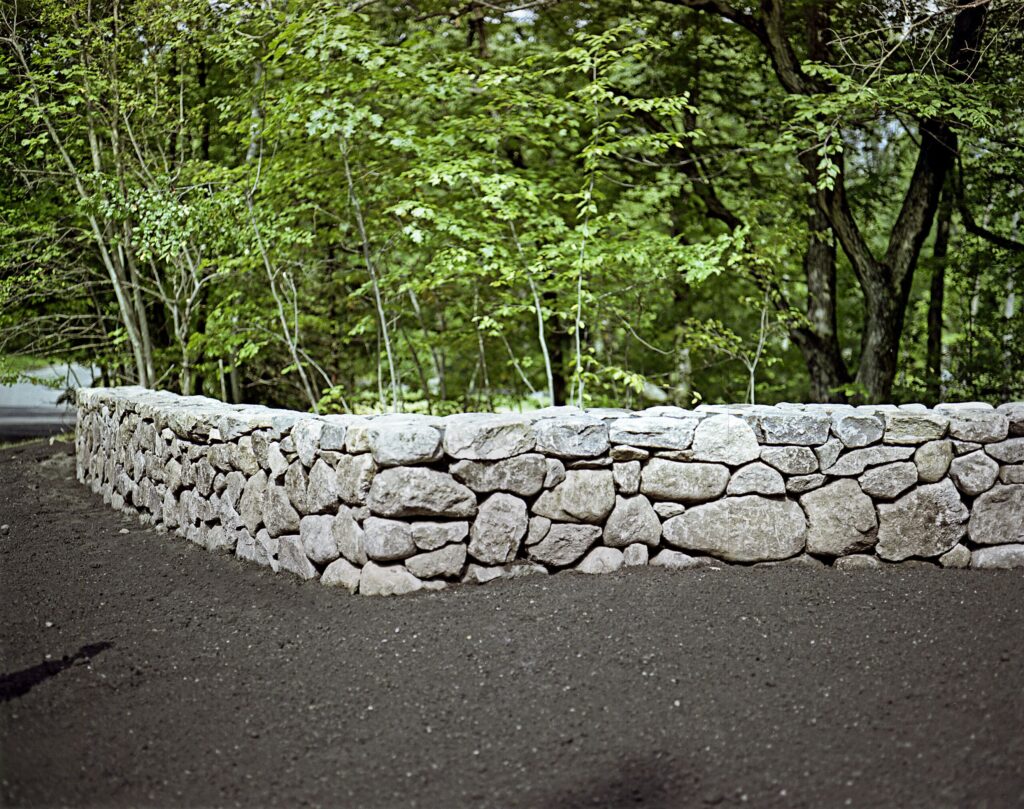
As we discussed in our previous article on “How to Build a Fence”, we will now provide you with alternative instructions for building a dry stone wall, perfect for delineating garden beds or surrounding existing trees. Just like the previous one, this is a stone construction project that requires smaller stones.
Dry Stone Wall
A dry stone wall is a unique construction made up of blocks of stone arranged and assembled without any adhesive (cement, mortar, concrete…). We call it “dry” because you don’t need to paste any adhesive. From an architectural perspective, the dry stone wall represents the first example of human-made structures. Many ancient walls testify to this technique, which, when properly executed, is durable and has a significant aesthetic impact.
Benefits of Building a Dry Stone Wall
Before we dive into the instructions, let’s explore some benefits of building a dry stone wall:
- Aesthetic appeal: Dry stone walls are not only functional but also visually stunning. They can add character to your garden or landscape.
- Durability: With proper construction, a dry stone wall can last for centuries.
- Low maintenance: Since there’s no adhesive involved, the wall won’t require regular repairs or maintenance.
- Eco-friendly: Building a dry stone wall reduces waste and doesn’t involve the use of cement or other binding agents.
Materials Needed
To build a dry stone wall, you’ll need the following materials:
- Palo and Vanga (digging tools) like Pala and Vanga
- Medium-sized gravel (optional but highly recommended)
- Flat stones of regular size, preferably
- Small-stacked stones
- Soil to insert plants (optional)
- Plants (optional)
Step-by-Step Instructions
Now that we’ve covered the basics, let’s move on to the step-by-step instructions for building a dry stone wall.
- Prepare the Site
Before starting your project, make sure to clear the area of any debris and vegetation. Mark out the perimeter of your dry stone wall using stakes and twine. - Dig the Trench
Excavate a trench that is at least 5-10 cm wider than the thickness of your wall. For example, if your wall must be 40 cm wide, the trench should measure at least 45-50 cm. - Lay the Foundation
Fill the trench with a thick layer of gravel that will serve as its foundation. Compress it well before proceeding.
The Foundation of the Dry Stone Wall
A solid and compact foundation is crucial for the stability and longevity of your dry stone wall. The gravel provides drainage and helps to prevent water from accumulating under the wall, which can lead to erosion or other structural issues.
- Lay the First Course
Start by laying stones. Place the larger stones first, which will make up the base, and then insert the strata of smaller stones above them, filling in any gaps with soil so that the upper stones are more stable. - Add Additional Courses
Continue adding courses of stones, making sure to leave space for drainage. Use supporting stones placed vertically to hold together the courses. - Compact the Stones
Use a tamper or plate compactor to compact the stones and ensure they’re stable and secure. - Finish the Wall
Once you’ve added enough layers of stones, fill the bed with soil and plants, if desired.
Tips and Variations
Here are some additional tips and variations to consider when building a dry stone wall:
- Use worked semilayered or semi-polished stones (levigated, incised…) of varying dimensions to achieve the final desired effect.
- Consider using different types of stones, such as sandstone, limestone, or granite, to create a unique aesthetic.
- Add decorative elements, such as moss or other plants, to enhance the visual appeal of your dry stone wall.
- Use a combination of dry stone walls and traditional masonry techniques for added stability.
Common Mistakes to Avoid
When building a dry stone wall, it’s essential to avoid common mistakes that can compromise the structural integrity of your wall. Here are some mistakes to watch out for:
- Inadequate foundation: Make sure to lay a solid and compact foundation to prevent water accumulation and erosion.
- Inconsistent drainage: Ensure proper drainage by leaving space between courses and using supporting stones.
- Overcrowding: Avoid overcrowding the wall with too many stones, as this can lead to instability.
Conclusion
Building a dry stone wall is a rewarding and challenging project that requires patience, skill, and attention to detail. With these instructions and tips, you’ll be well on your way to creating a stunning and functional dry stone wall that will enhance your garden or landscape for years to come. Remember to take your time, work carefully, and enjoy the process of building something truly unique and beautiful.


