
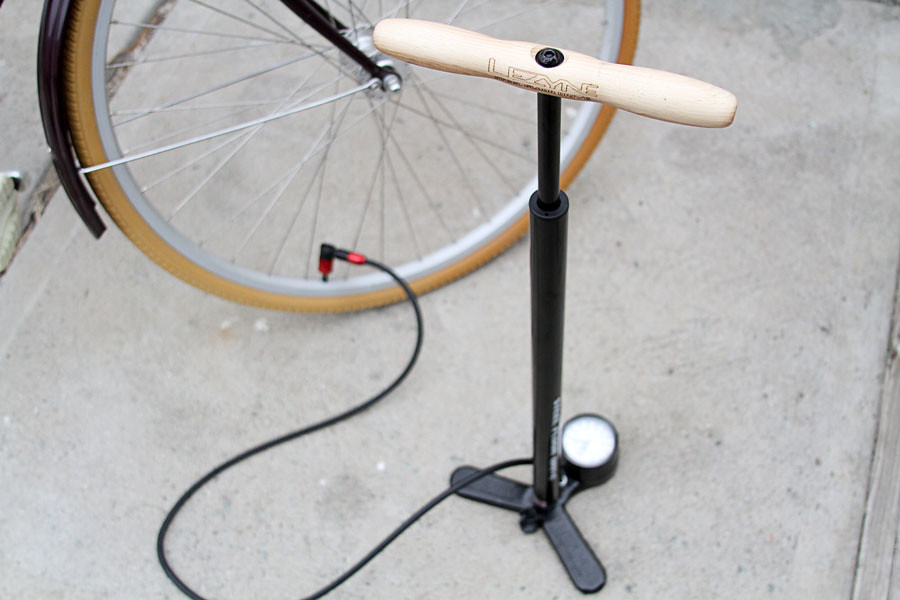
As a cyclist, you know how crucial it is to have the right tire pressure for an optimal ride. However, many cyclists make the mistake of using a bike pump incorrectly, leading to reduced efficiency and discomfort during rides. In this comprehensive article, we’ll delve into the importance of choosing the right pump, preparing for inflation, understanding pressure requirements, achieving perfect air pressure, and testing your bike on the road.
Choosing the Right Bike Pump
Selecting the correct bike pump is essential to ensure efficient and correct tire inflation. There are two primary valve types: Schrader and Presta. The Schrader valve is wider and flatter at the tip, while the Presta valve is narrower with a locking nut that can be opened or closed for air intake or release.
If you’re unsure which valve type your bike has, consult a trusted bicycle shop employee for guidance. Additionally, consider purchasing a pump that suits your needs, taking into account factors like ease of use and display accuracy. Modern pumps often feature displays that provide accurate pressure readings and robust construction for easier operation.
When selecting a bike pump, it’s essential to weigh the pros and cons of various types, including:
- Hand-operated pumps: These are ideal for casual riders or those who prefer a more manual approach.
- Electric pumps: These offer convenience and speed but may be more expensive than hand-operated options.
- CO2 inflators: These are useful for emergency inflation situations but might not provide the same level of control as traditional bike pumps.
When choosing a pump, also consider factors like:
- Pump capacity (measured in liters or cubic inches)
- Pressure range (ensure it can handle your desired tire pressure)
- Material and durability (look for rust-resistant materials and sturdy construction)
Preparing for Inflation
Before inflating your tires, ensure you have the necessary tools. Remove any plastic caps covering the valve tips (which can sometimes go missing) and loosen the locking nut on Presta valves. Gently tap the lock nut to release it; if stuck, don’t worry – simply reattach it securely.
Next, make sure the tire is removed from the wheel hub or rim, and the tire boot (if present) is securely attached using a few wraps of tape. Clean the valve stem and rim with a soft brush to ensure a smooth inflation process.
Understanding Pressure Requirements
Before inflating your tires, check the sidewall of your bike’s tire for recommended pressure limits. These numbers are based on factors like rider weight, riding style, and tire type. It’s essential to experiment to find a comfortable balance between comfort and efficiency.
When determining your optimal tire pressure, consider the following factors:
- Rider weight: A heavier rider may require higher tire pressure.
- Riding style: Aggressive riders may prefer lower pressures for improved traction.
- Tire type: Different tire materials (e.g., clincher, tubular) have varying air requirements.
- Temperature and humidity: Extreme temperatures or high humidity can affect tire inflation.
Achieving Perfect Air Pressure
Using a bike pump, attach the pump head to your valve stem, ensuring it’s securely connected. Start pumping air into the tire using either your arms, legs, or both – depending on the pump model. Modern pumps often have ergonomic designs that promote ease of use and reduce fatigue.
When achieving the optimal pressure, check your gauge readings regularly to prevent over-inflation or under-inflation. Here are some general guidelines for common tire pressures:
- Road bike: 60-100 PSI (pounds per square inch)
- Mountain bike: 30-50 PSI
- Gravel/commuter bike: 40-80 PSI
Common Mistakes and Solutions
To avoid mistakes when inflating your tires, be aware of the following common pitfalls:
-
Over-inflating: Caused by not checking pressure readings regularly.
Solution: Regularly check your gauge readings and adjust as needed. -
Under-inflating: Caused by inadequate pumping or valve stem issues.
Solution: Check your pump’s performance and ensure a secure connection to the valve stem.
Testing Your Bike on the Road
Once your tires are inflated to the desired pressure, carefully turn off the pump by lowering the interlock mechanism. Replace the valve cap and tighten the locking nut (if using a Presta valve). Test ride your bike on the road to ensure it’s comfortable, efficient, and stable.
Additional Tips for Bike Pump Maintenance
To extend the lifespan of your bike pump and maintain optimal performance:
- Regularly clean the pump head and valves.
- Lubricate moving parts with silicone spray or oil.
- Store your pump in a dry, well-ventilated area to prevent damage from moisture or extreme temperatures.
Frequently Asked Questions
-
What is the ideal air pressure for my tires?
The recommended tire pressure varies depending on factors like rider weight, riding style, and tire type. Consult your bike’s sidewall or consult with a bicycle shop employee to determine the optimal pressure for your specific needs. -
How do I know if my pump is the right size for my valve?
Check your bike’s valve type (Schrader or Presta) and ensure you have a pump that matches it. If unsure, consult a trusted bicycle shop employee for guidance. -
What are the benefits of using a high-quality bike pump?
High-quality pumps provide accurate pressure readings, reduce fatigue, and make inflation easier to use, resulting in a more enjoyable and efficient cycling experience. -
Can I inflate my tires at home?
Yes, but ensure you have the necessary tools and follow proper safety precautions when working with air pressure. Always turn off your pump before attempting to remove it from the valve stem or rim. -
What should I do if I over-inflate my tire?
If you notice excessive deflation, stop using the pump immediately. Inspect your tire for any damage and consult a professional mechanic if necessary.
By understanding how to choose, prepare, and use a bike pump effectively, you can ensure optimal tire performance, comfort, and efficiency on your next ride.


