
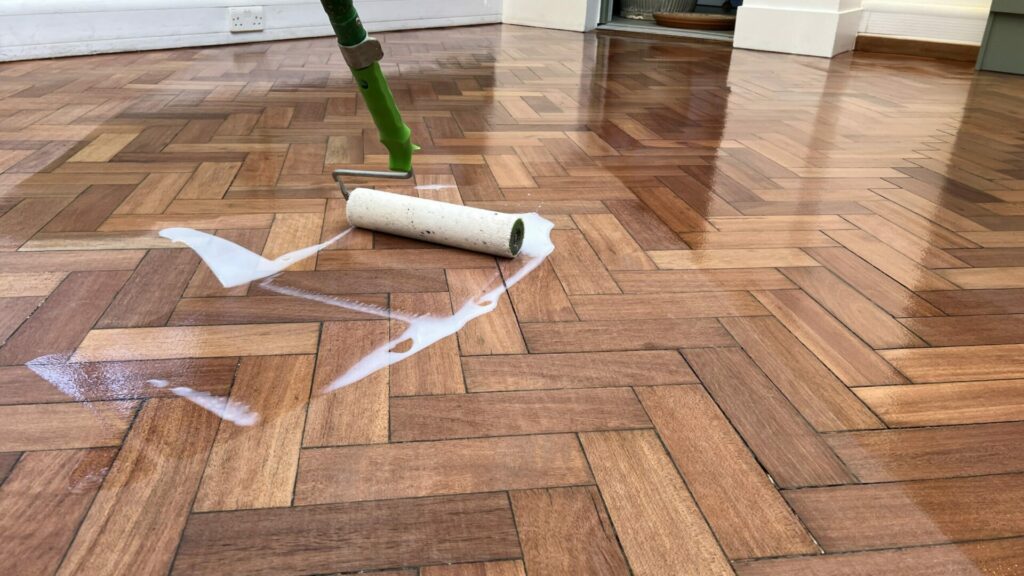
As the old adage goes, “you can’t put a price on good health.” However, in the case of your wooden floors, it’s indeed true that you can’t put a price on a healthy and well-maintained floor. In this article, we’ll show you how to create your own natural wood floor wax using just three simple ingredients.
Understanding Your Wooden Floors
Before we dive into creating our homemade wax, let’s talk about the importance of proper care for your wooden floors. Unlike other types of flooring like tiles and linoleum, wooden floors require a gentle touch when it comes to cleaning and maintenance. Harsh chemicals can damage the finish and even harm the wood itself.
So, what do you need to look out for? Water is one of the most significant threats to wooden floors. Excess water can seep into the wood, causing warping, shrinking, or even cracking. And let’s not forget about heat sources like radiators or heaters, which can dry out the wood and cause it to shrink.
What You’ll Need
To create your own natural wood floor wax, you’ll need just three simple ingredients:
- 2 tablespoons of olive oil
- 1 tablespoon of white vinegar
- 15 drops of lemon essential oil (optional)
That’s it! No fancy chemicals or expensive store-bought products required.
Preparing Your Wax
Now that we have our ingredients, let’s prepare them. In a small bowl, mix together the olive oil and white vinegar until they’re well combined.
Next, add the lemon essential oil if you’d like to give your wax a pleasant scent. Mix everything together until it’s smooth and even.
Applying Your Wax
Now that our wax is ready, let’s talk about how to apply it to your wooden floors. You’ll need a soft cloth or microfiber mop to spread the wax evenly.
Here’s a step-by-step guide:
- Dip your cloth or mop into the wax and wring it out thoroughly.
- Apply the wax to your wooden floor in small sections, working from one end of the room to the other.
- Use a soft, even motion to spread the wax across the floor.
- Wipe away any excess wax with a clean cloth or paper towel.
Tips and Tricks
Now that we’ve covered the basics of creating your own natural wood floor wax, here are some additional tips and tricks to keep in mind:
- Always test a small area of your floor before applying the wax to make sure it doesn’t cause any discoloration.
- Use a soft, dry cloth to clean up any spills or messes immediately.
- Avoid using too much water when cleaning your floors, as this can cause warping or shrinking.
Additional Benefits of Natural Wood Floor Wax
In addition to protecting and maintaining the beauty of your wooden floors, natural wood floor wax has several other benefits:
- Moisture protection: The wax creates a barrier that prevents moisture from penetrating the wood, reducing the risk of warping, shrinking, or cracking.
- Dust reduction: By creating a smooth surface, the wax reduces dust accumulation, making it easier to clean and maintain the floor.
- UV protection: The natural ingredients in the wax help protect the wood from UV rays, which can cause fading or discoloration over time.
Frequently Asked Questions
- Q: What is the best way to clean my wooden floors?
A: The best way to clean your wooden floors is with a soft, dry cloth. Avoid using too much water or harsh chemicals. - Q: Can I use a steam mop on my wooden floors?
A: No, it’s not recommended to use a steam mop on your wooden floors. The high heat and moisture can cause warping or shrinking. -
Q: How often should I wax my wooden floors?
A: You should wax your wooden floors regularly to keep them looking their best. Aim for a frequency of every 1-3 months, depending on how much traffic they receive. -
Q: Can I use this recipe on other types of flooring?
A: No, this recipe is specifically designed for wooden floors. It may not be effective or safe to use on other types of flooring. - Q: Is this recipe safe for children and pets?
A: Yes, this recipe is safe for children and pets if used properly. However, it’s always a good idea to supervise them when they’re around the wax.
DIY Projects Using Natural Wood Floor Wax
Once you’ve mastered the art of creating your own natural wood floor wax, you can use it in a variety of DIY projects to protect and maintain other types of flooring:
- Polishing leather furniture: Use a small amount of natural wood floor wax to polish and condition leather furniture.
- Protecting stone surfaces: Apply a thin layer of natural wood floor wax to stone surfaces, such as countertops or floors, to provide protection against water damage and discoloration.
- Conditioning wood furniture: Use natural wood floor wax to condition and protect wooden furniture, such as tables or chairs.
Conclusion
Creating your own natural wood floor wax is a simple and effective way to keep your floors looking their best. By following the steps outlined in this article, you’ll be able to create a healthy and well-maintained finish that will last for years to come.
So go ahead, give it a try!
Additional Resources
For more information on natural wood floor care and DIY projects using natural wood floor wax, check out these additional resources:
- The Natural Wood Floor Care Guide: A comprehensive guide to natural wood floor care, including tips and tricks for maintaining your floors.
- DIY Projects Using Natural Wood Floor Wax: A collection of DIY projects that use natural wood floor wax to protect and maintain other types of flooring.
- Natural Wood Floor Wax Recipe Book: A book featuring a variety of recipes for making your own natural wood floor wax at home.


