
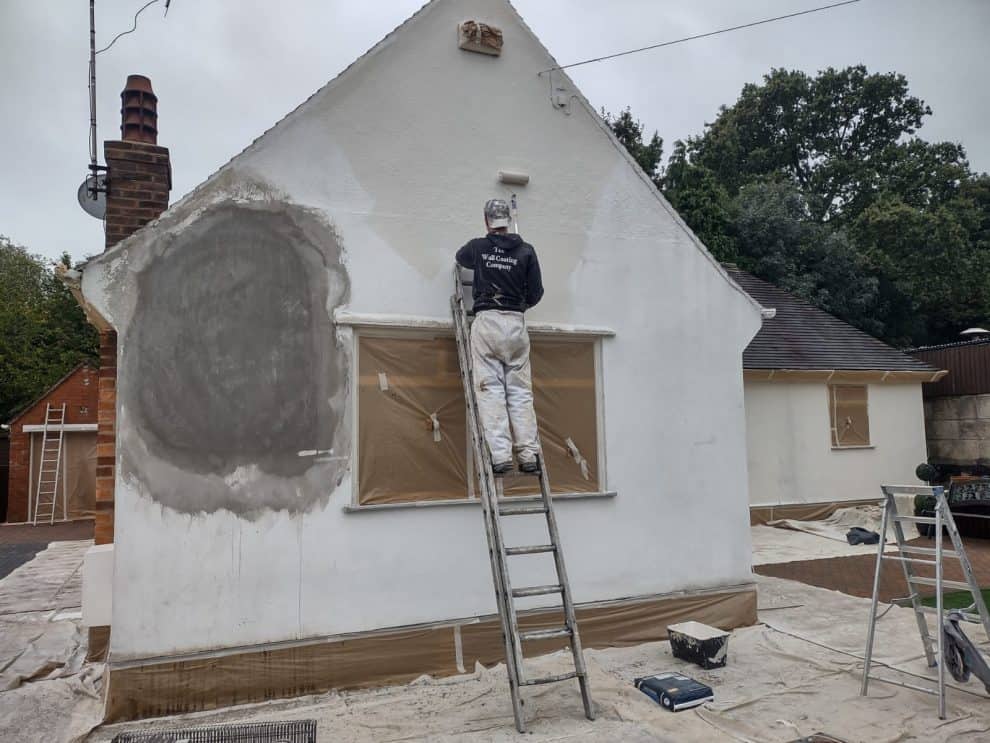
As we spend more time outdoors, our external walls become exposed to the elements, leading to damage and deterioration. In this article, we will provide a detailed guide on restoring an external wall, covering topics such as preparation, removal of damaged areas, application of new material, and finishing.
Understanding External Walls: The Foundation of Restoration
External walls are prone to moisture issues, which can lead to mold, mildew, and structural damage. Before starting the restoration process, it’s essential to assess the extent of the damage and determine the best course of action.
Identifying the Causes of Damage
To understand the extent of the damage, identify the causes:
- Weathering: Exposure to wind, rain, and sunlight can cause paint to peel and plaster to crumble.
- Moisture Issues: Leaks in the roof or walls can lead to water damage, causing mold and mildew growth.
- Structural Damage: Cracks in the foundation or walls can compromise the structural integrity of the building.
Preparation is Key: Essential Tools and Materials
Before beginning the work, ensure you have the necessary tools and materials:
- Spatulas: Various types, including flat and pointed spatulas for scraping and removing old plaster.
- Trowels: Used for applying new plaster, cement-based or lime-based.
- Paintbrushes: For applying paint to the newly restored wall.
- Scalpel: A small, sharp tool for cleaning joints and cracks.
- Hammer: For tapping and removing damaged sections of plaster.
Additionally, wear protective gear, including a dust mask and protective eyewear.
Removing Damaged Areas: Step-by-Step Process
To remove damaged areas, follow these steps:
1. Removing Loose Paint
Use a scraper or putty knife to remove any loose or peeling paint.
- Be careful not to gouge the wall surface.
- Work in sections to maintain even removal.
2. Removing Old Plaster
Scrape off the old plaster with a putty knife or trowel, working in sections.
- Start at the bottom of the section and work up.
- Use a wire brush or broom to remove debris and dust.
3. Cleaning the Area
Use a wire brush or broom to remove any debris or dust from the area.
- This will help prevent contamination during the restoration process.
Assessing the Wall’s Condition
After removing damaged areas, assess the wall’s condition:
- Inspect for Cracks: Look for cracks in the plaster, walls, and foundation.
- Check for Moisture Issues: Ensure that there are no signs of water damage or leaks.
Applying New Material: A Step-by-Step Guide
Once you have removed the damaged areas, it’s time to apply new material:
1. Preparing the Substrate
Ensure the wall is clean and dry before applying the new material.
- Use a wire brush or broom to remove any debris or dust.
- Allow the area to dry completely before proceeding.
2. Applying Cement-Based Plaster
Mix the plaster according to the manufacturer’s instructions and apply it using a trowel or putty knife.
- Work in sections, maintaining even application.
- Use a level to ensure straight lines and even coverage.
3. Allowing the Plaster to Set
Let the plaster dry completely before proceeding with the next step.
- This can take anywhere from 24 hours to several days, depending on the type of plaster used.
- Check the manufacturer’s instructions for specific drying times.
Finishing Touches: Completing the Restoration Process
After applying the new material, complete the restoration process with these steps:
1. Painting
Paint the wall as desired, taking care to match the original color and finish.
- Use a paintbrush or roller, depending on the size of the area.
- Apply two coats, allowing the first coat to dry completely before applying the second coat.
2. Sealing the Surface (Optional)
If necessary, apply a sealant to protect the new plaster from future damage.
- Choose a suitable sealant for your wall type and environment.
- Follow the manufacturer’s instructions for application and drying times.
Frequently Asked Questions: Addressing Common Concerns
Q: What tools do I need for external wall restoration?
A: A variety of tools will be needed, including spatulas, trowels, paintbrushes, scalpel, and hammer. Be sure to wear protective gear, including a dust mask and protective eyewear.
Q: How long does it take to complete the restoration process?
A: The time required for completion varies depending on the extent of damage and the size of the area being restored. Allow at least 24 hours between coats of plaster and 48 hours between layers of paint.
Q: What are some common mistakes to avoid during external wall restoration?
A: Common errors include using excessive water, failing to clean the substrate properly, and not allowing the new material enough time to dry. Additionally, do not apply too much pressure or force when removing damaged areas, as this can cause further damage.
Q: Can I restore an external wall on my own?
A: While it is possible to complete the process alone, it may be beneficial to consult a professional if you are unsure about any aspect of the restoration. A professional can provide guidance and ensure that the work is done safely and effectively.
Conclusion
Restoring an external wall requires careful planning and execution. By following this comprehensive guide, you can successfully restore your exterior walls, improving their appearance and ensuring their long-term durability.


