
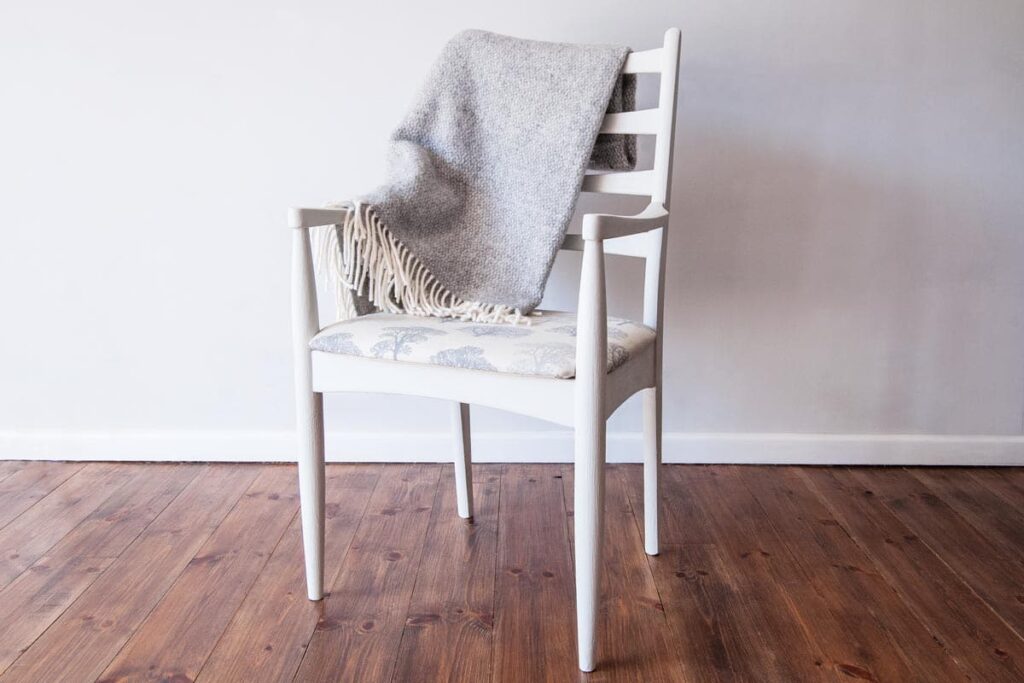
Are you sitting on a broken chair in your garage or attic, wondering how to fix it? Restoring a chair from scratch is not as complicated as you think. With the right materials and tools, you can give new life to an old, worn-out piece of furniture.
The Necessary Materials
Before we dive into the process, let’s take a look at what you’ll need:
- Fine-grit glass paper
- Medium-sized paintbrush
- Thick layer of gommapiuma or cotton fabric (at least 5 cm thick)
- Glue
- Wood finish (stucco)
- Spatula
- Water-based paint with the desired sheen or opacity
- Protective varnish
- Nails
- Pliers
- Fabric tape
- Stencils
Having the right materials will ensure that your restoration project goes smoothly and successfully. Now, let’s move on to the next step: understanding the restoration process.
The Restoration Process
Restoring a chair is a multi-step process that requires patience and attention to detail. Here’s what you need to do:
-
Clean the Chair Thoroughly
Remove any dirt or debris from the chair using a soft cloth and some gentle soap. This will help prevent any scratches or damage during the restoration process. -
Remove the Old Upholstery
Use a screwdriver to remove the old upholstery, taking care not to damage the underlying structure of the chair. Be patient and work carefully, as this step can be time-consuming. -
Reveal the Internal Structure
Carefully lift up the top layer of upholstery, removing any stitches or fabric glue that may be holding it in place. This will give you a clear view of the internal structure and help you identify any damage or wear. -
Remove Any Remaining Filler
Use a pin to gently pry out any remaining filler material from the chair’s internal structure. Be careful not to scratch the surface, as this can create new problems. -
Check and Repair the Frame
Make sure all the frame parts are securely attached and that there are no gaps or cracks. If necessary, use some wood glue to repair any damaged areas. This step is crucial in ensuring that your chair is stable and secure after restoration. -
Apply Antimarine Coating
Use a medium-sized paintbrush to apply an antimarine coating evenly across the entire chair structure. This will help protect the wood from future damage and ensure that it remains durable. -
Allow It to Dry
Wait at least 8 hours for the coating to dry completely before proceeding to the next step. Be patient, as this process can take some time. -
Apply Glass Paper
Take your fine-grit glass paper and gently rub it over the entire chair surface, removing any imperfections or scratches. This will help smooth out the wood and create a uniform finish. -
Apply Protective Varnish
Using a medium-sized paintbrush, apply a protective varnish layer evenly across the chair surface. This will help protect the wood from future damage and keep it looking its best. -
Apply Second Coat of Glass Paper
Pass a second layer of fine-grit glass paper over the chair surface to further refine any imperfections. Be gentle, as this can be a delicate process. -
Apply Paint or Smaltto
Using a medium-sized paintbrush, apply one coat of water-based paint or smaltto (choose your desired finish) evenly across the entire chair surface. This will add color and protection to your restored chair. -
Allow It to Dry
Wait at least 6 hours before applying a second layer of glass paper. If necessary, pass another layer for extra smoothness. Don’t rush this process; it’s essential for achieving a professional finish. -
Apply Smaltto (optional)
For an additional glossy finish, apply a thin coat of smaltto evenly across the chair surface. This will add depth and sheen to your restored chair. -
Recover with Fabric or Leather
Cover the entire seat area with a sturdy fabric tape and secure it with nails. Then, take your gommapiuma or cotton fabric and carefully attach it to the chair using nail tacks and some glue. Be patient, as this can be a time-consuming process. -
Add Decorative Touches (optional)
If desired, add decorative touches such as stitching, buttons, or other embellishments to complete your restoration project. This is an excellent opportunity to personalize your chair with unique details that reflect your style and preferences.
By following these steps, you’ll have a beautifully restored chair that will be the centerpiece of any room in your home.
Frequently Asked Questions
Here are some common questions people ask when restoring chairs:
-
Q: How long does it take to restore a chair?
A: Restoring a chair can take anywhere from a few days to several weeks, depending on the complexity of the project and the materials used. -
Q: What kind of paint should I use for my chair restoration?
A: Choose water-based paints with the desired sheen or opacity based on your preferences. This will ensure that your chair looks professional and polished. -
Q: Can I use fabric from any source for my chair upholstery?
A: No, it’s best to choose sturdy and durable fabrics specifically designed for upholstery projects. These materials are engineered to withstand wear and tear, ensuring that your chair remains comfortable and functional. -
Q: How do I ensure that my restored chair is stable and secure?
A: Check all joints and frame parts are securely attached before allowing your chair to be used. This will prevent any accidents or injuries, ensuring that your chair serves its purpose safely and effectively. -
Q: What kind of varnish should I use on my chair restoration?
A: Choose a protective varnish specifically designed for wood surfaces, ensuring it provides adequate protection against the elements. This will help maintain the durability and appearance of your restored chair over time. -
Q: Can I restore any type of chair or furniture?
A: Not all chairs are suitable for restoration. Consider factors like age, condition, and materials used to decide whether your project is feasible. Some pieces may require specialized knowledge, tools, or expertise, making them unsuitable for restoration. -
Q: What if I encounter difficulties during the restoration process?
A: Don’t hesitate to seek advice from professionals or online communities for guidance on how to overcome common challenges. With patience and persistence, you’ll be able to complete your restoration project successfully. -
Q: How do I clean my newly restored chair?
A: Regularly dust and vacuum your chair, but avoid using harsh chemicals that could damage the finish or fabric upholstery. For tough stains or spills, use gentle cleaning solutions specifically designed for furniture restorations. -
Q: Can I restore a vintage or antique chair?
A: Yes, you can! Take extra care to preserve the original patina and materials whenever possible while still bringing the piece back to its former glory. This will help maintain the unique character and charm of your restored chair. -
Q: Are there any safety precautions when working on a restoration project?
A: Always wear protective gloves, eyewear, and follow proper ventilation guidelines when using chemicals or power tools. By taking these precautions, you’ll minimize the risks associated with restoration projects and ensure that your workspace remains safe and healthy.


