
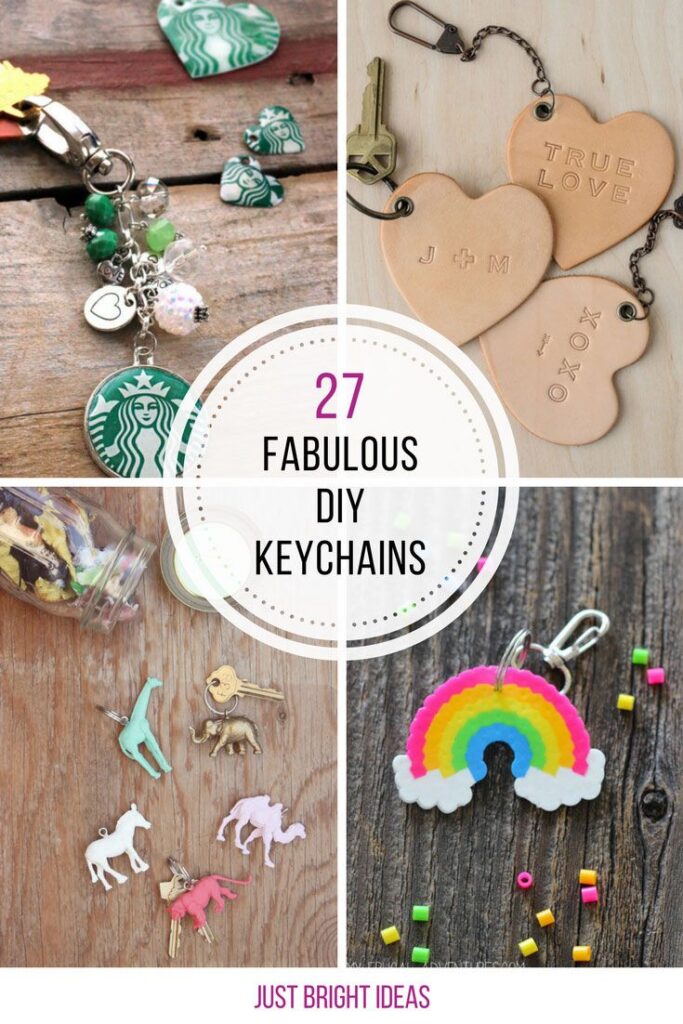
If you’re anything like me, you’ve probably lost your keys more times than you can count. But have you ever stopped to think about the humble key holder? It’s a simple thing, but it’s often overlooked until we need it most. That’s why today, we’re going to explore the world of DIY key holders – and show you how to make one that’s as functional as it is stylish.
The Benefits of DIY Key Holders
Before we dive in, let’s talk about why making your own key holder is a great idea. For one thing, it’s an eco-friendly way to reuse old materials. By turning plastic bottle caps and other scraps into something useful, you’re reducing waste and giving new life to things that might otherwise end up in a landfill.
Plus, there’s something satisfying about creating something with your own two hands. It’s like a little piece of magic – where a pile of random parts becomes a functional key holder that you can use every day.
Getting Started: Materials You’ll Need
So, what do you need to get started? The good news is that most materials are easy to find, and can be sourced from around the house. Here’s a list of things you’ll need:
- Plastic bottle caps (the lids work best)
- Keyring rings
- Hammer and chisel (optional, but fun to use)
- Twine, yarn, or thread
- Buttons, beads, and other embellishments
- Glue
- Catcher and pliers
- Cardboard
Making Your First DIY Key Holder
Now that we have our materials, let’s get started. Here’s a step-by-step guide to making your first DIY key holder:
- Cut the bottle caps: Use scissors or a craft knife to cut two bottle caps exactly in half.
- Create the holes: Hold one of the bottle cap halves over a glowing nail (or use a hammer and chisel) to create a hole. Then, pass twine through the hole and work it back and forth until you’ve created a sturdy knot that won’t come undone.
- Repeat with the second cap: Repeat steps 1-2 with the second bottle cap half.
- Assemble the key holder: Use glue to attach the two bottle caps together, making sure they’re secure and even.
Adding Some Style
Once you have your basic key holder, it’s time to add some style. Here are a few ideas:
- Decorate with buttons and beads: Add some colorful buttons or beads to give your key holder some personality.
- Use cardboard for extra support: If you’re using a large bottle cap, consider adding some extra support with a small piece of cardboard.
- Try a different material: Experiment with different materials, like wire mesh or metal mesh, to create a unique look.
From Film Rolls to Fabric
But what about making your key holder from more unusual materials? The “Italida Photography” team showed us that an old film roll can make for a stylish and original key holder. Here’s how:
- Gather your materials: You’ll need a used film roll, a keyring ring, some cardboard, and a little creativity.
- Attach the keyring ring: Attach the keyring ring to the end of the film roll, using glue or tape.
- Add some embellishments: Use beads, buttons, or other decorations to add some personality to your key holder.
Conclusion
Making your own DIY key holder is a fun and creative project that can be customized to fit your style. With a little bit of patience and some basic materials, you can create something truly unique and useful. So next time you lose your keys, don’t panic – just grab your craft box and get creative!
Frequently Asked Questions
Q: What kind of materials should I use for my DIY key holder?
A: You can use a variety of materials, such as plastic bottle caps, cardboard, wire mesh, or even fabric.
Q: How do I attach the twine to the bottle cap?
A: Use a knot that won’t be noticeable because it’s under the concavity of the cap.
Q: Can I make my key holder out of anything I like?
A: Yes! The possibilities are endless – just use your imagination and get creative!
Q: How do I prevent the twine from coming undone?
A: Use a knot that’s secure and even, and avoid using materials that might be prone to fraying.
Q: Can I make my key holder out of recycled metal?
A: Yes! Metal mesh or wire mesh can make for a unique and durable key holder.
Q: How do I add embellishments to my key holder?
A: Use beads, buttons, or other decorations to give your key holder some personality.
Q: Can I use glue to attach the bottle caps together?
A: Yes, but make sure to choose a strong adhesive that won’t come undone over time.
Q: Are there any safety precautions I should take when making my DIY key holder?
A: Be careful when using scissors or craft knives, and avoid direct contact with your fingers when working with hot materials.


