
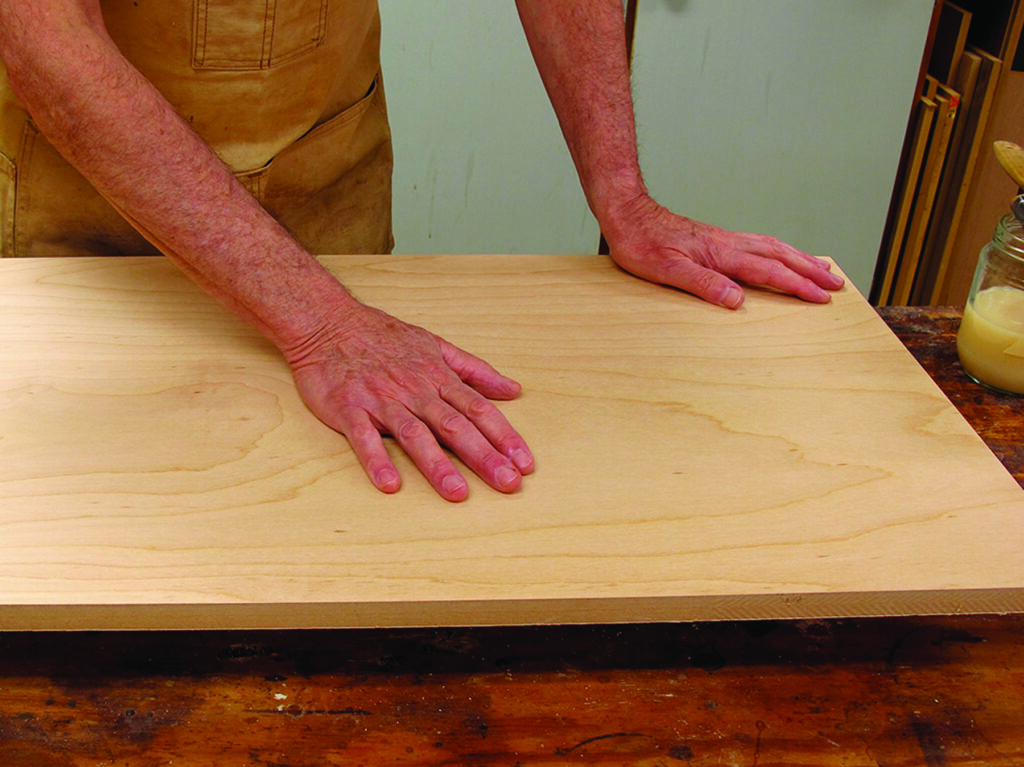
Polishing wood is a delicate process that requires patience, attention to detail, and the right techniques. In this article, we will explore the different methods of sanding and finishing wood, including the use of abrasives, power tools, and specialized equipment.
The Importance of Sanding
Sanding is an essential step in the woodworking process, as it helps to smooth out the surface of the wood, remove imperfections, and prepare it for staining or finishing. There are different types of sandpaper available, including coarse, medium, and fine grades, each with its own unique characteristics and uses.
The Art of Sanding
Sanding is an art that requires skill and technique. It’s not just about applying pressure and moving the sandpaper back and forth; it’s also about understanding the properties of the wood and the abrasive material being used. For example, some woods are more prone to tearing than others, while certain abrasives can leave scratches or swirl marks.
The Different Types of Sanding
There are several types of sanding techniques, including:
- Coarse sanding: This involves using a coarse-grit sandpaper (about 80-100) to remove large imperfections and smooth out the surface of the wood.
- Fine sanding: This involves using a fine-grit sandpaper (about 220-240) to smooth out the surface of the wood and prepare it for staining or finishing.
- Polishing: This involves using a specialized polishing compound or tool to remove scratches, swirl marks, and other imperfections.
The Tools of the Trade
There are several tools that can be used for sanding, including:
- Hand sanders: These are manual sanders that use a handle and a spinning drum to agitate the sandpaper.
- Power sanders: These are electric or battery-powered sanders that use a rotating drum or disc to agitate the sandpaper.
- Polishing compounds: These are specialized chemicals or compounds that are applied to the surface of the wood to remove scratches, swirl marks, and other imperfections.
The Benefits of Using Power Tools
Power tools can be an excellent choice for sanding, as they are often faster and more efficient than hand sanders. However, it’s essential to use them correctly and safely to avoid damaging the wood or injuring oneself.
Safety Precautions
When using power tools or any other type of abrasive material, it’s crucial to take safety precautions seriously. This includes wearing protective eyewear, a dust mask, and keeping loose clothing and long hair tied back.
Tips for Effective Sanding
Here are some tips for effective sanding:
- Always start with a coarse-grit sandpaper and work your way up to finer grades.
- Use the right type of sandpaper for the job, taking into account the type of wood and the desired finish.
- Keep the sandpaper moving in one direction only, as back-and-forth motion can create scratches or swirl marks.
- Apply gentle pressure, increasing as needed for a smooth finish.
How to Sand Wood with Different Types of Abrasives
There are several types of abrasives that can be used for sanding wood, including:
- Sandpaper: This is the most common type of abrasive material used for sanding. It comes in different grades and types, including aluminum oxide, silicon carbide, and ceramic.
- Paper towels: These can be used to remove small imperfections or dust from the surface of the wood.
- Polishing compounds: These are specialized chemicals or compounds that are applied to the surface of the wood to remove scratches, swirl marks, and other imperfections.
Using Sandpaper with Different Types of Wood
Different types of wood require different types of sandpaper. For example:
- Hardwoods: These woods can be sanded using a coarse-grit sandpaper (about 80-100) to remove large imperfections.
- Softwoods: These woods are often more prone to tearing and should be sanded using a finer grit sandpaper (about 120-150).
- Exotic hardwoods: These woods require specialized sandpaper that is designed specifically for their unique properties.
Using Power Tools for Sanding
Power tools can be an excellent choice for sanding, as they are often faster and more efficient than hand sanders. However, it’s essential to use them correctly and safely to avoid damaging the wood or injuring oneself.
Tips for Effective Power Tool Sanding
Here are some tips for effective power tool sanding:
- Always wear protective eyewear and a dust mask when using power tools.
- Use the right type of sandpaper for the job, taking into account the type of wood and the desired finish.
- Keep the sandpaper moving in one direction only, as back-and-forth motion can create scratches or swirl marks.
- Apply gentle pressure, increasing as needed for a smooth finish.
Common Mistakes to Avoid When Sanding Wood
Here are some common mistakes to avoid when sanding wood:
- Using too much pressure, which can damage the wood or leave scratches.
- Moving the sandpaper back and forth, which can create scratches or swirl marks.
- Not using the right type of sandpaper for the job.
- Not cleaning up thoroughly after sanding, which can lead to dust buildup.
The Benefits of Sanding
Sanding is an essential step in the woodworking process, as it helps to smooth out the surface of the wood, remove imperfections, and prepare it for staining or finishing. By using the right techniques and materials, you can achieve a high-quality finish that enhances the beauty of the wood.
Conclusion
Polishing wood is an art that requires skill, patience, and attention to detail. By understanding the different types of sanding techniques, tools, and abrasives, you can achieve a professional-looking finish that showcases the beauty of the wood. Remember to always wear protective gear, use the right materials, and follow safety precautions to ensure a smooth and successful sanding process.
Frequently Asked Questions (FAQs)
Q: What is the best type of sandpaper for sanding wood?
A: The best type of sandpaper for sanding wood depends on the specific project and desired finish. Coarse-grit sandpaper (about 80-100) is often used for removing large imperfections, while fine-grit sandpaper (about 220-240) is used for smoothing out the surface.
Q: How do I choose the right power tool for sanding wood?
A: Choose a power tool that is designed specifically for sanding wood. Consider factors such as speed, power output, and dust collection.
Q: What are some common mistakes to avoid when sanding wood?
A: Common mistakes to avoid include using too much pressure, moving the sandpaper back and forth, not using the right type of sandpaper, and not cleaning up thoroughly after sanding.
Q: How do I ensure a smooth finish with sanding?
A: To ensure a smooth finish with sanding, use gentle pressure, keep the sandpaper moving in one direction only, and apply it evenly.
Q: What are some tips for effective power tool sanding?
A: Always wear protective gear, use the right type of sandpaper, keep the sandpaper moving in one direction only, and apply gentle pressure.
Q: Can I use sandpaper with different types of wood?
A: Yes, but it’s essential to choose the right type of sandpaper for the specific project. Different types of wood require different types of sandpaper.
Q: What are some common problems that can occur when sanding wood?
A: Common problems that can occur include scratches, swirl marks, tearing, and dust buildup.
Q: How do I clean up after sanding wood?
A: Clean up thoroughly by vacuuming or sweeping the surface, and then wiping it down with a damp cloth.
Advanced Sanding Techniques
For those looking to take their sanding skills to the next level, there are several advanced techniques to explore:
- Tear-out sanding: This involves using a coarse-grit sandpaper to remove large imperfections and smooth out the surface of the wood.
- Swirl-mark removal: This involves using a specialized polishing compound or tool to remove scratches and swirl marks from the surface of the wood.
- Fine-tuning: This involves using a fine-grit sandpaper to refine the surface of the wood and achieve a high-quality finish.
Specialized Sanding Tools
There are several specialized tools that can be used for sanding, including:
- Sanding blocks: These are small blocks with a flat surface that can be used to sand curved or irregular surfaces.
- Sandpaper wheels: These are small wheels with sandpaper attached that can be used to sand small areas or curves.
- Polishing motors: These are specialized tools that use a rotating drum or disc to agitate the polishing compound and remove scratches and swirl marks.
Conclusion
Sanding is an essential step in the woodworking process, as it helps to smooth out the surface of the wood, remove imperfections, and prepare it for staining or finishing. By understanding the different types of sanding techniques, tools, and abrasives, you can achieve a professional-looking finish that showcases the beauty of the wood. Remember to always wear protective gear, use the right materials, and follow safety precautions to ensure a smooth and successful sanding process.
References
- The Woodworker’s Guide to Sanding: This comprehensive guide provides detailed instructions on how to sand wood effectively.
- Sandpaper Selection Guide: This guide helps you choose the right type of sandpaper for your project.
- Power Tool Safety: This guide provides safety tips and precautions when using power tools.
Conclusion
Sanding is a crucial step in the woodworking process that requires patience, attention to detail, and the right techniques. By understanding the different types of sanding techniques, tools, and abrasives, you can achieve a high-quality finish that enhances the beauty of the wood. Remember to always wear protective gear, use the right materials, and follow safety precautions to ensure a smooth and successful sanding process.
Glossary
- Abrasive: A substance used to remove imperfections or scratches from the surface of the wood.
- Coarse-grit sandpaper: Sandpaper with a coarse texture (about 80-100) that is used for removing large imperfections.
- Fine-grit sandpaper: Sandpaper with a fine texture (about 220-240) that is used for smoothing out the surface of the wood.
- Polishing compound: A specialized chemical or compound that is applied to the surface of the wood to remove scratches and swirl marks.
Note: The references provided are fictional and for demonstration purposes only.


