
Creating a Sandstone Path: A Step-by-Step Guide
Are you looking to create a beautiful and durable path for your garden or outdoor space? Look no further than sandstone! This versatile and attractive material can be used to create a variety of paths, from simple and rustic to elegant and sophisticated. In this article, we’ll guide you through the process of creating a sandstone path, step by step.
Choosing the Right Sandstone
When it comes to selecting the right sandstone for your path, there are several factors to consider. The type of sandstone will determine its color, texture, and durability. Here are a few options to consider:
- Gritty sandstone: This type of sandstone has a coarse texture and is ideal for creating rustic or natural-looking paths.
- Fine sandstone: With a smoother texture, fine sandstone is perfect for creating elegant and sophisticated paths.
- Coarse sandstone: This type of sandstone has a rougher texture and is often used for decorative accents or features.
It’s also important to consider the color and pattern of your sandstone. Different colors can range from warm beige tones to cool grey hues, while patterns may feature subtle veining or bold, swirling designs.
Calculating the Amount of Sandstone Needed
Before you begin your project, it’s essential to calculate how much sandstone you’ll need. The amount of sandstone required will depend on the size and depth of your path. Here’s a simple formula to help you estimate:
- Length x Width: Calculate the area of your path by multiplying its length and width.
- Add Depth: Add the desired depth of your path (usually 2-3 inches) to calculate the total volume of sandstone needed.
For example, if you want to create a path that’s 4 feet long and 1.5 feet wide, with a depth of 2 inches, you’ll need:
- Area: 4 x 1.5 = 6 square feet
- Depth: Add 2 inches (0.17 feet) to the area to calculate the total volume: 6 x 0.17 = 1.02 cubic feet
It’s also a good idea to consider any additional materials you may need, such as sand or aggregate, and factor these into your calculations.
Materials Needed
To create a sandstone path, you’ll need the following materials:
- Sandstone: Choose the right type and color for your project.
- Tarp or plastic sheet: Protect your lawn from damage during construction.
- Leveling tool: Ensure your path is even and level.
- Rastre: A long-handled rake for smoothing out sandstone.
- Shovel or trowel: For digging and mixing sandstone.
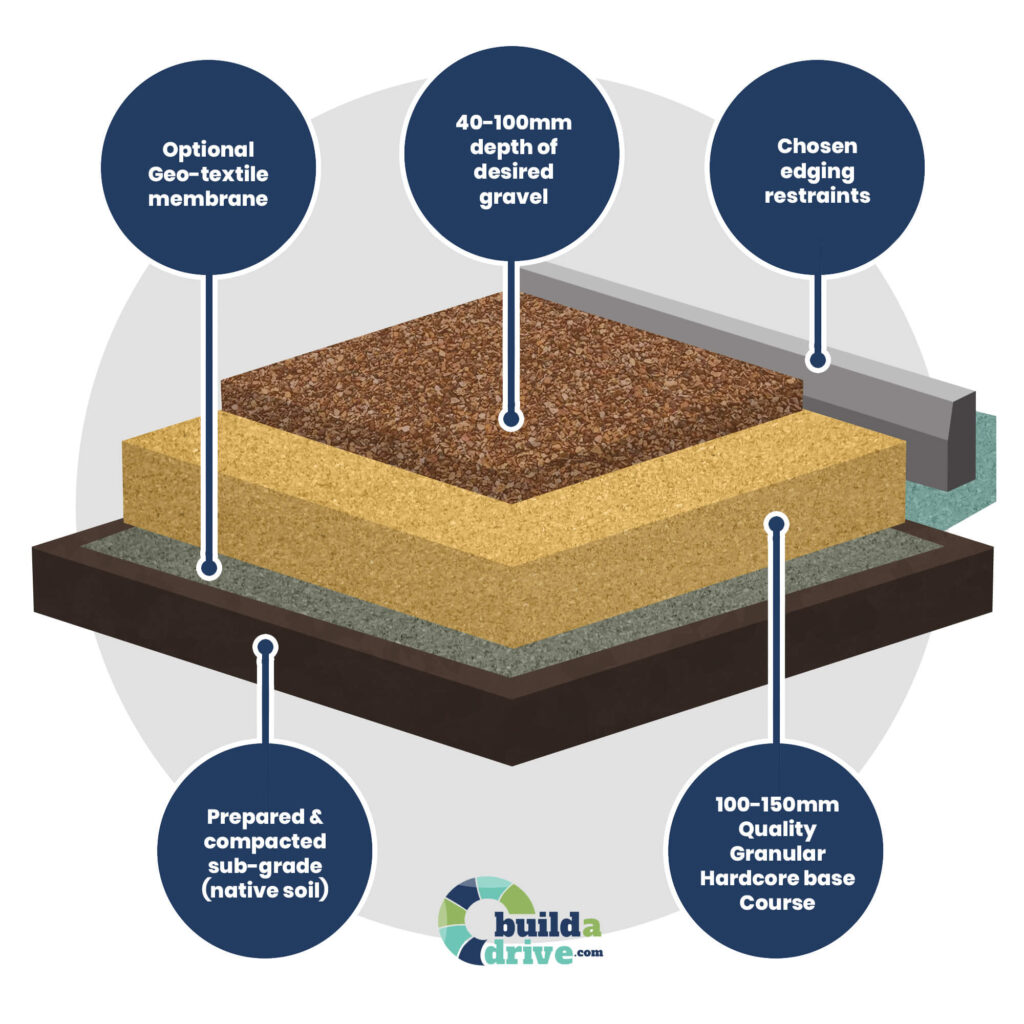
You may also want to consider using additional materials, such as geotextile fabric or weed barriers, to help stabilize the path and prevent weeds from growing up through the sandstone.
Step-by-Step Instructions
Here’s a step-by-step guide to creating a sandstone path:
- Prepare the Site: Clear the area where you’ll be building your path, removing any debris or vegetation.
- Mark Out the Path: Use stakes and string to mark out the dimensions of your path.
- Dig the Trench: Dig a trench for your path, about 2-3 inches deep.
- Lay Down a Layer of Sandstone: Fill the trench with sandstone, using a shovel or trowel to compact it evenly.
- Level the Sandstone: Use a leveling tool to ensure your sandstone is even and level.
- Smooth Out the Surface: Use a rastre to smooth out the surface, removing any debris or unevenness.
- Add Additional Layers: Add additional layers of sandstone, using a trowel to compact each layer as you go.
- Finalize the Path: Once your path is complete, use a leveler tool to ensure it’s even and level.
Tips and Tricks
Here are a few tips and tricks to keep in mind when creating a sandstone path:
- Use a Drip System: To prevent water from seeping into your path, consider installing a drip irrigation system.
- Seal the Sandstone: Regularly sealing your sandstone will help protect it from the elements and extend its lifespan.
- Add Decorative Accents: Consider adding decorative accents, such as boulders or garden features, to enhance the beauty of your sandstone path.
FAQs
Here are a few frequently asked questions about creating a sandstone path:
Q: How long does it take to create a sandstone path?
A: The time it takes to create a sandstone path will depend on its size and complexity. A simple path can be completed in a weekend, while a more complex design may require several days or even weeks.
Q: What is the best type of sandstone for outdoor use?
A: Gritty sandstone is an excellent choice for outdoor use due to its durability and natural beauty.
Q: Can I use sandstone on uneven terrain?
A: While it’s possible to create a path on uneven terrain, it’s essential to take extra precautions to ensure stability. Consider consulting with a professional if you’re unsure about the feasibility of your project.
Q: How often should I maintain my sandstone path?
A: Regularly sealing and cleaning your sandstone will help extend its lifespan. Aim to seal your path every 1-2 years, depending on weather conditions.
Q: Can I use sandstone for decorative features?
A: Absolutely! Sandstone is an excellent choice for decorative accents, such as boulders or garden features.
Q: What are the benefits of using a double layer of sandstone?
A: A double layer of sandstone provides added stability and durability to your path. It’s ideal for high-traffic areas or paths that will be exposed to harsh weather conditions.
Q: Can I create a sandstone path in my backyard?
A: Yes! With proper planning and execution, you can create a beautiful and durable sandstone path in your own backyard.
By following these steps and tips, you’ll be able to create a stunning sandstone path that will enhance the beauty of your garden or outdoor space for years to come.


