
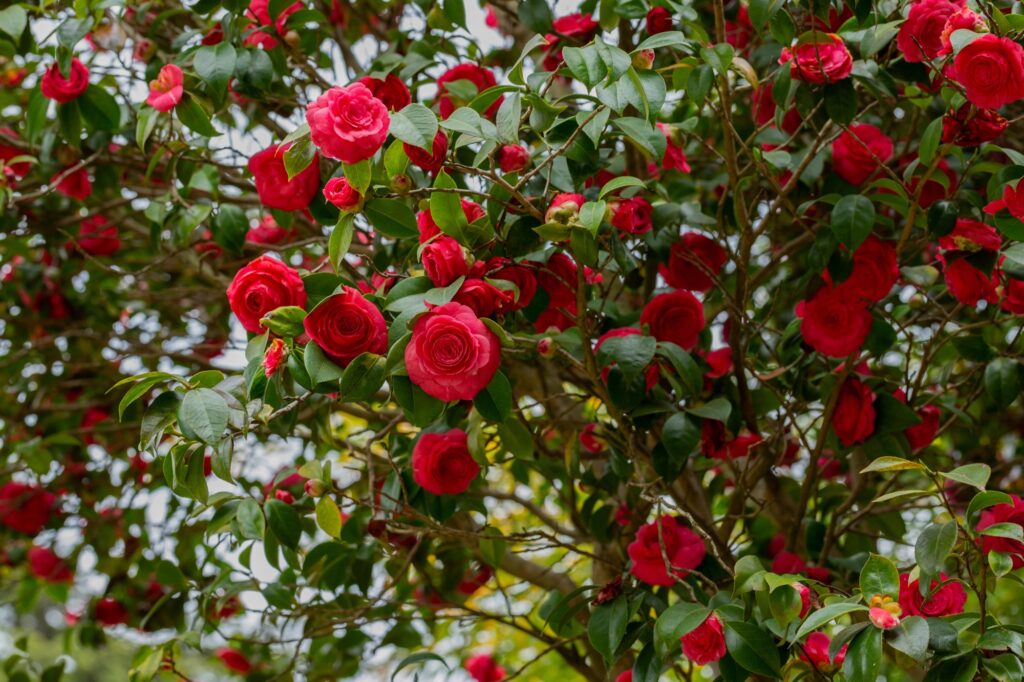
As the summer months arrive, it’s an ideal time to start cultivating camellias. But did you know that there are also camellias with winter-flowering varieties? In this article, we’ll explore both options and provide a step-by-step guide on how to grow camellias from seed or purchase a mature plant.
Choosing the Right Camellia
There are two main types of camellias: those that bloom in spring and those that flower in winter. Spring-blooming camellias are the most common type, but they require protection from frost during the winter months. Winter-flowering camellias, on the other hand, can tolerate frost and require less maintenance.
Growing Camellias from Seed
Growing camellias from seed is a rewarding experience that requires patience. It can take 4-5 years for the plant to bloom after sowing the seeds. Here’s a step-by-step guide on how to grow camellias from seed:
Step 1: Collecting Seeds
In July and August, collect the fruit of camellia plants by cutting them open and removing the seeds. The fruit is a capsule with a brown, leathery exterior and a soft interior.
Step 2: Cleaning and Soaking the Seeds
Remove the seeds from the fruit and wash them gently under running water to remove any debris. Soak the seeds in water for 24 hours to help soften the outer coating.
Step 3: Preparing the Soil
Mix 1 part of sand with 3 parts of peat moss or coconut coir. This will create a well-draining seed starting mix. Fill a container (such as a small pot or tray) with this mix, leaving about 10 cm of space at the top.
Step 4: Sowing the Seeds
Sow the seeds about 1-2 cm deep in the soil mix. Cover the seeds with a thin layer of peat moss or coconut coir. Water the soil gently but thoroughly.
Step 5: Providing Humidity and Light
Keep the soil consistently moist, but not waterlogged. Place the container in a humid environment, such as a greenhouse or a cold frame. Provide filtered light, as direct sunlight can be too intense for young seedlings.
Step 6: Transplanting
After 4-5 years, transplant the camellia plant into a larger pot or directly into the ground. Be patient, as the plant may still be sensitive to frost.
Growing Camellias from a Maturity Plant
If you’re purchasing a mature camellia plant from a nursery, it’s essential to follow some specific guidelines:
Step 1: Choosing the Right Time
Avoid transplanting camellia plants in the hottest part of the summer (June-September), as this can cause stress to the plant.
Step 2: Selecting the Right Potting Mix
Use a well-draining potting mix specifically designed for container-grown camellias. Avoid using garden soil, as it can compact and prevent proper drainage.
Step 3: Trimming Back the Plant
Trim back the plant by about one-third of its height to help control its shape and promote new growth.
Step 4: Pruning and Fertilizing
Prune the plant regularly to maintain its shape and encourage blooming. Feed the plant with a balanced fertilizer during the growing season (spring-fall).
Tips for Successful Camellia Cultivation
- Provide protection from frost during the winter months, especially if you’re growing spring-blooming camellias.
- Water the plant regularly, but avoid overwatering, which can lead to root rot.
- Fertilize the plant during the growing season with a balanced fertilizer.
Frequently Asked Questions
Q: How long does it take for a camellia plant to bloom after sowing the seeds?
A: It can take 4-5 years for a camellia plant to bloom after sowing the seeds.
Q: What is the best way to protect a camellia plant from frost?
A: Use a layer of mulch or straw around the base of the plant, and cover it with a frost blanket or sheeting during extreme cold snaps.
Q: Can I grow camellias in containers?
A: Yes, but make sure to use a well-draining potting mix specifically designed for container-grown camellias.
Q: How often should I fertilize my camellia plant?
A: Fertilize your camellia plant during the growing season (spring-fall) with a balanced fertilizer.
Q: Can I propagate camellias through cuttings or division?
A: Yes, but it’s more challenging than propagating from seed. Cuttings and divisions should be done in the spring when the plant is actively growing.
Q: What is the best way to care for a newly planted camellia?
A: Keep the soil consistently moist, but not waterlogged. Provide filtered light, and avoid overfertilizing during the first year after planting.
Common Camellia Varieties
There are many beautiful camellia varieties available, each with its unique characteristics and growth habits. Here are a few popular varieties:
- Camellia sasanqua: A popular variety for its evergreen foliage and vibrant flowers in shades of pink, white, and red.
- Camellia japonica: A classic variety known for its large, showy flowers and glossy leaves.
- Camellia x ‘Dwarf Early’, ‘Pink Champagne’: A compact variety with early-blooming flowers that are perfect for container gardens.
Camellia Care Tips
Here are some additional care tips to keep in mind when growing camellias:
- Watering: Water your camellia plant regularly, but avoid overwatering. Camellias prefer moist soil, but can be sensitive to root rot.
- Pruning: Prune your camellia plant regularly to maintain its shape and encourage blooming. Remove any dead or damaged branches, and trim back the plant by about one-third of its height each year.
- Fertilizing: Feed your camellia plant with a balanced fertilizer during the growing season (spring-fall). Avoid overfertilizing, as this can lead to weak growth.
Camellia Maintenance
To keep your camellia plant healthy and thriving, follow these maintenance tips:
- Mulching: Mulch around the base of the plant to retain moisture and suppress weeds.
- Deadheading: Remove any dead or wilted flowers to encourage new blooms.
- Pest control: Keep an eye out for pests like aphids, whiteflies, and spider mites. Use organic pest control methods whenever possible.
Camellia Propagation
Camellias can be propagated through a variety of methods, including seed, division, and cuttings. Here are some tips on how to propagate camellias:
- Seed: Sow seeds in the fall or early spring for optimal results.
- Division: Divide the plant in the spring when it is actively growing.
- Cuttings: Take cuttings from the current season’s growth in the spring.
Conclusion
Growing camellias can be a rewarding experience, but it requires patience and proper care. By following these guidelines and tips, you’ll be well on your way to growing beautiful and thriving camellias in your garden or indoor space. Whether you choose to grow camellias from seed or purchase a mature plant, remember to provide the right conditions for optimal growth and blooming.
Additional Resources
For more information on camellia cultivation, check out these additional resources:
- The Camellia Society of America: A non-profit organization dedicated to promoting the growth and appreciation of camellias.
- Camellia Gardens: A website featuring beautiful photos and information on growing camellias.
- Local nurseries: Check with local nurseries in your area for advice on growing camellias.
By following these guidelines and tips, you’ll be able to grow healthy and thriving camellias that will bring beauty and joy to your garden or indoor space.


