
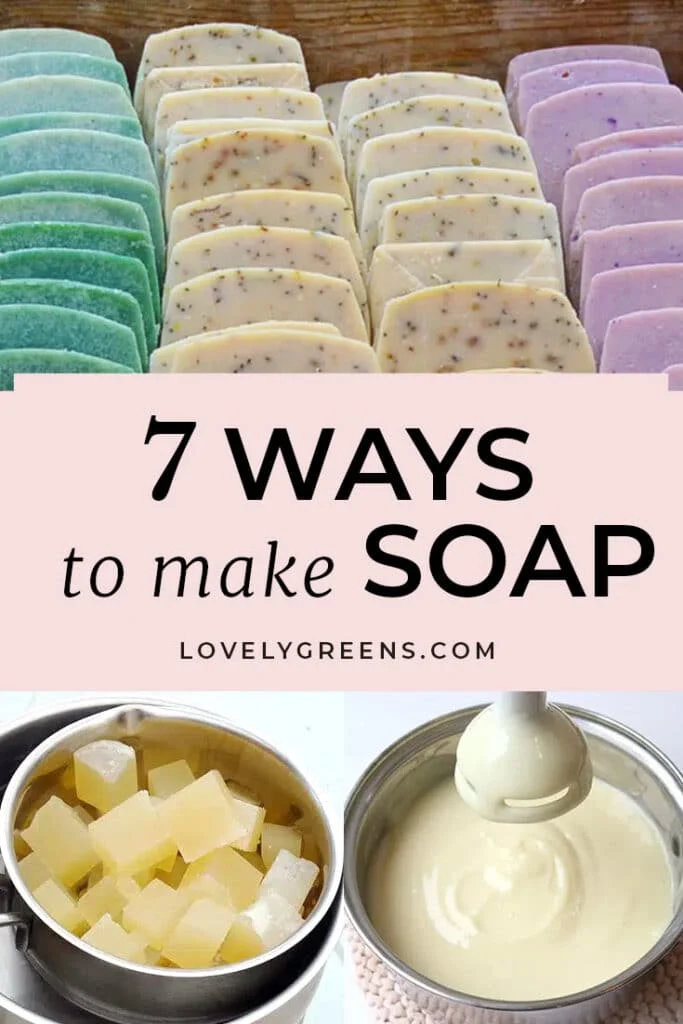
Introduction
Making soap at home can be a fun and rewarding hobby, allowing you to create personalized products using natural ingredients. With the right tools and materials, you can craft unique soap bars that cater to your skin type and preferences. In this article, we’ll explore three easy methods for making soap at home: with ash, pre-made kits, and moisturizing soaps.
Understanding Soap Making Basics
Before diving into the world of soap making, it’s essential to understand the basics. Soap is created through a process called saponification, where oils and fats are mixed with an alkali (such as lye or sodium hydroxide) to produce a soap base. This reaction can be tricky to navigate, but with caution and patience, you’ll be creating your own soap in no time.
Method 1: Making Soap with Ash
Making soap with ash is an ancient technique that dates back thousands of years. The process involves mixing water and ash with olive oil, starch, and essential oils to create a natural soap base. Here’s a step-by-step guide:
- Gather Ingredients: You’ll need:
- 5 liters of mineral water
- 1 kilogram of sifted ash
- 750 milliliters of olive oil
- 50 grams of rice flour
- 21 drops of essential oil
- Prepare the Lye: Combine the water and ash in a heat-resistant container and start preparing the lye. Heat the mixture for two hours over low heat, stirring occasionally.
- Create the Soap Base: In a new pot, melt the olive oil and bring it to about 30°C (with the help of a cooking thermometer). Leave about half a liter of lye to dry and add starch. Add the remaining lye mixture to the pot containing the melted oil and mix well.
- Add Fragrance: Add your preferred fragrance (21 drops of essential oil should be enough) and mix carefully.
- Mold the Soap: Pour the soap mixture into small molds and let it rest for at least two weeks before use.
Method 2: Using Pre-Made Kits
Pre-made kits are available in stores for making soap at home. These kits usually include a base, fragrances, colorants, and molds. Here’s how to get started:
- Choose a Kit: Select a kit that suits your preferences and budget.
- Prepare the Base: Dissolve the base in hot water according to the manufacturer’s instructions.
- Add Fragrance: Add fragrances and colorants as desired.
- Mold the Soap: Pour the soap mixture into molds and let it rest for the recommended time.
Method 3: Creating Moisturizing Soaps
Moisturizing soaps are perfect for dry or sensitive skin. To create these soaps, you’ll need glycerin, lye, or other natural ingredients. Here’s a step-by-step guide:
- Gather Ingredients: You’ll need:
- Vegetable glycerin
- Lye or natural soap base
- Essential oils
- Carrier oils (such as coconut oil or cocoa butter)
- Prepare the Base: Dissolve the glycerin in hot water according to the manufacturer’s instructions.
- Add Ingredients: Add essential oils, carrier oils, and other ingredients as desired.
- Mold the Soap: Pour the soap mixture into molds and let it rest for the recommended time.
Tips and Tricks
Making soap at home can be a trial-and-error process. Here are some tips to keep in mind:
- Always follow safety guidelines when working with lye or other caustic substances.
- Use protective gear, such as gloves and goggles, to prevent skin and eye irritation.
- Experiment with different ingredients and fragrances to find your favorite combinations.
- Be patient – making soap can take time, especially for beginners.
Safety Precautions
When working with lye or other caustic substances, it’s essential to follow safety guidelines to avoid injury. Here are some precautions to keep in mind:
- Wear protective gear, such as gloves and goggles, when handling lye.
- Work in a well-ventilated area to prevent inhalation of fumes.
- Avoid splashing lye or other caustic substances onto skin or surfaces.
- Follow instructions carefully when mixing lye with water or other ingredients.
Frequently Asked Questions
- Q: Is making soap at home safe?
A: Yes, when done correctly. Always follow safety guidelines and use protective gear to prevent skin and eye irritation. - Q: What are the benefits of using natural ingredients in soap making?
A: Natural ingredients can provide numerous benefits, including moisturizing properties, reduced allergens, and a more sustainable product. - Q: Can I customize my soap recipes?
A: Absolutely! Experiment with different fragrances, ingredients, and molds to create unique soap bars that cater to your preferences. - Q: How long does it take to make soap at home?
A: The time it takes to make soap can vary depending on the method and recipe. Generally, it can take anywhere from a few days to several weeks for the soap to cure. - Q: Can I sell my homemade soap?
A: Yes, but be sure to check local regulations and laws regarding the sale of handmade products in your area.
Conclusion
Making soap at home is a fun and rewarding hobby that allows you to create personalized products using natural ingredients. With the right tools and materials, you can craft unique soap bars that cater to your skin type and preferences. Remember to follow safety guidelines, experiment with different ingredients, and be patient – with time and practice, you’ll become a skilled soap maker.
Additional Resources
- Soap Making Books: Check out books on soap making for tips, tricks, and inspiration.
- Online Communities: Join online communities or forums to connect with other soap makers and learn from their experiences.
- Local Workshops: Attend local workshops or classes to learn about soap making and meet fellow enthusiasts.
By following these steps and tips, you’ll be well on your way to creating your own unique soap bars at home. Happy crafting!


