
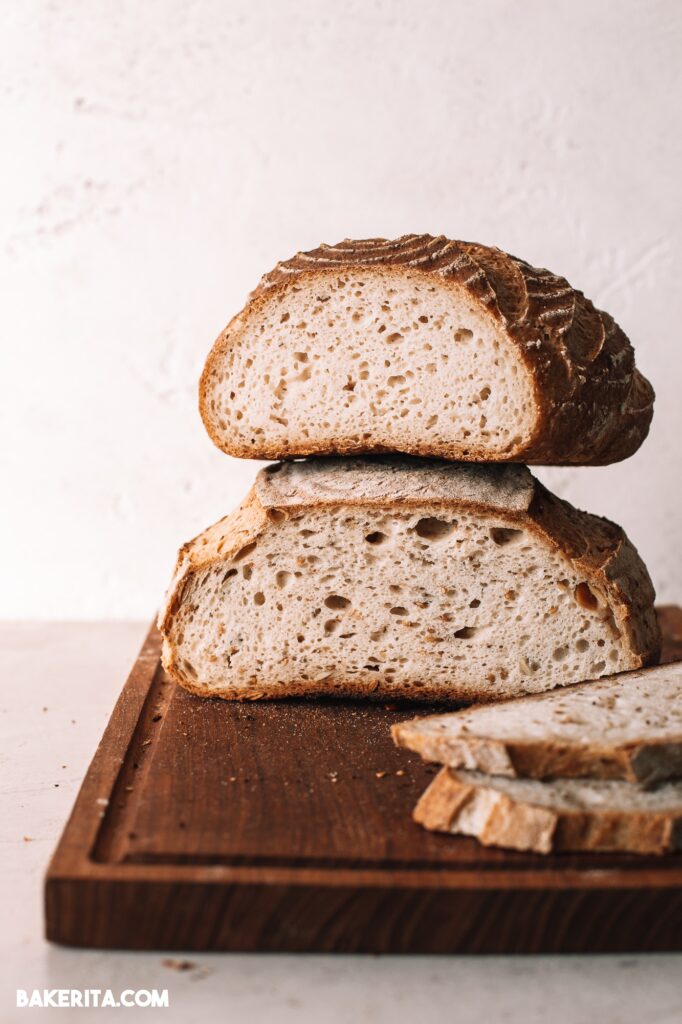
Are you interested in exploring the world of gluten-free baking? One crucial element to master is creating your own yeast without wheat. In this article, we’ll delve into the process of making a gluten-free yeast, also known as “lievito madre senza glutine,” and provide you with a comprehensive guide on how to get started.
Understanding Gluten-Free Flours
Before we dive into the recipe, let’s talk about gluten-free flours. Gluten is a protein found in wheat, barley, and rye that gives dough its elasticity and structure. However, for individuals with gluten intolerance or celiac disease, consuming gluten can be detrimental to their health.
To create a gluten-free yeast, you’ll need to choose from a variety of gluten-free flours, including:
- Rice flour
- Cornstarch
- Potato starch
- Tapioca flour
- Almond flour
These flours are naturally free from gluten and can be used to make a wide range of baked goods.
The Importance of Using the Right Flours
When selecting gluten-free flours for your yeast, it’s essential to choose the right ones. Some flours, such as rice flour, are too fine and may not provide enough structure for your dough. Other flours, like potato starch, can be too starchy and may affect the texture of your final product.
To ensure success, use a combination of gluten-free flours that complement each other in terms of texture and flavor. For example:
- A blend of rice flour and cornstarch provides structure and texture.
- Adding potato starch helps to create a more even crumb.
- Almond flour adds nutty flavor and a delicate texture.
Creating Your Gluten-Free Yeast
Now that you’ve chosen your gluten-free flours, it’s time to create your yeast. The process is similar to making a traditional yeast, but with some key differences:
- Ingredients:
- 50g of rice flour
- 50g of cornstarch
- 80ml of water
- 1 teaspoon of honey
- 1 tablespoon of olive oil
- Instructions:
- In a small bowl, mix together the rice flour and cornstarch.
- Add the warm water to the mixture, stirring until it forms a smooth dough.
- Add the honey and olive oil, mixing well.
- Knead the dough for 5-10 minutes until it becomes smooth and elastic.
- Place the dough in a clean glass container, cover it with a cloth or plastic wrap, and let it ferment at room temperature (around 75°F to 78°F) for 3 days.
Maintaining Your Gluten-Free Yeast
Once your yeast is active and bubbly, it’s essential to maintain it regularly. This involves “refreshing” the yeast every 2-3 days by feeding it a new batch of flour, water, and sugar. The refreshed yeast will be more potent and ready for use in your recipes.
Refreshing Your Gluten-Free Yeast
To refresh your gluten-free yeast:
- Ingredients:
- 50g of rice flour
- 50g of cornstarch
- 100g of fresh yeast (produced with the recipe above)
- 90ml of water
Instructions:
- Remove the top layer of the yeast, which has dried out and become brittle.
- Add the new batch of flour, water, and sugar to the yeast, mixing well.
- Cover the container and let it ferment at room temperature for 24 hours.
Using Your Gluten-Free Yeast in Recipes
Once your gluten-free yeast is active and refreshed, you can use it in a variety of recipes, such as bread, pizza, and pastries. Here are some tips to keep in mind:
- Use the yeast in place of traditional yeast or sourdough starter.
- Adjust the recipe according to the type of gluten-free flour used.
- Be patient and allow the dough to rise for the recommended amount of time.
Tips for Working with Gluten-Free Yeast
When working with gluten-free yeast, keep the following tips in mind:
- Use a gentle mixing technique to avoid developing the gluten-free flours too much.
- Keep the temperature consistent when fermenting the yeast, as extreme temperatures can affect its activity.
- Be patient and allow the yeast to rest and recover between uses.
Conclusion
Creating a gluten-free yeast without wheat requires patience, persistence, and a willingness to experiment. With this guide, you’ll be well on your way to making delicious, gluten-free baked goods that are perfect for individuals with dietary restrictions or preferences.
Frequently Asked Questions (FAQs)
- Q: What type of flour should I use to make my gluten-free yeast?
A: You can use a combination of rice flour, cornstarch, and potato starch. - Q: How often should I refresh my gluten-free yeast?
A: Refresh your yeast every 2-3 days by feeding it a new batch of flour, water, and sugar. - Q: Can I use store-bought gluten-free flours to make my yeast?
A: No, store-bought gluten-free flours may not have the same properties as fresh, homemade gluten-free flours. - Q: How long does it take for my gluten-free yeast to become active?
A: It can take 3-5 days for your yeast to become active and bubbly. - Q: Can I use my gluten-free yeast in place of traditional yeast or sourdough starter?
A: Yes, you can use your gluten-free yeast as a substitute in many recipes.
Additional Resources
If you’re interested in learning more about gluten-free baking or want to explore other topics related to yeast and bread-making, check out the following resources:
- Amazon: “Senza glutine: pane, torte e biscotti” – A comprehensive guide to gluten-free baking.
- The Kitchn: Gluten-Free Bread Recipes – A collection of delicious gluten-free bread recipes.
- YouTube: Gluten-Free Baking Channel – A channel dedicated to gluten-free baking and yeast-related topics.
Gluten-Free Yeast Recipe Variations
Want to experiment with different gluten-free yeast recipes? Here are a few variations you can try:
- Lemon and Herb Gluten-Free Yeast: Add 1 tablespoon of lemon zest, 1 teaspoon of dried herbs (such as rosemary or thyme), and 1 tablespoon of olive oil to the dough.
- Garlic and Rosemary Gluten-Free Yeast: Add 2 cloves of minced garlic, 1 teaspoon of dried rosemary, and 1 tablespoon of olive oil to the dough.
- Cheddar and Chive Gluten-Free Yeast: Add 1/4 cup of grated cheddar cheese, 1 tablespoon of chopped chives, and 1 tablespoon of olive oil to the dough.
Troubleshooting Common Issues
When working with gluten-free yeast, you may encounter some common issues. Here are a few tips for troubleshooting:
- Yeast not activating: Check that your yeast is fresh and active. If it’s not fermenting, try refreshing it or using a new batch.
- Dough too sticky: Add more flour to the dough and knead until it becomes smooth and elastic.
- Dough too dry: Add more water to the dough and knead until it becomes smooth and elastic.
We hope you enjoyed this article on creating gluten-free yeast without wheat. If you have any questions or comments, feel free to share them with us!


