
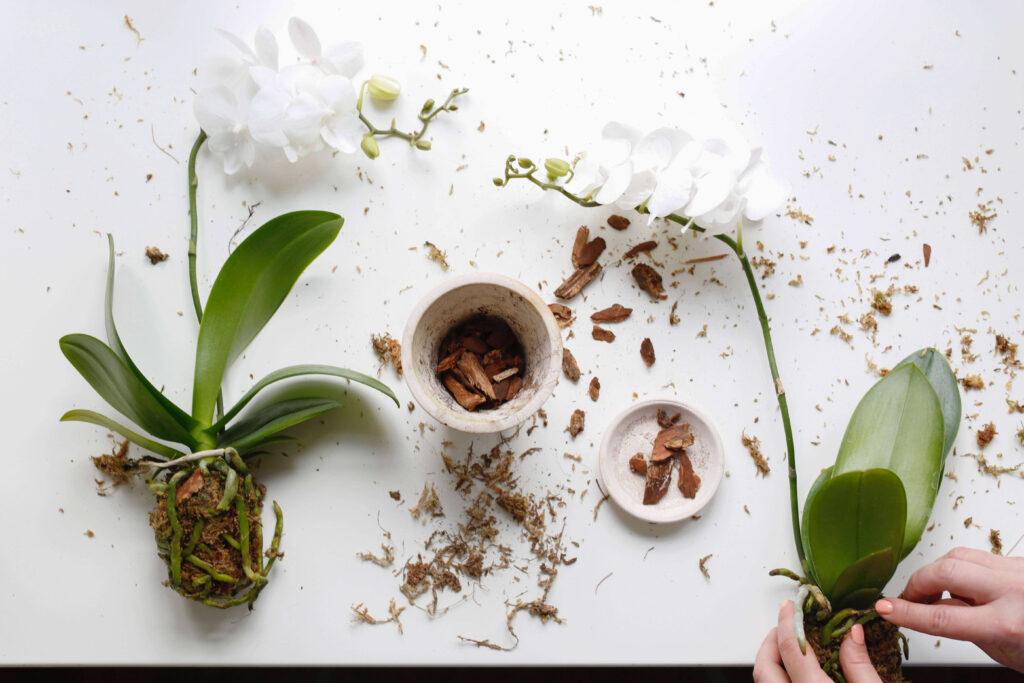
As any plant enthusiast knows, proper care and maintenance are essential for keeping your orchid happy and thriving. One of the most crucial aspects of caring for an orchid is repotting, which involves replacing the old potting mix with a fresh one and providing your plant with the necessary nutrients to grow.
In this article, we’ll take you through the step-by-step process of repotting an orchid, from preparing for the task to ensuring that your plant receives the best possible care.
When to Repot Your Orchid
Repoting is essential for maintaining the health and vitality of your orchid. Here are three scenarios in which repotting is necessary:
- Old Pot Needs Replacement: If your pot has become too small, it’s time to upgrade to a larger one.
- Roots Need Space: If the roots have outgrown their container and need more room to grow, repotting is necessary.
- Soil Quality Has Degraded: If the soil has become depleted of nutrients or has developed mold and mildew, it’s time for a fresh start.
Choosing the Right Substrate
When selecting a substrate for your orchid, you’ll want to choose one that provides good drainage while also retaining moisture. Orchids require an aerial root system, which means they need a substrate that will support this growth. A mixture of bark, sphagnum moss, and perlite is ideal.
Where to Buy the Right Substrate
You can purchase orchid substrates at most garden centers or online retailers. Some popular options include:
- Amazon: Offers a range of substrates specifically designed for orchids
- Seramis Substrate: A high-quality substrate made from pine bark, sphagnum moss, and perlite
Preparing for Repotting
Before you begin repotting your orchid, make sure to:
- Choose the Right Container: Select a pot that is slightly larger than the current one.
- Sterilize Your Tools: Use sterile scissors or pruning shears to prevent the spread of disease.
- Clean the Plant: Gently wash the plant with water to remove any debris.
The Repotting Process
Here’s a step-by-step guide to repotting your orchid:
- Remove the Old Potting Mix: Carefully dig out the old potting mix, making sure not to damage the roots.
- Clean the Roots: Wash the roots gently with water to remove any remaining potting mix.
- Trim Old Growth: Trim back any dead or damaged growth to promote healthy growth.
- Add New Potting Mix: Fill in the new potting mix, leaving enough space for the plant’s roots.
- Plant the Orchid: Gently place the orchid into its new pot, making sure the crown (where the leaves meet the stem) is above the surface of the potting mix.
Aftercare
After repotting your orchid, make sure to:
- Provide Adequate Light: Place the orchid in a spot with bright, indirect light.
- Water Carefully: Water sparingly until the plant has adjusted to its new environment.
- Fertilize: Feed your orchid with a balanced fertilizer during the growing season.
Common Questions
Here are some frequently asked questions about repotting an orchid:
- Q: How often should I repot my orchid?
A: Repotting is necessary every 2-3 years, or when the plant has outgrown its container. - Q: Can I use regular potting soil for my orchid?
A: No, regular potting soil can be too dense and may cause root rot. - Q: How do I know if my orchid needs repotting?
A: Look for signs of roots growing out of the drainage holes or the plant becoming pot-bound (where the roots have filled the entire pot). - Q: Can I repot my orchid in winter?
A: Yes, but make sure to wait until the plant has completed its dormant period before repotting. - Q: How long does it take for an orchid to adjust to a new pot?
A: It can take anywhere from 1-3 months for the orchid to adjust to its new environment.
By following these steps and tips, you’ll be well on your way to becoming an expert in repotting orchids. Happy growing!


