
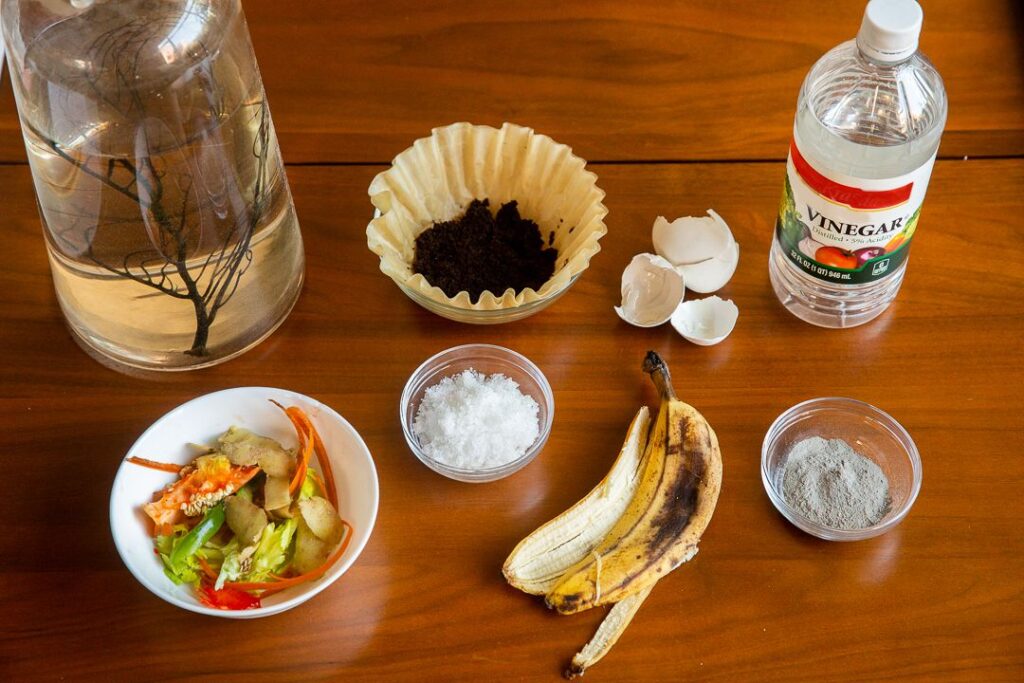
Are you tired of relying on chemical fertilizers to make your garden grow? You’re not alone. Many people are discovering the benefits of making their own compost at home, and it’s easier than you think. In this article, we’ll explore how to create a natural fertilizer using organic waste, and why it’s an essential step towards reducing our environmental impact.
The Benefits of Composting
Composting is a process that involves breaking down organic matter into a nutrient-rich soil amendment that can be used to fertilize your garden. This process not only reduces the amount of waste sent to landfills but also creates a valuable resource for gardening and agriculture.
So, what are the benefits of composting? For starters, it:
- Reduces greenhouse gas emissions by reducing the need for synthetic fertilizers
- Conserves water by improving soil structure and increasing its ability to retain moisture
- Supports healthy plant growth by providing essential nutrients and microorganisms
- Helps to mitigate climate change by sequestering carbon in the soil
What You Need to Get Started
To make compost, you’ll need a few basic supplies:
- A bin or container with good airflow (we recommend using two 2-foot trash cans)
- Organic waste materials (more on this below)
- Segregated brown materials (such as straw or shredded newspaper) for carbon-rich feedstock
- A pitchfork or shovel for turning the compost pile
What Materials Can Be Used for Composting?
Not all organic waste is created equal when it comes to composting. Some materials are better suited than others due to their high nutrient content, moisture levels, and carbon-to-nitrogen ratios.
Here are some of the best materials to use for composting:
- Fruit and vegetable scraps
- Bread and grains
- Eggshells
- Coffee grounds and tea bags
- Yard trimmings (such as leaves and grass clippings)
- Manure from herbivores (such as horses, cows, or rabbits)
Some materials to avoid using for composting include:
- Meat, bones, and dairy products (these can attract pests and create unpleasant odors)
- Pet waste (this can contain pathogens that can harm humans and other animals)
- Weeds with seeds (these can spread invasive species in your garden)
- Plastic and synthetic materials (these don’t break down well in compost)
The Composting Process
Now that we’ve covered what you need to get started, let’s dive into the nitty-gritty of the composting process.
Here are the steps involved:
- Prepare your bin: Clean and dry your compost bin or container.
- Add brown materials: Start by adding a layer of segregated brown materials (such as straw or shredded newspaper) to your bin. This will help absorb excess moisture and create an environment for microorganisms to thrive.
- Add green materials: Next, add a layer of organic waste materials (such as fruit scraps or grass clippings). These should be added in moderation, as they can create unpleasant odors if left too long in the bin.
- Alternate layers: Continue alternating between brown and green materials, ending with a layer of segregated brown materials on top.
- Turn the pile: Every three days or so, use a pitchfork or shovel to turn the compost pile. This will help aerate it and ensure that microorganisms can break down the organic matter efficiently.
Monitoring Moisture Levels
One of the most important aspects of composting is maintaining optimal moisture levels. If the pile is too dry, it can lead to reduced decomposition rates and unpleasant odors. On the other hand, if the pile is too wet, it can attract pests and create anaerobic conditions that are detrimental to microorganisms.
Here’s how you can monitor moisture levels:
- Check the compost pile regularly by feeling its texture. If it feels dry and crumbly, it’s time to add more water.
- Use a moisture meter or a simple stick test to check the pile’s moisture level. If it’s too wet, add brown materials to absorb excess moisture.
Managing Pests
Composting can attract pests like rodents, raccoons, and flies if not managed properly. Here are some tips for managing pests:
- Keep your compost bin clean and free of debris
- Add a layer of activated charcoal or diatomaceous earth to deter pests
- Use physical barriers (such as chicken wire or hardware cloth) to prevent animals from accessing the pile
Turning the Pile
Turning the compost pile is an essential step in the process. It helps aerate the pile, ensuring that microorganisms can break down organic matter efficiently.
Here are some tips for turning the pile:
- Use a pitchfork or shovel to turn the pile every three days or so
- Turn the pile in a clockwise direction to prevent it from becoming stuck
- Add more brown materials if necessary to maintain optimal carbon-to-nitrogen ratios
Conclusion
Making your own compost at home is a simple yet effective way to reduce waste and create a valuable resource for gardening. By following these steps and using the right materials, you can enjoy the benefits of composting while also doing your part for the environment.
In addition to reducing greenhouse gas emissions, conserving water, and supporting healthy plant growth, composting also helps to mitigate climate change by sequestering carbon in the soil.
If you’re new to composting, it’s worth noting that it may take some trial and error to get it right. Don’t be discouraged if your first batch of compost doesn’t turn out as expected – just keep experimenting until you find what works best for you!
Do you have any questions about making your own compost?


