
Introduction
Are you looking to try your hand at making fresh mozzarella at home? Look no further! This article will guide you through the process of creating delicious, homemade mozzarella that’s perfect for snacking or using in your favorite recipes.
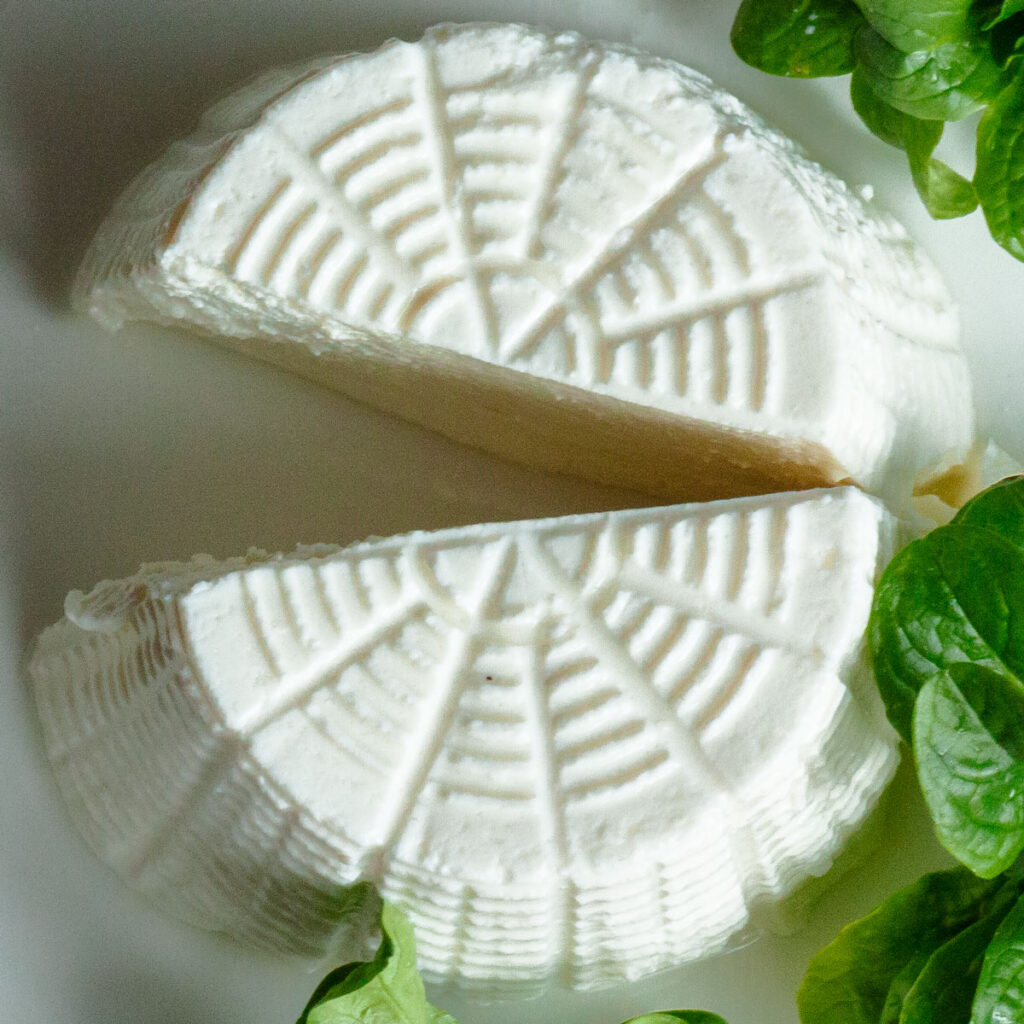
In Italy, specifically in the northern regions, “Primo sale” refers to a type of fresh cheese with a delicate flavor and a soft, creamy texture. This type of cheese is made at home and is ready to eat immediately, without needing to age or develop a crust. In this article, we’ll explore how to make Primo sale, a traditional Italian cheese that’s both delicious and easy to prepare.
Ingredients
To make Primo sale, you’ll need just three simple ingredients:
- 10 liters of milk (you can use cow’s, goat’s, or sheep’s milk)
- 3 ml of vinegar (also known as “caglio”)
- Salt to taste
With these ingredients, you can create a delicious, homemade mozzarella that’s perfect for snacking or using in your favorite recipes.
Equipment Needed
Before we begin, make sure you have the following equipment on hand:
- A large pot (at least 10 liters capacity)
- A cheese mold or colino
- A thermometer
- A sharp knife or cutting tool
- A wooden spoon or spatula
It’s also important to note that having a few additional tools and materials can make the process of making Primo sale easier and more efficient. Some recommended items include:
- Cheese cloth or cheesecloth for draining excess whey from the cheese
- A clean, dry work surface for shaping and handling the cheese
- A plate or tray for cooling and setting the cheese
Step-by-Step Instructions
-
Dilute the Vinegar: In a small bowl, mix together 3 ml of vinegar with 1/2 cup (120 ml) of water.
The acid in the vinegar helps to coagulate the milk and create a smooth, creamy texture in the finished cheese. Make sure to use a high-quality, food-grade vinegar that is specifically designed for cheese-making. -
Heat the Milk: Pour the milk into a large pot and heat it until it reaches a temperature of 37°C (98.6°F). Use a thermometer to monitor the temperature.
Heating the milk to the correct temperature is crucial for creating a smooth, even texture in the finished cheese. If the milk is too hot or too cold, it can affect the coagulation process and result in an unpleasant flavor or texture. -
Add the Vinegar Mixture: Once the milk has reached the desired temperature, add the vinegar mixture and stir gently with a wooden spoon or spatula.
Adding the acid to the milk will start the coagulation process, causing it to separate into curds and whey. -
Coagulate the Milk: Allow the milk to sit for about 30 minutes, until it has fully coagulated and separated into curds and whey.
During this time, you’ll begin to notice that the milk is separating into two distinct parts: a clear liquid (the whey) and a thick, creamy substance (the curds). -
Cut the Curds: Use a sharp knife or cutting tool to cut the curds into small pieces, about 1-2 cm (0.4-0.8 in) in size.
Cutting the curds is an important step in creating a smooth, even texture in the finished cheese. This process helps to release any remaining whey and ensures that the cheese is evenly distributed. -
Heat and Stir: Place the pot back over low heat and stir gently for about 10 minutes, until the curds have fully dissolved and the mixture has reached a temperature of around 40°C (104°F).
During this time, you’ll continue to monitor the temperature and consistency of the milk, making sure that it reaches the correct temperature and texture. -
Drain the Whey: Remove the pot from the heat and let it sit for a few minutes before pouring off the whey into a colino or cheese mold.
Once the curds have dissolved and the mixture has reached the desired consistency, you’ll drain off the excess whey to reveal the soft, creamy cheese within. -
Shape the Cheese: Use your hands to shape the cheese into small balls, about 10-15 cm (4-6 in) in diameter.
Shaping the cheese is an important step in creating a smooth, even texture and presentation. Be gentle when handling the cheese to avoid over-working or stretching it. -
Add Salt: Sprinkle salt over the cheese to taste, and then let it sit for another 30 minutes to allow the flavors to develop.
Adding salt to the cheese helps to enhance its flavor and texture, while also acting as a natural preservative. Letting it sit for an additional 30 minutes allows the flavors to mature and integrate.
Tips and Variations
- Use a thermometer to ensure that the milk reaches the correct temperature.
- Don’t overheat the milk, as this can cause it to become too hot and separate.
- If you prefer a stronger flavor, you can add more vinegar or use a different type of acid, such as lemon juice.
- Experiment with different shapes and sizes for your cheese, depending on your personal preference.
Some additional tips to keep in mind when making Primo sale include:
- Using high-quality, food-grade ingredients will result in a better-tasting and more consistent final product.
- Making the cheese at room temperature can help to ensure that it is evenly distributed and has a smooth texture.
- Allowing the cheese to sit for an additional 30 minutes after shaping and salting can help to mature its flavors.
Storing Your Homemade Mozzarella
Once you’ve made your Primo sale, it’s essential to store it properly to maintain its quality and freshness. Here are some tips:
- Store the cheese in an airtight container in the refrigerator.
- Keep the cheese away from direct sunlight and heat sources.
- Use the cheese within a week or two of making it for optimal flavor and texture.
Some recommended storage options include:
- A small, airtight container made from glass or ceramic
- A covered plate or tray for cooling and setting the cheese
- A wrapped or sealed plastic bag for storing and transporting the cheese
Conclusion
Making Primo sale at home is a fun and rewarding experience that requires just three simple ingredients. With these step-by-step instructions, you’ll be able to create delicious, homemade mozzarella that’s perfect for snacking or using in your favorite recipes.
Whether you’re a seasoned cheese-maker or just starting out, making Primo sale is an excellent way to develop your skills and experiment with new flavors and techniques. Don’t be afraid to try new things and adapt the recipe to suit your personal preferences!
FAQs
- What type of milk should I use?
- You can use cow’s, goat’s, or sheep’s milk for making Primo sale.
- How do I know when the milk has reached the correct temperature?
- Use a thermometer to monitor the temperature and ensure it reaches 37°C (98.6°F).
- Can I add flavorings to the cheese?
- Yes, you can experiment with different herbs and spices to create unique flavors.
- How long does it take to make Primo sale?
- The entire process should take about 2-3 hours, depending on the size of your batch.
-
Can I store Primo sale in the freezer?
- No, it’s best to store Primo sale in the refrigerator to maintain its quality and freshness.
-
How do I shape the cheese into balls?
- Use your hands to gently shape the cheese into small balls, about 10-15 cm (4-6 in) in diameter.
- Can I use a different type of acid instead of vinegar?
- Yes, you can experiment with lemon juice or other types of acid to create unique flavors.
- How do I know when the cheese is ready to eat?
- The cheese should be firm and slightly springy to the touch, indicating that it’s fully set.
By following these step-by-step instructions and tips for making Primo sale at home, you’ll be able to create delicious, homemade mozzarella that’s perfect for snacking or using in your favorite recipes.


