
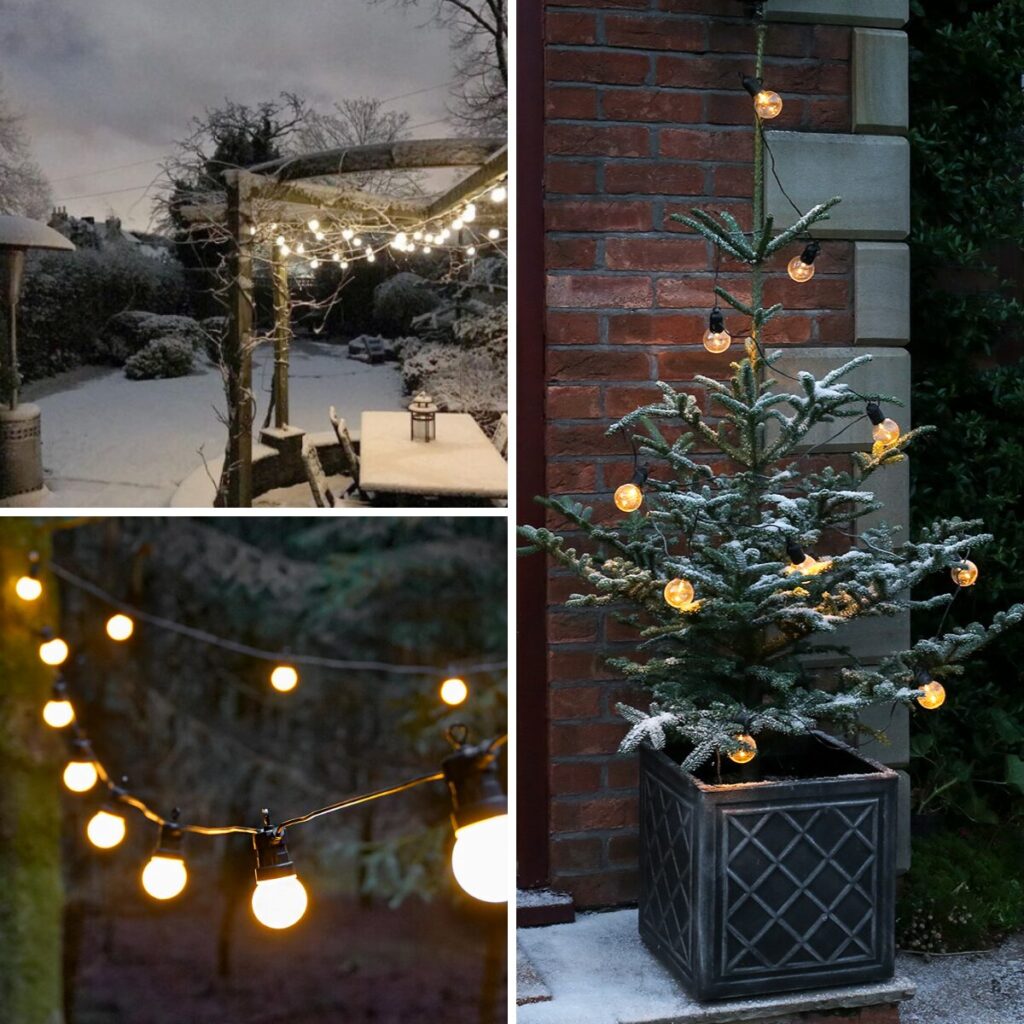
As the holiday season approaches, many of us are looking for ways to add a personal touch to our homes. One popular DIY project that can help create a festive atmosphere is making a Christmas garland. In this article, we’ll guide you through the simple steps to create a unique and personalized Christmas garland that will make your home stand out.
What is a Christmas Garland?
Before we dive into the process of creating a Christmas garland, let’s first define what it is. A Christmas garland is an ornamental decoration that can be attached to walls, mantles, bookshelves, and other surfaces, conveying a message of well-wishes for the holiday season.
While traditional messages like “Merry Christmas” are common, you can choose any phrase or words that resonate with your personal style and preferences. This flexibility allows you to create a garland that truly reflects your personality and aesthetic.
The History of Christmas Garlands
Christmas garlands have been a part of holiday traditions for centuries. In medieval Europe, garlands made from evergreen branches and holly were used to symbolize eternal life and the triumph of good over evil. The tradition was also influenced by the ancient Romans, who would decorate their homes with wreaths and garlands during the festival of Saturnalia.
As Christmas evolved into a widely celebrated holiday, so did the creation of Christmas garlands. In the 19th century, German immigrants brought their traditional garland-making techniques to America, where they became an integral part of holiday decorations. Today, Christmas garlands are enjoyed by people all around the world and come in countless shapes, sizes, and styles.
What You’ll Need
To make a Christmas garland, you’ll need just a few basic materials:
- Cardstock or cardboard (for the letters)
- Colored pens or markers
- Ribbons or strings
- A spool of rough wire (to serve as a base for the garland)
Feel free to experiment and add your own unique touches, such as decorative paper, stickers, or other embellishments.
Step-by-Step Instructions
Now that we’ve covered the basics, let’s move on to the fun part – creating our Christmas garland! Here’s a step-by-step guide to help you get started:
- Choose Your Message: Decide what message you want your garland to convey. This could be as simple or as elaborate as you like.
- Cut Out Letters: Use cardstock or cardboard to cut out the letters of your chosen message. Make sure they’re all the same size so that your garland looks cohesive and balanced.
- Decorate with Color: Use colored pens or markers to add some visual interest to your letters. You can also use stickers, stamps, or other embellishments if you like.
- Assemble the Garland: Take each letter and attach it to a piece of cardboard or cardstock using glue, tape, or another adhesive. Leave a small border around each letter so that they fit together smoothly when assembled.
- Add a Base: Use rough wire to create a base for your garland. Simply thread the wire through the letters, leaving enough space between them for easy hanging.
- Hang Your Garland: Find a spot in your home where you’d like to hang your garland and attach it using string or twine.
Tips and Variations
Here are some additional tips and ideas to consider when creating your Christmas garland:
- Use different colors or patterns of cardstock or cardboard to add visual interest.
- Add some texture with glitter, lace, or other embellishments.
- Experiment with different font styles and sizes for a unique look.
- Consider adding some photos or other personal touches to make your garland even more special.
The possibilities are endless when it comes to creating a Christmas garland. Have fun experimenting with different materials, colors, and designs until you find the perfect combination that reflects your personality and style.
Common Mistakes to Avoid
While making a Christmas garland is relatively simple, there are a few common mistakes to watch out for:
- Make sure your letters are all the same size so that your garland looks cohesive.
- Use enough glue or tape to keep your letters securely attached to each other and to the base of the garland.
- Don’t overdo it – too many embellishments can make your garland look cluttered and overwhelming.
DIY Garland Ideas
If you’re feeling adventurous, why not try making a few different types of Christmas garlands? Here are some ideas to get you started:
- Paper Snowflake Garland: Use paper snowflakes to create a delicate and whimsical garland.
- Photo Garland: Use small photos or prints to tell a story or commemorate a special event.
- Recycled Material Garland: Use recycled materials like old maps, music sheets, or book pages to create a unique and eco-friendly garland.
The possibilities are endless when it comes to creating a Christmas garland. With a little creativity and patience, you can create a beautiful and personalized decoration that reflects your personality and style.


