
Introduction
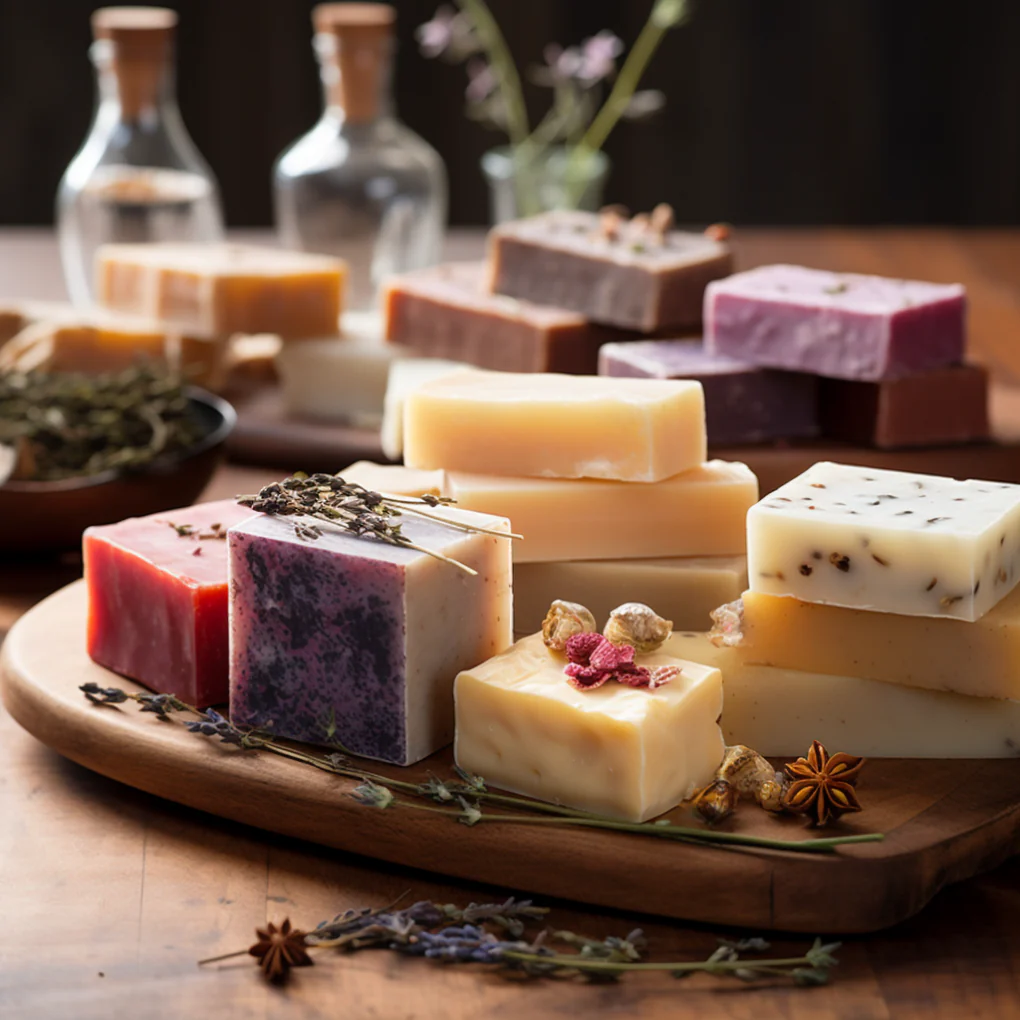
Creating soap in the comfort of your own home can be a fun and rewarding experience. Not only do you have complete control over the ingredients and process, but you also get to customize your soap with different fragrances and colors. In this article, we’ll explore the benefits of making soap at home, discuss the necessary ingredients and equipment, and provide step-by-step instructions for creating three different types of soap.
Benefits of Making Soap at Home
One of the main advantages of making soap at home is the ability to customize it to your liking. With store-bought soap, you’re limited to the fragrances and colors offered by the manufacturer. When you make soap yourself, you can experiment with different essential oils and herbs to create unique and personalized scents. Additionally, making soap at home can be a cost-effective way to produce high-quality soap without breaking the bank.
Making soap at home also allows for creativity and self-expression. You can choose from a wide range of ingredients and colors, allowing you to create one-of-a-kind soap designs that reflect your personality and style. Furthermore, making soap at home can be a great way to connect with nature and use sustainable materials. By using natural oils and herbs, you can create soap that is gentle on the skin while also being environmentally friendly.
Safety Precautions
Before we dive into the process of making soap, it’s essential to discuss safety precautions. The primary ingredient in soap-making is lye (sodium hydroxide), which is a highly caustic substance that can cause severe burns and eye damage if not handled properly. When working with lye, it’s crucial to wear protective gear, including gloves, goggles, and a mask. Make sure your workspace is well-ventilated, and keep the lye away from children and pets.
In addition to wearing protective gear, there are several other safety precautions you should take when making soap:
- Read and follow instructions carefully: Before starting any new recipe, make sure to read and follow the instructions carefully.
- Use a thermometer: A thermometer is essential for ensuring that your lye solution has reached the correct temperature before adding it to your oil mixture.
- Mix lye and water slowly: When mixing lye and water, do so slowly and in a well-ventilated area. Avoid splashing or spilling the mixture.
- Work in a dedicated space: Designate a specific area for soap-making and keep it clean and clear of clutter.
Ingredients and Equipment
To make soap, you’ll need the following ingredients:
- Lye (sodium hydroxide)
- Oils (such as olive, coconut, or palm oil)
- Water
- Optional: fragrances, colors, herbs, and other additives
You’ll also need some basic equipment, including:
- A digital scale
- A mixing bowl
- A spatula
- A thermometer
- A mold to shape your soap
Understanding Soap-Making Chemistry
Before we dive into the process of making soap, it’s essential to understand the chemistry behind soap-making. Soap is created when lye (sodium hydroxide) reacts with oils to form a mixture of fatty acids and glycerin.
The reaction between lye and oil occurs in three stages:
- Emulsification: The lye dissolves in water, creating an emulsion.
- Saponification: The lye reacts with the oils, breaking down the triglycerides into fatty acids and glycerin.
- Acid neutralization: The fatty acids combine with other ingredients to form a soap base.
Understanding this chemistry is essential for creating high-quality soap that will last longer and be gentler on the skin.
Sapone Fatto in Casa (Homemade Soap)
Making homemade soap is a fun and rewarding process that requires patience, attention to detail, and some basic knowledge of chemistry. Here’s a step-by-step guide to making three different types of soap:
Sapone Fatto in Casa con L’olio d’Olio
To make this type of soap, you’ll need:
- 1 kg of olive oil
- 134g of lye (sodium hydroxide)
- 280g of water
Instructions:
- Mix the lye and water in a well-ventilated area, stirring until the lye is fully dissolved.
- In a separate container, mix the olive oil with any additional ingredients you’d like to include (such as herbs or fragrances).
- Slowly add the lye mixture to the oil mixture, stirring constantly.
- Continue mixing until the soap reaches a consistency similar to thin pudding.
- Pour the soap into a mold and let it cool and harden.
Sapone Fatto in Casa al Metodo A Caldo
To make this type of soap, you’ll need:
- 1 kg of olive oil
- 134g of lye (sodium hydroxide)
- 350g of water
Instructions:
- Mix the lye and water in a well-ventilated area, stirring until the lye is fully dissolved.
- In a separate container, mix the olive oil with any additional ingredients you’d like to include (such as herbs or fragrances).
- Slowly add the lye mixture to the oil mixture, stirring constantly.
- Continue mixing until the soap reaches a consistency similar to thin pudding.
- Pour the soap into a mold and let it cool and harden.
Sapone Fatto in Casa con la Cenere
To make this type of soap, you’ll need:
- 200ml of oil
- 100ml of lisciva di cenere
- Optional: fragrances, colors, herbs
Instructions:
- Mix the oil and lisciva di cenere in a well-ventilated area, stirring until the mixture is fully incorporated.
- Add any additional ingredients you’d like to include (such as fragrances or colors).
- Pour the soap into a mold and let it cool and harden.
Tips and Variations
Here are some tips and variations for making homemade soap:
- Add color: Use natural dyes such as beets, turmeric, or spinach to create unique and vibrant colors.
- Experiment with fragrances: Try using different essential oils or herbs to create unique scents.
- Add exfoliants: Mix in exfoliants like oats, coffee grounds, or sea salt for a scrubby soap.
- Try cold-processed soap-making: This method uses less heat and creates a harder, longer-lasting soap.
Conclusion
Making soap at home can be a fun and rewarding experience that allows you to customize your soap with different fragrances, colors, and herbs. With this comprehensive guide, you’ll have the knowledge and skills necessary to create three different types of soap using lye, olive oil, and other natural ingredients. Remember to always follow safety precautions when working with lye, and happy soap-making!
Frequently Asked Questions
- Q: Is making soap at home safe?
A: Yes, making soap at home can be a safe process if you take the necessary precautions, including wearing protective gear and following proper safety protocols. - Q: What are the benefits of using natural ingredients in soap-making?
A: Using natural ingredients in soap-making allows for customization, improved skin health, and reduced environmental impact. - Q: Can I use lye to make other types of soap?
A: Yes, lye can be used to make a variety of other soap types, including hand soap, body wash, and bath bombs. - Q: How long does it take for homemade soap to cure?
A: Homemade soap typically takes 2-6 weeks to cure, depending on the type of soap and environmental conditions. - Q: Can I sell homemade soap?
A: Yes, you can sell homemade soap if you follow local regulations and labeling requirements.
References
- “The Soapmaking Bible” by Margaret Doyne
- “Soap Making for Beginners” by Susan Miller Cavitch


