
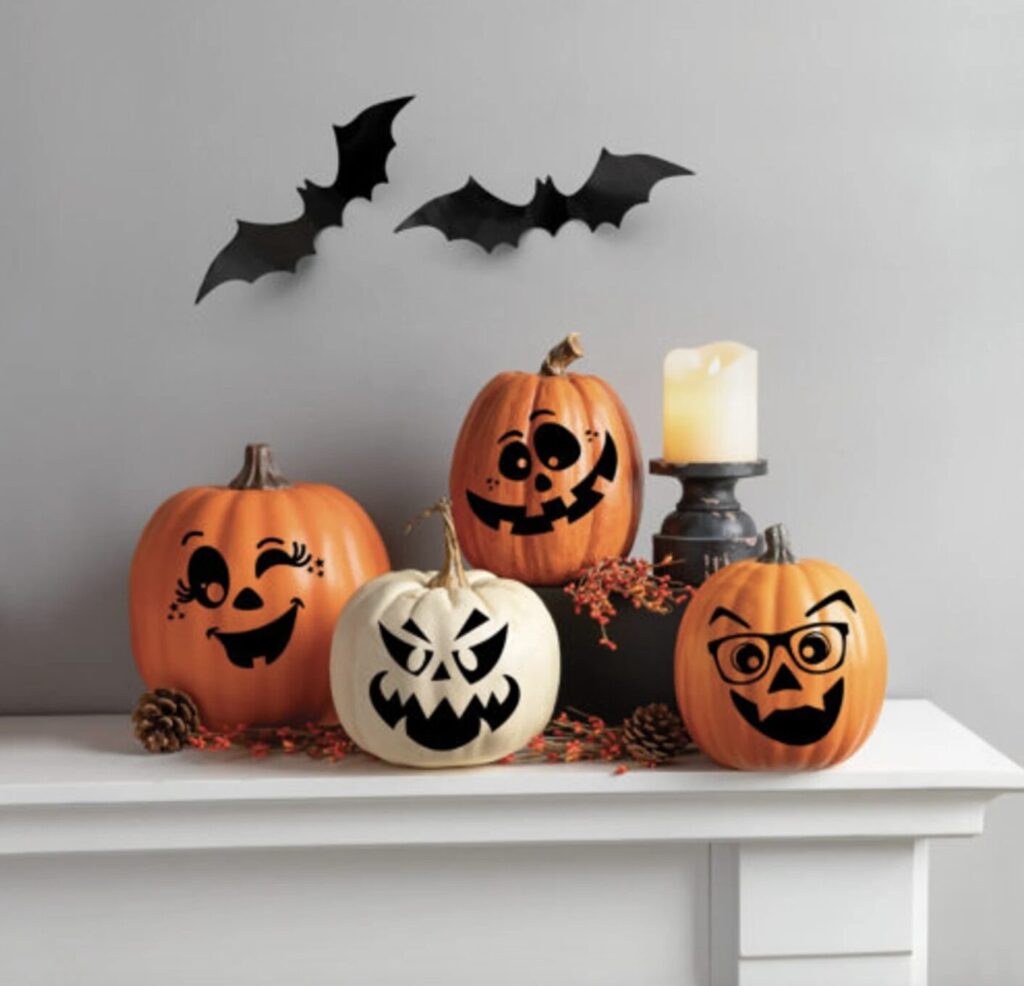
Introduction
Carving a pumpkin for Halloween is a classic tradition that can be intimidating, but with some guidance, anyone can create a spooky and festive decoration. In this article, we’ll show you how to carve a pumpkin like a pro, from selecting the right pumpkin to adding the finishing touches.
Choosing the Right Pumpkin
Before you start carving, you need to choose the right pumpkin. Look for one that’s symmetrical and has a flat area at the top for carving. Avoid pumpkins that are too small or too large, as they may be difficult to carve. The most popular type of pumpkin for carving is the sugar pie pumpkin, which is smaller and more dense than other varieties.
The History of Jack-o’-Lanterns
Before we dive into the how-to’s, let’s take a brief look at the history of jack-o’-lanterns. The tradition of carving pumpkins dates back to the Irish festival of Samhain, which marked the end of the harvest season and the beginning of winter. Carved lanterns were believed to ward off spirits and ghosts on this dark and spooky night.
Preparing Your Pumpkin
Once you’ve chosen your pumpkin, it’s time to prepare it for carving. Rinse the pumpkin with water to remove any dirt or debris, then pat it dry with a paper towel. Use a serrated knife to cut out the top of the pumpkin, creating a flat area for carving.
Gather Your Tools
To carve your pumpkin, you’ll need a few basic tools:
- A serrated knife
- A scoop or spoon for removing the pulp and seeds
- A marker or pen for tracing the design
- A stencil or pattern for added details
Step-by-Step Instructions
1. Clean and Prepare the Pumpkin
Rinse the pumpkin with water to remove any dirt or debris, then pat it dry with a paper towel.
2. Cut Out the Top of the Pumpkin
Use a serrated knife to cut out the top of the pumpkin, creating a flat area for carving.
3. Scoop Out the Pulp and Seeds
Use a scoop or spoon to remove the pulp and seeds from the inside of the pumpkin. You can also use this opportunity to add some extra design elements, like a face or eyes.
4. Trace Your Design
Use a marker or pen to trace your design onto the pumpkin. You can find many free stencils online or create your own using paper and a pencil.
5. Carve Out the Design
Use a serrated knife to carefully carve out the design, making sure to remove any excess flesh. It’s essential to work slowly and carefully to avoid accidents.
6. Add Final Details
Use a marker or pen to add final details to your pumpkin, like eyes or a mouth. You can also use a small brush to paint on additional details, such as shading or texture.
7. Light Up Your Pumpkin
Place a candle or LED light inside the pumpkin to create a spooky glow. Make sure to place the candle holder or plate on a stable surface to prevent it from tipping over.
Tips for a Longer-Burning Pumpkin
- Place the pumpkin in a dry and cool spot to prevent mold and decay.
- Keep the pumpkin away from direct sunlight, which can cause it to fade quickly.
- Use a candle holder or plate to support the pumpkin and keep it steady.
- If you want to make your pumpkin last even longer, try using a gel or spray to seal in moisture.
Frequently Asked Questions
Q: What type of pumpkin is best for carving?
A: The sugar pie pumpkin is the most popular variety for carving due to its symmetrical shape and dense flesh.
Q: How do I make my pumpkin last longer?
A: To keep your pumpkin fresh, make sure it’s stored in a dry and cool spot away from direct sunlight. You can also use a gel or spray to seal in moisture.
Q: Can I carve my pumpkin indoors?
A: While you can carve your pumpkin indoors, it’s recommended to do so in a well-ventilated area away from flammable materials. Always use caution when working with candles and open flames.
Q: How do I make a stencil for carving my pumpkin?
A: You can create a stencil using paper or cardstock and tracing it onto the pumpkin. Alternatively, you can purchase pre-made stencils online or at craft stores.
Q: Can I carve my pumpkin ahead of time?
A: While you can carve your pumpkin ahead of time, it’s best to do so just before Halloween to ensure maximum durability and freshness.
Advanced Pumpkin Carving Techniques
If you’re feeling confident in your carving skills, why not try some advanced techniques?
- Carve multiple layers: Use a serrated knife to carefully carve out multiple layers within the pumpkin. This can create a more intricate design and add depth to your pumpkin.
- Use different tools: Experiment with different tools, such as gouges or chisels, to create unique textures and patterns on your pumpkin.
- Add 3D elements: Use materials like paper, foam, or even wire to create three-dimensional elements that can be attached to the pumpkin.
Pumpkin Carving for Beginners
If you’re new to pumpkin carving, don’t worry! We’ve got some tips to get you started:
- Start with simple designs: Look for stencils or patterns online that are easy to follow and require minimal cutting.
- Use a marker or pen: Before carving, use a marker or pen to trace your design onto the pumpkin. This will help guide you as you carve.
- Carve slowly and carefully: Take your time when carving out the design, making sure to remove excess flesh and avoid accidents.
Pumpkin Carving for Kids
If you’re planning on carving pumpkins with kids, here are some tips to make it a fun and safe experience:
- Use kid-friendly tools: Provide small, blunt knives or specialized pumpkin-carving tools that are designed specifically for children.
- Choose simple designs: Look for stencils or patterns that are easy to follow and require minimal cutting.
- Supervise closely: Always supervise children when they’re carving pumpkins, especially if they’re using sharp objects.
By following these tips and techniques, you’ll be able to create a beautiful and spooky pumpkin that will light up your porch or table for years to come. Happy carving!


