
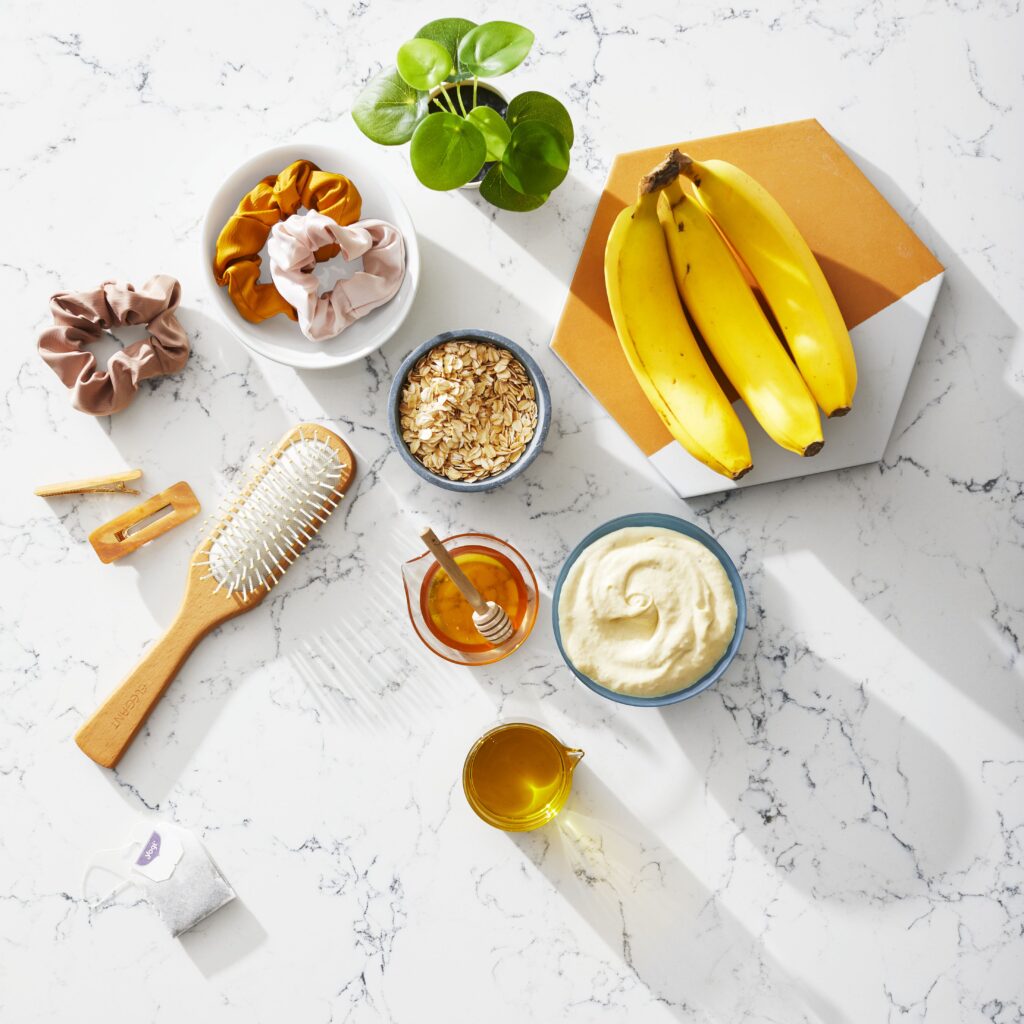
When it comes to hair care, we’re constantly bombarded with promises of miracle solutions and quick fixes. But what if I told you that the answer lies in something much simpler? With so many harsh chemicals and artificial ingredients lurking in commercial hair products, it’s time to take control of your hair’s health by making your own DIY hair mask at home.
What’s Really in Your Hair Care Products?
Take a closer look at the ingredient list on your favorite hair care product. You might be surprised to find a cocktail of chemicals that can cause more harm than good. From skin irritation and changes in oil production to hair loss, these ingredients can wreak havoc on your scalp and hair.
That’s why it’s time to ditch the commercial products and turn to natural recipes that use safe and effective ingredients for your hair. In this article, we’ll show you how to create a revitalizing hair mask using just four simple ingredients: beeswax, coconut oil, bentonite clay, and jojoba oil.
The Power of Natural Ingredients
So why should we trust these natural ingredients? Let’s take a closer look at each one:
Beeswax: The Moisturizer
Beeswax is known for its incredible moisturizing properties. It helps lock in moisture, soothe dryness, and even treat dandruff. But that’s not all – it also has antibacterial and antioxidant properties that help keep your scalp healthy.
Coconut Oil: Nourishing Your Hair
Coconut oil is a nutrient-rich oil that’s packed with vitamins and minerals. It nourishes your hair from the roots to the ends, helping to strengthen it and even promote growth.
Bentonite Clay: The Detoxifier
Bentonite clay is a natural detoxifier that helps remove impurities from your scalp and hair. It’s also used to treat skin conditions like acne. This amazing ingredient helps balance your skin’s pH levels, leaving your hair looking healthy and shiny.
Jojoba Oil: Soothing and Moisturizing
Jojoba oil is rich in vitamins and minerals, making it the perfect addition to our DIY hair mask. It has antibacterial properties that help soothe and moisturize your hair, keeping it soft and silky.
The Science Behind Natural Ingredients
But why do these natural ingredients work so well together? Let’s break down the science behind each ingredient:
- Beeswax: When applied to the hair, beeswax creates a barrier on the surface of the hair shaft. This barrier locks in moisture and helps to repair damaged hair.
- Coconut oil: Coconut oil is rich in fatty acids that help nourish the hair follicles and promote healthy growth.
- Bentonite clay: Bentonite clay has a negative charge that attracts positively charged impurities from the scalp, helping to remove toxins and balance the skin’s pH levels.
- Jojoba oil: Jojoba oil is similar in composition to the natural oils produced by our scalps. It helps to balance the skin’s pH levels and promote healthy hair growth.
Create Your Own Revitalizing Hair Mask
Now that we’ve covered the benefits of each ingredient, let’s get started on creating our own DIY hair mask. Here are the simple ingredients you’ll need:
- 30g beeswax paste
- 45g coconut oil
- 5g bentonite clay powder
- 12 drops jojoba essential oil
Step-by-Step Instructions
- In a saucepan, melt the beeswax over low heat.
- Add the coconut oil and mix until well combined.
- Remove from heat and add the bentonite clay powder.
- Mix until the mixture thickens and becomes a paste-like consistency.
- Stir in the jojoba essential oil.
Apply Your DIY Hair Mask
Once you’ve mixed your ingredients, apply the mask to your hair, focusing on the roots and working your way down to the ends. Leave it on for 45 minutes before rinsing with warm water.
Tips and Variations
Want to take your DIY hair mask to the next level? Here are some tips and variations to try:
- Add a tablespoon of glycerin vegetable oil to the mixture for an extra nourishing effect.
- Apply the mask every other day for two weeks to see optimal results.
- Try these alternative hair masks:
- Olive Oil and Egg: Mix 5 tablespoons of olive oil with 2 eggs. Apply to your hair and leave on for 15 minutes before rinsing.
- Olive Oil and Honey: Mix 3 tablespoons of honey with 3 tablespoons of olive oil. Apply to your hair and leave on for 15 minutes before rinsing.
- Avocado Mash: Mash ripe avocado in a bowl, then mix in 1 tablespoon of marmalade and 2 tablespoons of olive oil. Apply to your hair and leave on for 20 minutes before rinsing.
- Oatmeal Mask: Mix 1 tablespoon of oatmeal with 1 tablespoon of milk and 1 tablespoon of olive oil. Apply to your hair and leave on for 20 minutes before rinsing.
These recipes are easy to make and use only natural ingredients that you can find at home. Give them a try!
Benefits of DIY Hair Masks
There are many benefits to using DIY hair masks, including:
- Cost-effective: Making your own hair mask is much cheaper than buying commercial products.
- Customizable: You can adjust the recipe based on your hair type and needs.
- No harsh chemicals: Natural ingredients like beeswax and coconut oil are gentler on your scalp and hair.
- Environmentally friendly: By using natural ingredients, you’re reducing your carbon footprint and promoting sustainability.
Common Issues with Commercial Hair Masks
But what about common issues that can arise when using commercial hair masks? Here are some problems to watch out for:
- Dryness: Many commercial hair masks can dry out your scalp and hair due to harsh chemicals.
- Buildup: Some commercial hair masks can leave a residue on your hair, causing buildup and weighing it down.
- Color damage: Chemical-based ingredients in commercial hair masks can cause color damage and fade.
Conclusion
Revitalizing your hair has never been easier. By creating your own DIY hair mask using natural ingredients like beeswax, coconut oil, bentonite clay, and jojoba oil, you can say goodbye to harsh chemicals and hello to healthy, beautiful hair.
Frequently Asked Questions
- Q: Can I use this DIY hair mask on damaged or over-processed hair?
A: Yes, this mask is perfect for repairing and nourishing damaged hair. - Q: How often should I apply the DIY hair mask?
A: Apply the mask every other day for two weeks to see optimal results. - Q: Can I use this recipe as a leave-in conditioner?
A: No, this recipe is best used as a treatment mask. However, you can mix it with a carrier oil and use it as a leave-in conditioner. - Q: Are there any ingredients that I should avoid using in my DIY hair mask?
A: Yes, be sure to avoid using harsh chemicals like sulfates and parabens. - Q: Can I customize the recipe to suit my hair type?
A: Absolutely! Feel free to adjust the recipe based on your hair type and needs. - Q: How long does it take for the mask to dry?
A: The mask should be left on for 45 minutes before rinsing with warm water. - Q: Can I use this recipe as a hair treatment for colored hair?
A: Yes, this recipe is perfect for treating and nourishing colored hair. - Q: Is it safe to use bentonite clay if I have sensitive skin?
A: Yes, bentonite clay is generally considered safe for most skin types, but be sure to do a patch test before using it on your scalp or hair.
Additional Tips and Tricks
Here are some additional tips and tricks to keep in mind when creating your own DIY hair mask:
- Use high-quality ingredients: Choose the best natural ingredients you can find to ensure optimal results.
- Follow instructions carefully: Make sure to follow the step-by-step instructions carefully to avoid any mistakes.
- Be patient: Allow the mask to dry completely before rinsing with warm water.


