
Hanging pictures is a great way to add some elegance to your home decor. However, it can be a daunting task if you’re not sure where to start. In this article, we’ll guide you through the process of hanging pictures without damaging your walls or risking falls.
Gathering Your Tools and Materials
Before you begin, make sure you have the following tools and materials:
- A hammer
- Nails (1.5 cm) for lightweight frames
- Tacks with a string and drill for heavy frames
- Measuring tape (meter)
- Level
- Pencil
Hanging Pictures with Nails
Before hanging a picture, it’s essential to assess its weight to avoid any surprises. If the frame weighs less than 2 pounds, you can use nails.
Here’s how to hang a picture using nails:
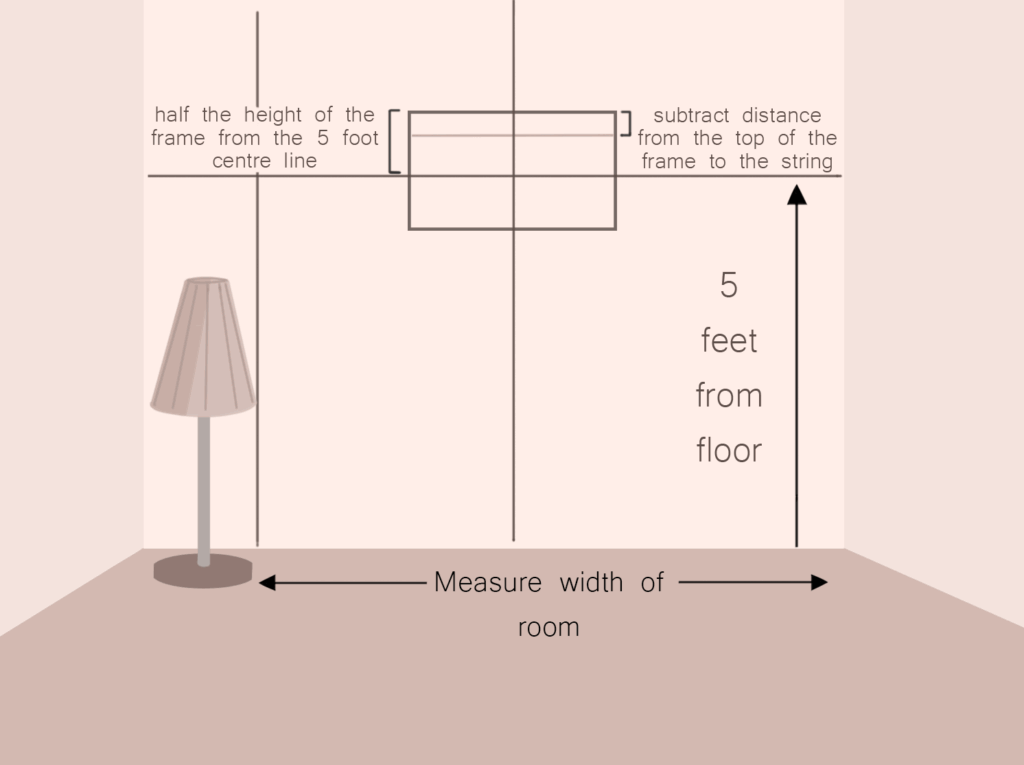
- Determine the height: Measure the height of the wall where you want to hang the picture, usually around 1.6/1.7 meters from the floor.
- Mark the spot: Use a pencil to mark the spot on the wall where you want to place the nail.
- Use a level: Make sure the mark is straight and level using a level tool.
- Apply adhesive: Apply a small amount of adhesive (such as white glue) to the back of the picture frame to prevent it from slipping or falling off the nail.
- Hammer in the nail: Hold the hammer firmly and gently tap the nail into the wall at an angle, making sure not to hit your thumb!
- Check the level: Double-check that the picture is straight and even using a level tool.
Hanging Pictures with Tacks
If you’re hanging a heavy frame or multiple pictures, you’ll need to use tacks with strings and drills.
Here’s how to hang a picture using tacks:
- Determine the weight limit: If your picture weighs more than 2 pounds, you’ll need to use tacks.
- Mark the spot: Measure the height of the wall where you want to hang the picture and mark the spot with a pencil.
- Drill a hole: Use a drill to create a small hole in the wall at the marked spot.
- Insert the tack: Insert the string and tacks into the hole, making sure they’re securely attached.
- Hang the picture: Hang the picture from the tacks, making sure it’s level and even.
Additional Tips and Considerations
Here are some additional tips to keep in mind when hanging pictures:
- Avoid heat sources: Don’t hang pictures near heat sources like radiators or fireplaces, as they can cause fading or damage.
- Protect from direct sunlight: Hang pictures away from windows that receive direct sunlight, as the UV rays can damage the artwork.
- Use a stud finder: If you’re unsure where to hammer in your nail or tack, use a stud finder to locate the wall studs and ensure your picture is securely attached.
Choosing the Right Frame for Your Wall
When selecting a frame, consider the style and size of your wall. Here are some tips for choosing the right frame:
- Match the frame to the wall: Choose a frame that complements the color and texture of your wall.
- Consider the weight limit: Make sure the frame is sturdy enough to support the weight of the artwork.
- Don’t over-accessorize: Avoid overcrowding your wall with too many frames or decorative items.
Frequently Asked Questions
Here are some frequently asked questions about hanging pictures:
Q: How do I choose the right nail size for my picture frame?
A: Choose a nail size that’s slightly smaller than the width of the picture frame to avoid poking through the back of the frame.
Q: Can I hang multiple pictures on the same wall?
A: Yes, you can hang multiple pictures on the same wall, but make sure they’re spaced evenly and not too close together.
Q: How do I level a heavy picture frame with tacks?
A: Use a level tool to ensure the picture is straight and even. You may also need to adjust the weight of the picture or use additional support.
Q: Can I hang pictures on textured walls?
A: Yes, you can hang pictures on textured walls, but make sure to use screws or anchors specifically designed for textured surfaces.
Q: How do I clean my nails after hanging a picture?
A: Clean your nails with soap and water after hanging a picture. Make sure to dry them thoroughly to prevent rust.
Common Mistakes to Avoid
Here are some common mistakes to avoid when hanging pictures:
- Don’t hang too high: Make sure the picture is hung at a comfortable height, usually around 1.6/1.7 meters from the floor.
- Avoid uneven frames: Use a level tool to ensure the frame is straight and even.
- Don’t over-tighten: Avoid over-tightening the nails or tacks, as this can cause damage to the wall.
Conclusion
Hanging pictures can be a fun and creative way to add some personality to your home decor. By following these steps and tips, you’ll be able to hang pictures like a pro! Remember to measure carefully, use the right tools and materials, and consider additional factors like weight limits and sunlight exposure. Happy decorating!
By following these step-by-step instructions, you can hang your pictures confidently and create a beautiful display in your home. Whether you’re hanging a lightweight frame or a heavy one, the key is to choose the right tools and materials for the job.
Don’t forget to measure carefully and use a level tool to ensure that your picture is straight and even. You may also need to adjust the weight of the picture or use additional support if necessary.
With these tips and considerations in mind, you can create a stunning display of artwork in your home. So go ahead, get creative, and show off your favorite pieces!


