
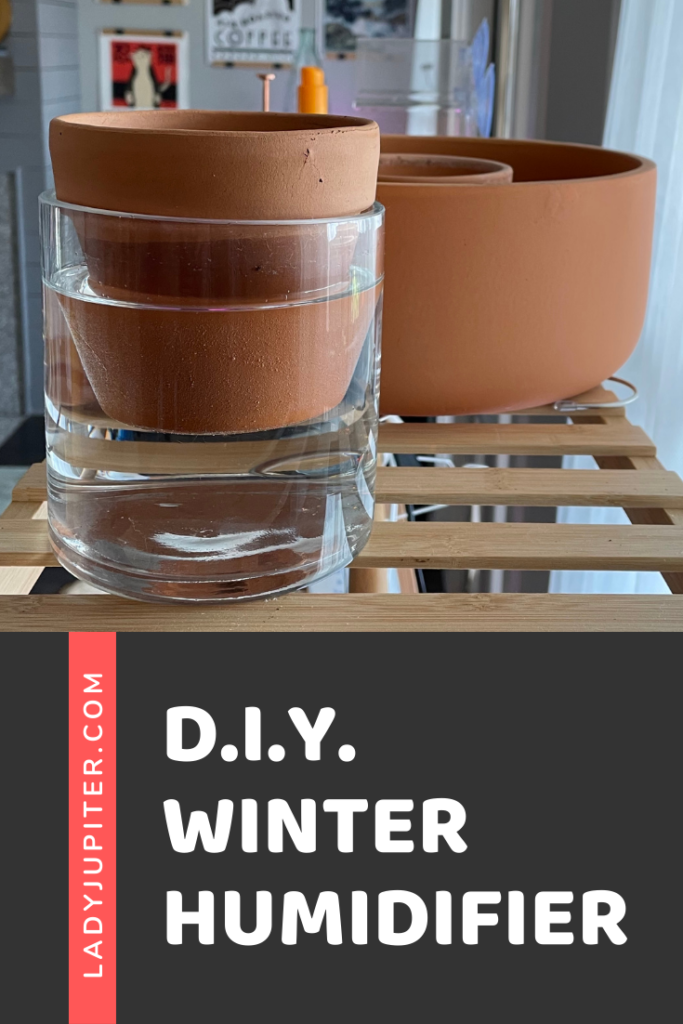
As we navigate the complexities of modern life, it’s easy to overlook the simple things that can make a big difference in our overall well-being. One such thing is humidity control. In this article, we’ll explore the concept of DIY humidifiers, their benefits, and how you can create your own eco-friendly solution for maintaining optimal indoor air quality.
Why Do We Need Humidifiers?
Humidifiers play a crucial role in regulating the moisture levels in our homes. When the air is too dry, it can lead to discomfort, skin irritation, and even respiratory problems. On the other hand, excessively humid environments can foster mold growth and unpleasant odors. By using a humidifier, we can maintain a healthy balance of humidity, ensuring that our homes feel comfortable and fresh.
The Benefits of DIY Humidifiers
While commercial humidifiers can be expensive and energy-intensive, making your own DIY humidifier is a cost-effective and environmentally friendly solution. You don’t need any special equipment or expertise to create one, and you can customize it to fit your specific needs. Here are some benefits of building your own DIY humidifier:
- Energy Efficiency: By using simple materials like water and heat, you can reduce your energy consumption.
- Cost-Effective: You can reuse old materials and minimize waste.
- Customization: Design your humidifier to suit your specific needs and preferences.
Creating Your Own DIY Humidifier
Making a DIY humidifier is easier than you think. Here are some simple methods:
- Vaschetta dell’acqua: Attach an empty water bottle or can to the radiator using a wire or string. As the hot air flows, it will evaporate the water and release humidity into the air.
- Evaporative Humidifier: Place a shallow tray filled with water near a heating source, such as a radiator or heater. As the warm air passes over the water, it will evaporate and add moisture to the air.
Tips for Using Your DIY Humidifier
To get the most out of your DIY humidifier:
- Maintain proper humidity levels: Keep an eye on the humidity gauge to ensure you’re not over- or under-humidifying your space.
- Clean regularly: Regularly clean and maintain your humidifier to prevent bacterial growth and mineral buildup.
Alternative Methods for Humidity Control
While DIY humidifiers are a great starting point, there are other ways to maintain optimal humidity levels in your home. Some alternative methods include:
- Potted plants: Certain plants like peace lilies, spider plants, and snake plants release moisture into the air as they grow.
- Wet towels or cloths: Leave wet towels or cloths on radiators or heaters to create a humid microclimate.
Materials Needed for DIY Humidifiers
Here are some materials you’ll need to get started with your DIY humidifier:
- Empty water bottles or cans
- Wire or string
- Shallow trays or containers
- Heating sources like radiators or heaters
- Potted plants (optional)
- Wet towels or cloths (optional)
Tips for Choosing the Right Materials
When selecting materials for your DIY humidifier, consider the following:
- Water bottle size: Choose a water bottle that’s large enough to hold at least 1 liter of water. This will ensure that you have enough moisture to maintain optimal humidity levels.
- Wire or string material: Use a durable wire or string that can withstand high temperatures and humidity.
- Shallow trays or containers: Select shallow trays or containers that are easy to clean and can hold at least 1 liter of water.
Safety Precautions for DIY Humidifiers
When using your DIY humidifier, make sure to follow these safety precautions:
- Be aware of potential issues like mold growth: If you notice any signs of mold growth, turn off your humidifier immediately.
- Use caution with heating sources: Make sure that your heating source is safe and reliable. Never leave it unattended.
Conclusion
Maintaining optimal humidity levels in your home is crucial for our health and comfort. With DIY humidifiers, you can create an eco-friendly solution that’s tailored to your specific needs. By understanding the benefits of DIY humidifiers and implementing simple methods like vaschetta dell’acqua or evaporative humidification, you can enjoy a healthier and more comfortable living space.
Frequently Asked Questions
- What are the benefits of using a DIY humidifier?
- Energy efficiency
- Cost-effectiveness
- Customization
- How do I maintain proper humidity levels with my DIY humidifier?
- Keep an eye on the humidity gauge
- Clean and maintain your humidifier regularly
- What are some alternative methods for maintaining optimal humidity levels in my home?
- Potted plants
- Wet towels or cloths
- Can I use a DIY humidifier indoors?
- Yes, but be aware of potential issues like mold growth.
- How often should I clean and maintain my DIY humidifier?
- Regularly clean and maintain your humidifier to prevent bacterial growth and mineral buildup.
- Can I use a DIY humidifier in areas with high humidity?
- No, as this can exacerbate moisture-related issues like mold growth.
DIY Humidifier Maintenance Schedule
Here’s a maintenance schedule for your DIY humidifier:
- Daily:
- Clean the humidifier and replace any worn-out parts
- Check the humidity gauge to ensure optimal levels
- Weekly:
- Empty the water bottle or can
- Rinse and dry all components
- Monthly:
- Replace the filter (if applicable)
- Clean the heating source
By following this schedule, you’ll be able to keep your DIY humidifier running smoothly and ensure optimal humidity levels in your home.


