
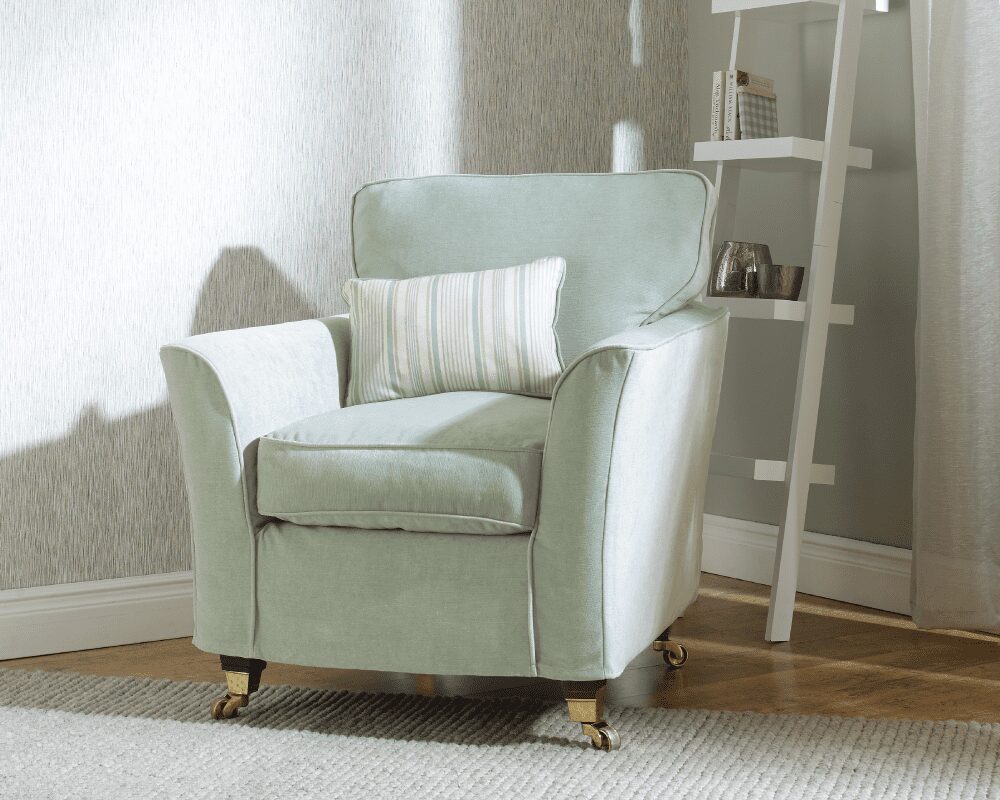
Are you ready to breathe new life into your old armchair? With this guide, you’ll learn how to restore it to its former glory by adding a fresh new cover. Whether you’re looking to revive a vintage armchair or give your own a makeover, this tutorial will walk you through every step of the process.
What You’ll Need
Before we dive into the nitty-gritty of renovating an old armchair, let’s take a look at what materials you’ll need. Don’t worry; most of these items are easily accessible and won’t break the bank.
- Fabric for the cover (choose your favorite material)
- A professional fabric cutter
- A thick black marker
- Clear adhesive for textiles
- Embellishments to match your chosen fabric
- White cotton fabric for the backing
- Heavy-duty sewing needles
- Thread
- Ribbon or elastic for securing the back
- Hot glue gun
- Measuring tape
- Scissors
Now that we’ve covered what you’ll need, let’s get started!
Choosing Your Fabric
When it comes to selecting the perfect fabric for your armchair cover, there are many factors to consider. Think about the style of your chair, the color palette in your home, and any allergies or sensitivities you may have.
For this tutorial, we’ll be using a durable cotton fabric that’s easy on the eyes and comfortable to touch. But feel free to choose whatever material catches your eye!
Preparing the Chair
Before you start sewing, take some time to inspect your armchair for any loose threads or damage. Make note of any areas that need extra attention.
Next, lay out your chosen fabric on a flat surface, smoothing out any wrinkles. This will help ensure that your cover looks its best from the start.
Measuring and Cutting
Using your measuring tape, take precise measurements of your armchair’s seat and backrest. Make sure to include any padding or inserts.
Cut two identical pieces of fabric using your chosen pattern. If you’re new to sewing, consider using a pre-cut piece for easier handling.
Adding the Cording Technique
A unique feature of this project is the use of cording techniques to add an extra layer of support and style. To do this:
- Fold the excess fabric over the edge of the seat or backrest to create a small pocket.
- Place a thin thread or ribbon inside the pocket, tying it off at both ends.
- Repeat on the other side.
This will give your armchair cover a sturdy, finished look that’s sure to impress!
Attaching the Cover
Using your sewing machine, attach the fabric pieces to the chair frame. Make sure to leave enough room for easy access and comfort.
For added stability, use heavy-duty stitching or reinforce with hot glue gun. Take your time, working carefully to ensure a smooth finish.
Adding a Back Panel
To complete the look, add a back panel using a simple sewing technique:
- Measure and cut a rectangular piece of fabric to fit behind the chair.
- Fold it over twice to create a crisp crease.
- Attach with clear adhesive for secure stitching.
A Final Touch: Adding Embellishments
The final touch is adding embellishments that match your chosen fabric. Use hot glue gun or sewing machine to attach any trim, ribbons, or other decorative elements.
And voilà! Your armchair cover is complete!
Tips and Tricks
Here are some additional tips and tricks to help you achieve a professional-looking finish:
- Use a consistent thread color throughout the project for a seamless look.
- Don’t be afraid to experiment with different fabrics, patterns, or embellishments to create a unique look that suits your style.
- Consider adding a layer of batting or interfacing to give your cover extra structure and support.
Frequently Asked Questions
Here are some common questions and answers to help you along the way:
Q: How do I clean my new armchair cover?
A: Use a gentle fabric cleaner or spot-treatment for spills. Avoid machine washing or ironing.
Q: Can I use this technique on other furniture pieces, like couches or chairs?
A: Absolutely! This method works well for most upholstery projects. Just adjust measurements and materials as needed.
Q: How long will it take to complete the project?
A: Depending on your experience level and sewing speed, completion time can range from 2-10 hours.
Q: Are there any safety precautions I should take while working with fabric and needles?
A: Yes, always use protective eyewear, keep loose threads trimmed, and avoid overstretching fabric to prevent accidents.
Common Mistakes to Avoid
To ensure a successful project, it’s essential to be aware of common mistakes that can ruin your armchair cover. Here are some tips to help you avoid them:
- Use the wrong type of fabric for the job (e.g., using velvet on a seat cushion).
- Measure twice before cutting fabric to prevent errors.
- Don’t over-stretch or pull fabric, as this can lead to wrinkles and creases.
By following these simple steps, you’ll be able to give your old armchair a stunning new look that’s sure to impress friends and family alike. With patience, practice, and the right materials, you’ll be well on your way to creating a beautiful, one-of-a-kind armchair cover.
Conclusion
Renewing an old armchair is a fun and rewarding project that can breathe new life into a tired piece of furniture. By following this step-by-step guide, you’ll learn how to create a custom armchair cover that’s tailored to your style and needs.
Remember, the key to success lies in patience, attention to detail, and practice. Don’t be afraid to experiment and try new things – it’s all part of the creative process!
So go ahead, take on this project, and enjoy the satisfaction of giving your old armchair a fresh new look!


