
As a drummer or music lover, have you ever found yourself apologizing for your passion? Perhaps you’ve had to move out of a rental property because the neighbors couldn’t handle the sound? If so, it’s time to take control and soundproof your room. In this article, we’ll show you how to do it effectively and economically using DIY methods.
Understanding Soundproofing Needs
Before we dive into the process, it’s essential to understand which areas of the room need to be soundproofed most. Covering all walls will result in at least 6 cm lost for each wall. This might seem like a small amount, but it can make a significant difference in soundproofing efficiency.
In a typical home, soundproofing needs are often focused on the following areas:
- Walls: Where the room is adjacent to other rooms or has noisy neighbors
- Ceiling: Where sound waves from above can be heard by those below
- Floor: Where footsteps and vibrations from above can be felt
- Doors: Where sound waves can escape through gaps between the door and the frame
Gathering Essential Materials
Soundproofing requires specific materials that can help absorb and block sound waves. Here’s a list of what you’ll need:
- Foam cushion (also known as acoustic foam)
- Polystyrene board (2 cm thick, also known as acoustic insulation)
- Wooden battens (4 cm thick, for adding an extra layer of support)
- Silicone sealant
- Hot glue gun
- Nails
- Hammer
- Drill with a wall bit (6 ø) and extractor
- 6 ø screws and washers
- Scissors and pruning shears
- Carpet or Rug
You can find these materials at any hardware store.
The Soundproofing Procedure
Now that you have your materials, it’s time to start the soundproofing process. Follow these steps:
Step 1: Install Wooden Battens
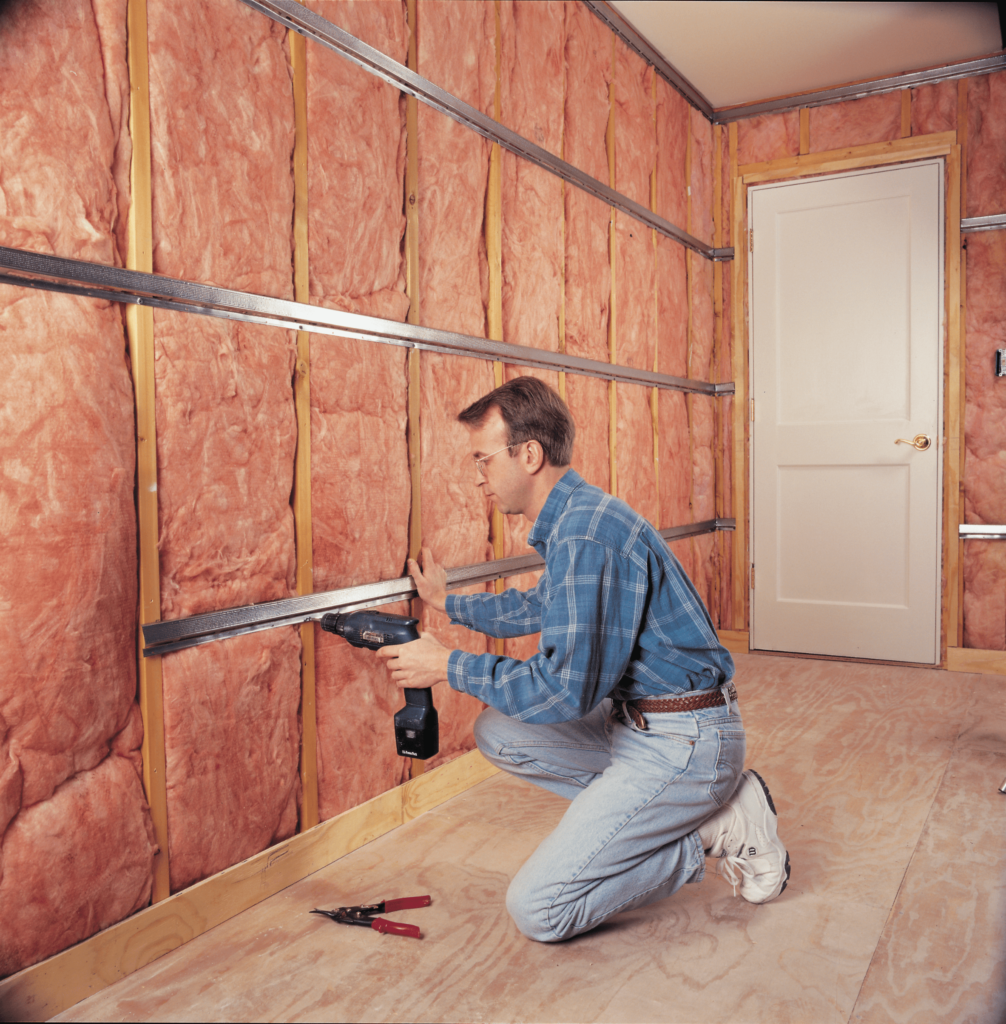
Install wooden battens on the walls vertically along the perimeter of the room, spaced 50 cm apart, securing them to the wall with screws and washers. You’ll need a drill for this step.
- Use 4 cm thick wooden battens to add an extra layer of support.
- Make sure the battens are level and secure.
Step 2: Attach Polystyrene Panels
Attach polystyrene panels vertically to the wooden battens using silicone sealant, ensuring no gaps are left. This will create a secondary wall.
- Use a drill with a wall bit (6 ø) to make holes for the screws.
- Apply a bead of silicone sealant around each panel to ensure a secure bond.
Step 3: Add Foam Cushion Panels
Take foam cushion panels (all of equal thickness to ensure a smooth surface) and attach them to the polystyrene panels using hot glue, laying them horizontally. This layer helps absorb sound waves.
- Use a hot glue gun to attach the foam cushion panels.
- Make sure the panels are evenly spaced and securely attached.
Step 4: Finish with a Heavy Fabric Layer
Take a heavy fabric (such as a cinema tent) and nail it above the room entrance. This final layer provides an additional barrier against sound escaping.
- Use nails to secure the fabric in place.
- Make sure the fabric is tightly secured around the edges of the room.
Tips and Variations
Here are some helpful tips to keep in mind:
- To soundproof the ceiling, follow the same procedure.
- For flooring, you can also limit yourself to installing carpeting.
- All materials can be purchased at any hardware store.
- Consider adding acoustic panels to areas where sound waves tend to bounce around (such as corners or high-traffic areas).
- Use a mix of absorption and blocking techniques to achieve optimal soundproofing results.
Common Misconceptions about Soundproofing
Soundproofing is often misunderstood as being a complex and expensive process. However, with the right materials and a bit of DIY know-how, it’s possible to soundproof your room without breaking the bank.
Myth: Soundproofing is only for professional musicians
Reality: Anyone can soundproof their home using DIY methods.
Myth: All walls need to be covered in soundproofing material
Reality: Not all walls require the same level of soundproofing. Focus on areas that need it most, and you’ll save time and money.
Conclusion
Soundproofing your room is a simple process that can make a significant difference in reducing noise pollution. By following these steps and using the right materials, you can create a more peaceful living space for yourself and your loved ones. So go ahead, grab your drumsticks, and start soundproofing today!
Frequently Asked Questions
Q: What is the most effective way to soundproof a room?
A: A combination of wooden battens, polystyrene panels, foam cushion panels, and a heavy fabric layer is the most effective approach.
Q: Can I use any type of material for soundproofing?
A: No, certain materials are more effective than others. For example, polystyrene panels are better suited for sound absorption than thick blankets.
Q: How long does soundproofing take to complete?
A: Depending on the size of the room and the complexity of the installation, soundproofing can take anywhere from a few hours to several days to complete.
Q: Can I DIY soundproofing without professional help?
A: Yes, with the right materials and some basic DIY skills, you can soundproof your room yourself. However, if you’re unsure about any aspect of the process, it’s always best to consult a professional.
Q: Will soundproofing affect the aesthetic of my room?
A: Not necessarily. With careful planning and execution, soundproofing can be done in a way that preserves the appearance of your room.
Q: Can I use soundproofing materials on multiple levels of my home?
A: Yes, soundproofing is not limited to just one level of your home. You can apply these techniques to multiple floors or rooms for maximum effectiveness.
Q: How do I maintain and upgrade my soundproofing over time?
A: Regularly inspect your soundproofing installation for any signs of damage or wear. Make repairs as needed, and consider upgrading to more advanced materials and techniques as technology improves.
Q: What are some alternative methods for reducing noise pollution in my home?
A: Besides soundproofing, other methods include using acoustic panels, adding area rugs, and sealing gaps around windows and doors.
Q: Can I use soundproofing materials on walls that already have plaster or drywall?
A: Yes, but be aware that the surface must be prepared properly to ensure a secure bond between the material and the existing wall.


