
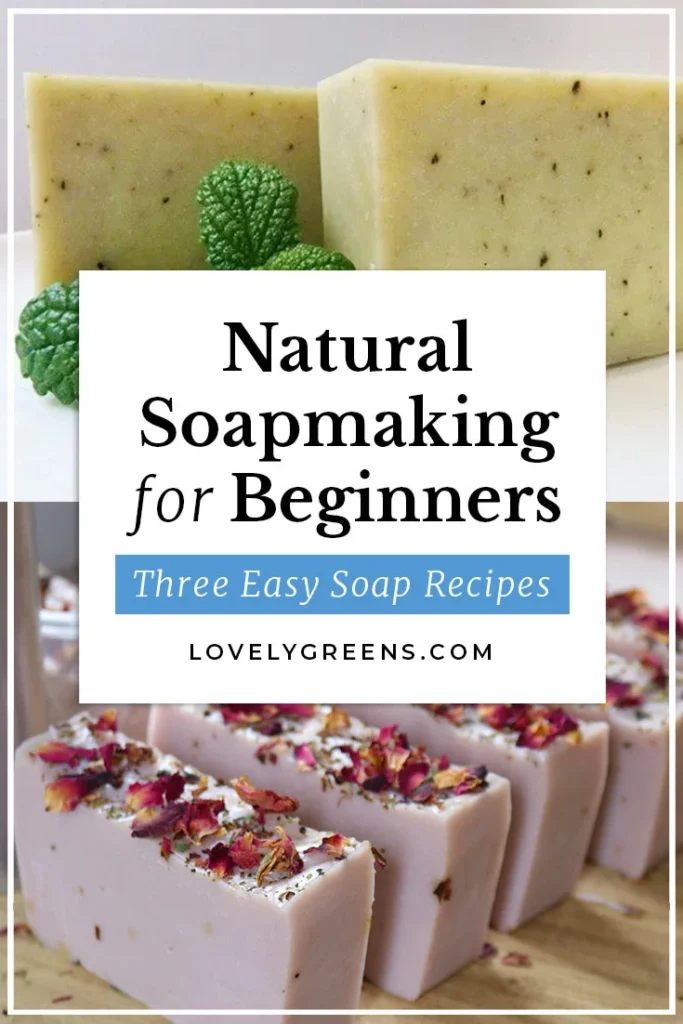
If you’re looking for a fun and rewarding DIY project, making natural soap at home is an excellent choice. With just a few simple ingredients and some basic equipment, you can create your own handmade soap using only natural materials.
Before we dive into the recipe, it’s essential to note that handling soda (sodium hydroxide) requires great care due to its corrosive nature when liquid. Always wear protective gear, including gloves and goggles, when working with this ingredient.
Understanding Saponification
Saponification is a chemical reaction that occurs when oils are mixed with an alkali (such as soda caustic), resulting in the formation of soap. This process can be tricky to master, but with practice and patience, you’ll become proficient in creating natural soap at home.
Ingredients You’ll Need:
- 100 grams of peanut oil
- 50 grams of almond oil
- 50 grams of olive oil
- 25.7 grams of soda caustic (sodium hydroxide)
- 60 grams of distilled water
- A pinch of ground cinnamon powder
- Protective gear, including gloves and goggles
- Minipimer or immersion blender
Safety Precautions
Before we begin, it’s crucial to emphasize the importance of safety when working with soda caustic. Always handle this ingredient with care, wearing protective gear such as gloves and goggles to prevent potential damage.
When preparing your soap, make sure to follow the exact dosages to avoid any issues. Soda caustic can cause serious burns if not handled properly, so it’s essential to be cautious when mixing it with other ingredients.
The Science Behind Soap-Making
Soap-making involves a combination of science and art. Understanding the chemistry behind saponification will help you create high-quality soap that is gentle on your skin while also being effective at cleaning.
When oils are mixed with an alkali, they undergo a process called hydrolysis, where the oil molecules break down into fatty acids and glycerin. These two components combine to form soap, which has the ability to clean and purify surfaces.
Tips for Achieving Consistency
Achieving consistency is crucial when making natural soap at home. Here are some tips to help you get it right:
- Use a thermometer: Monitoring the temperature of your mixture can help you achieve the perfect blend.
- Stir regularly: Regular stirring will ensure that all ingredients are fully incorporated and that there are no air bubbles.
- Be patient: Saponification can take time, so be prepared to wait for several hours or even days before your soap is ready.
Making Natural Soap at Home: A Step-by-Step Guide
- Preparation
Wearing protective gear, carefully place the soda in distilled water and let it dissolve completely. - Adding Oils
Once the soda has dissolved, immediately add the peanut oil, almond oil, and olive oil to activate the saponification process. Stir well with a minipimer or immersion blender until everything is fully incorporated. - Blending
Continue blending for several minutes, paying close attention to the mixture’s color and consistency. You’ll start to notice changes as the soap begins to take shape – it will become thicker and more viscous. - Checking Consistency
To determine if your soap is ready, gently pour a small amount of the mixture into a bowl and let it settle for a few seconds. If it sinks to the bottom, you’re done! If not, continue blending until it does. - Adding Cinnamon Powder
Once your soap has reached the desired consistency, add a pinch of ground cinnamon powder and blend everything together for another minute or so.
Shaping Your Soap
- Pouring into Molds
Carefully pour the soap mixture into silicone molds or containers. Make sure to press down gently on the surface of the mixture to remove any air bubbles. - Covering with Pellicula and Panna Cloth
Cover your mold(s) with a layer of plastic wrap or cling film, followed by a clean towel (panna cloth). Let it rest for 48 hours in a dry place.
Unmolding and Curing Your Soap
- Removing from Molds
After 48 hours have passed, carefully remove the soap from its mold(s) and cut it into individual bars. - Curing the Soap
To ensure your soap is fully cured and ready for use, store it in a dry, well-ventilated area for at least 40 days.
Tips and Recommendations:
- Always handle soda caustic with care and wear protective gear when preparing your soap.
- Be sure to use food-grade ingredients only to avoid contamination.
- If you accidentally spill some of the mixture, clean up as quickly as possible to prevent any damage.
- For a more luxurious lather, consider adding a teaspoon of glycerin powder to your recipe.
Additional Tips for Advanced Soap-Makers:
Did you know that you can recycle old soap bars? Learn how to do so in our article “How to Recycle Old Soap Bars.”
Frequently Asked Questions (FAQs)
-
What type of protective gear should I wear while working with soda caustic?
Gloves and goggles are essential for protecting your skin and eyes from potential damage. -
Can I use any oil in place of the peanut, almond, and olive oils listed?
It’s best to stick with these three oils to achieve a consistent lather and fragrance. -
How long does it take for the soap to cure?
Curing time can vary depending on your environment; however, at least 40 days is recommended. -
Can I make this recipe in smaller batches or containers?
While it’s technically possible to make smaller batches, be aware that the curing process might take longer due to reduced surface area. -
Is homemade soap suitable for sensitive skin?
For most people, homemade soap can be gentle and effective; however, some ingredients may still cause irritation. Always do a patch test before using your new soap. -
Can I customize this recipe with different fragrances or colors?
Yes! Feel free to experiment with various essential oils and natural dyes to create unique blends that suit your preferences. -
Is homemade soap suitable for baby care?
While it’s possible to make soap specifically designed for babies, be sure to follow proper guidelines and precautions when creating such products.
By following this guide, you’ll be able to create your very own handmade soap at home using natural ingredients and basic equipment. Happy crafting!
Common Mistakes to Avoid
Here are some common mistakes that new soap-makers often make:
- Using too much soda caustic: Too much soda can cause the soap to become too harsh or even toxic.
- Not blending thoroughly enough: Insufficient blending can result in an uneven lather and a less consistent texture.
- Not using food-grade ingredients: Contaminating your soap with non-food-grade materials can lead to irritation or other adverse reactions.
By avoiding these common mistakes, you’ll be well on your way to creating high-quality, natural soap at home. Remember to always follow safety precautions when working with soda caustic and to carefully monitor the temperature and consistency of your mixture.


