
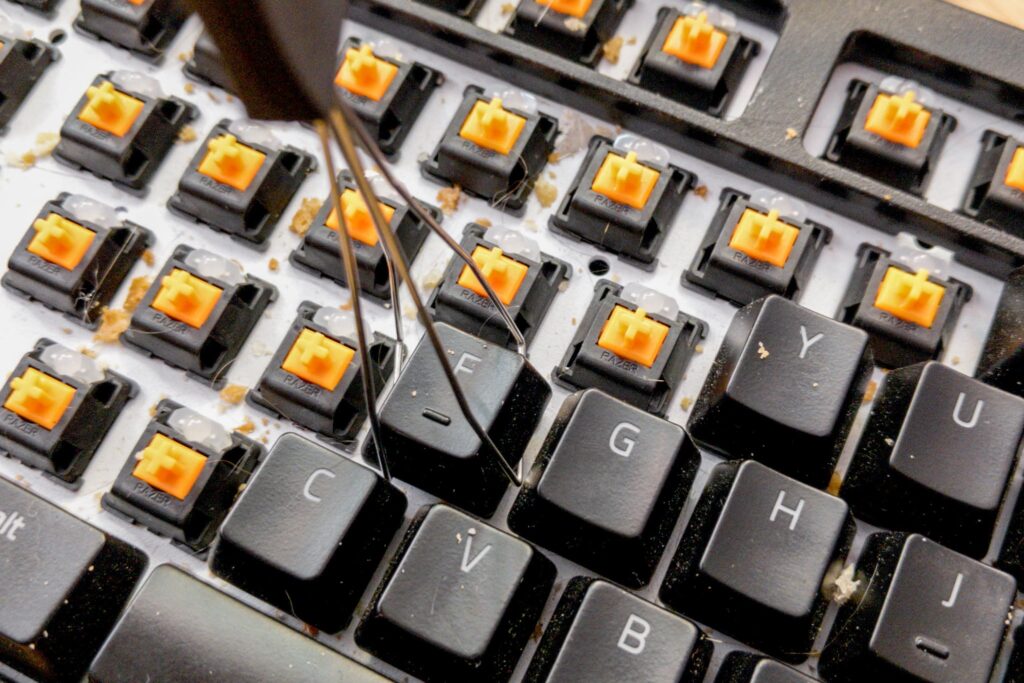
When it comes to cleaning your keyboard, many people overlook this crucial step in maintaining their computer’s performance. However, a dirty keyboard can lead to frustration, decreased productivity, and even damage to your device.
In this article, we’ll explore the importance of cleaning your keyboard, discuss the best methods for doing so, and provide you with tips on how to keep your keyboard clean and functioning properly.
Why Clean Your Keyboard?
A keyboard is a breeding ground for dust, dirt, and other debris. When these particles accumulate, they can cause:
- Sticking keys
- Slow typing speed
- Increased risk of malware infections
- Reduced lifespan of the keyboard
Cleaning your keyboard regularly can help prevent these problems from arising. By removing dust, dirt, and other debris, you can ensure that your keyboard functions properly and efficiently.
How to Clean Your Keyboard: A Step-by-Step Guide
Before you start cleaning your keyboard, make sure to turn off your computer and unplug the keyboard from the computer.
Cleaning with a Cotton Swab
- Dip a cotton swab in water and wring it out thoroughly.
- Gently wipe down each key on your keyboard, making sure to clean all surfaces.
- Use a small amount of cleaning solution or disinfectant if needed.
Cleaning with a cotton swab is a gentle method that can be used on most keyboards. Be sure to avoid using too much water or liquid, as this can damage the keyboard’s electrical components.
Cleaning with a Keycap Puller
If you have a removable keycap puller, you can use it to remove the keycaps and soak them in warm soapy water.
- Remove the keycaps by using your keycap puller.
- Soak the keycaps in warm soapy water for about an hour.
- Rinse the keycaps with clean water and dry them thoroughly before replacing them on your keyboard.
Cleaning with a keycap puller is a more thorough method that can be used to remove stubborn stains or debris from between keys. However, it’s essential to use the correct cleaning solution and avoid soaking the keycaps for too long.
Cleaning with a Can of Compressed Air
- Spray compressed air into the crevices between the keys, making sure to hold the can upright to avoid spraying liquids.
- Use a small brush or cloth to gently sweep away any debris that may have been dislodged by the compressed air.
Using compressed air is an efficient method for cleaning your keyboard’s crevices and removing dust and dirt from between keys.
Additional Tips for Cleaning Your Keyboard
- Regularly cleaning your keyboard can help prevent dust and dirt from building up over time.
- Consider using a keyboard cover to protect your keyboard from spills and other liquids when not in use.
- Avoid using harsh chemicals or abrasive cleaners, as they can damage the keyboard’s surface.
Regular maintenance is key to keeping your keyboard clean and functional. By following these tips, you can ensure that your keyboard remains in good condition for years to come.
Common Keyboard Cleaning Mistakes
Cleaning your keyboard regularly may seem like a simple task, but there are several common mistakes to avoid when doing so. Be sure to keep the following in mind:
- Avoid using too much water or liquid, as this can damage the keyboard’s electrical components.
- Don’t use harsh chemicals or abrasive cleaners, as they can damage the keyboard’s surface.
- Refrain from using a damp cloth, as it can cause water damage or discoloration.
How to Keep Your Keyboard Clean and Free of Dust
Keeping your keyboard clean is an essential part of maintaining its performance. Here are some tips for keeping your keyboard free of dust:
- Regularly vacuum the area around your computer to prevent dust from accumulating.
- Use a keyboard cover or protective sleeve when not in use to shield it from spills and other liquids.
- Avoid eating or drinking near your computer, as crumbs and spills can easily transfer to the keyboard.
By following these tips, you can ensure that your keyboard remains clean and free of debris for years to come.
Conclusion
Cleaning your keyboard is an essential part of maintaining its performance and longevity. By following these simple steps and tips, you can keep your keyboard clean, functioning properly, and free from dust, dirt, and other debris. Remember to regularly vacuum the area around your computer, use a keyboard cover or protective sleeve when not in use, and avoid using harsh chemicals or abrasive cleaners.
FAQs
- How often should I clean my keyboard?
- Cleaning your keyboard regularly can help prevent dust and dirt from building up over time.
- Aim to clean your keyboard every few weeks or months, depending on how frequently you use it.
- What is the best way to clean a sticky keyboard?
- If your keyboard is stuck due to a buildup of dust or dirt, try using compressed air to dislodge the debris.
- If the problem persists, consider consulting a professional for further assistance.
- Can I use bleach to clean my keyboard?
- No, it’s not recommended to use bleach to clean your keyboard as it can damage the surface and cause discoloration.
- How do I prevent dust from accumulating on my keyboard?
- Regularly cleaning your keyboard can help prevent dust from building up over time.
- Consider using a keyboard cover or protective sleeve to shield your keyboard from spills and other liquids when not in use.
- Can I use a damp cloth to clean my keyboard?
- No, it’s not recommended to use a damp cloth to clean your keyboard as it can cause water damage or discoloration.
- What is the best way to remove dust from between keyboard keys?
- Use compressed air to dislodge any debris that may be stuck between the keys.
- Alternatively, try using a small brush or cloth to gently sweep away any remaining dust or debris.
- Can I use disinfectant wipes to clean my keyboard?
- No, it’s not recommended to use disinfectant wipes to clean your keyboard as they can damage the surface and cause discoloration.
By following these simple steps and tips, you can keep your keyboard clean, functioning properly, and free from dust, dirt, and other debris.


