
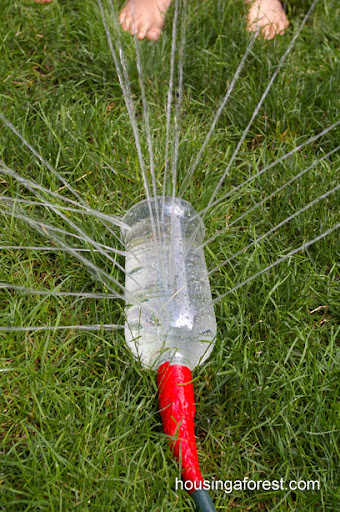
Are you looking for a convenient way to water your plants while you’re away on vacation? Consider building a bottle-style watering system, also known as an “irrigator-a-bottle” or “watering globe.” This DIY project is easy to make and requires minimal materials.
Materials Needed
Before we dive into the instructions, let’s list the necessary materials:
- A clean, empty plastic bottle
- Twine or string
- Wooden stakes or pallets (optional)
- Scissors, knife, spoon, or other tools for cutting and shaping
- A drill or sharp object to create a hole
Understanding the Importance of Preparing Your Plant
Before we begin, make sure your plant is ready for the watering system. If you’re using an old detergent bottle, you’ll need to wash it thoroughly and remove any remaining detergent residue.
If your plant has a trellis or sturdy stem, you can skip the wooden stakes or pallets altogether. However, if your plant doesn’t have these features, consider using them to support the bottle or twine.
Preparing the Bottle
Take the bottle’s lid and drill a small hole in the center of it. You can use a sharp object like a corkscrew or a spoon to create the hole. To make the process easier, you can heat the tip of the object with a lighter or match.
Once you’ve created the hole, take a length of twine or string and thread it through the opening. Tie a knot at the end of the string to prevent it from coming loose.
Assembling the Watering System
Place the bottle upside down over your plant’s pot, using the twine or string as support. Make sure the opening is aligned with the soil surface.
If you’re not using wooden stakes or pallets, carefully tie the twine around the stem of your plant to secure it in place.
Filling the Bottle
Fill the bottle with water and seal the lid. The twine will act as a “watering wand” allowing water to slowly release into the soil.
The key to a successful watering system is consistency. Fill the bottle every week or two, depending on your plant’s needs, to ensure it receives the right amount of moisture.
Tips and Variations
You can customize your bottle-style watering system by using different materials for the twine or string, such as twigs, wire coat hangers, or even old shoelaces. Experiment with various designs to find what works best for you and your plants.
Here are a few more tips to keep in mind:
- Use a small amount of water at first and gradually increase it over time.
- Check the soil moisture by inserting your finger into the soil up to the knuckle. If the soil feels dry, it’s time to water.
- Consider using multiple bottles or creating a watering station with several connected containers.
Common Problems and Solutions
Here are some common issues that may arise when building a bottle-style watering system:
- The twine is coming loose: To prevent this from happening, you can tie an extra knot at the end of the string or use a smaller gauge wire.
- The plant isn’t receiving enough water: Check the soil moisture and adjust your filling schedule accordingly. You may need to fill the bottle more frequently depending on your plant’s needs.
- The plant is overwatering: Reduce the amount of water in the bottle and monitor the plant’s response.
Benefits of a Bottle-Style Watering System
There are several benefits to using a bottle-style watering system:
- Convenience: This system allows you to water your plants while you’re away, making it perfect for busy people or those who travel frequently.
- Cost-effective: Building a bottle-style watering system is a low-cost DIY project that can save you money in the long run by reducing the need for frequent watering.
- Environmentally friendly: This system eliminates the need for manual watering canisters, which can be expensive and wasteful.
Conclusion
With these simple steps, you can create a bottle-style watering system that will help keep your plants thriving while you’re away. Happy DIY-ing!
Frequently Asked Questions
- What is the best material for the twine or string used in the watering system?
- Any sturdy, water-resistant material will work, such as twine, wire coat hangers, or old shoelaces.
- How often should I fill my bottle-style watering system?
- The frequency of filling depends on your plant’s needs and climate. As a general rule, fill the bottle every week or two to ensure consistent moisture levels.
- Can I use multiple bottles or create a watering station with several connected containers?
- Absolutely! You can experiment with different designs and configurations to find what works best for you and your plants.
- What if my plant doesn’t have a trellis or sturdy stem?
- If your plant lacks these features, consider using wooden stakes or pallets to support the bottle or twine.
-
Can I use an old detergent bottle?
- Yes, but make sure to wash it thoroughly and remove any remaining detergent residue before using it for your watering system.
-
How do I check if my plant is receiving enough water?
- Check the soil moisture by inserting your finger into the soil up to the knuckle. If the soil feels dry, it’s time to water.
-
Can I use a different type of container instead of a plastic bottle?
- Yes, but make sure it’s clean and dry before using it for your watering system.
-
What if my plant is sensitive to overwatering or underwatering?
- If you’re concerned about your plant’s sensitivity, consider starting with small amounts of water and gradually increasing the amount as needed.
-
How do I prevent the twine from coming loose over time?
- You can tie a knot at the end of the string to secure it in place or use a smaller gauge wire for added stability.
-
What if my plant is not growing well despite regular watering?
- If your plant isn’t thriving, it may be due to other factors such as low light, nutrient deficiencies, or pests. Consider consulting with a gardening expert or taking additional steps to address these potential issues.


