
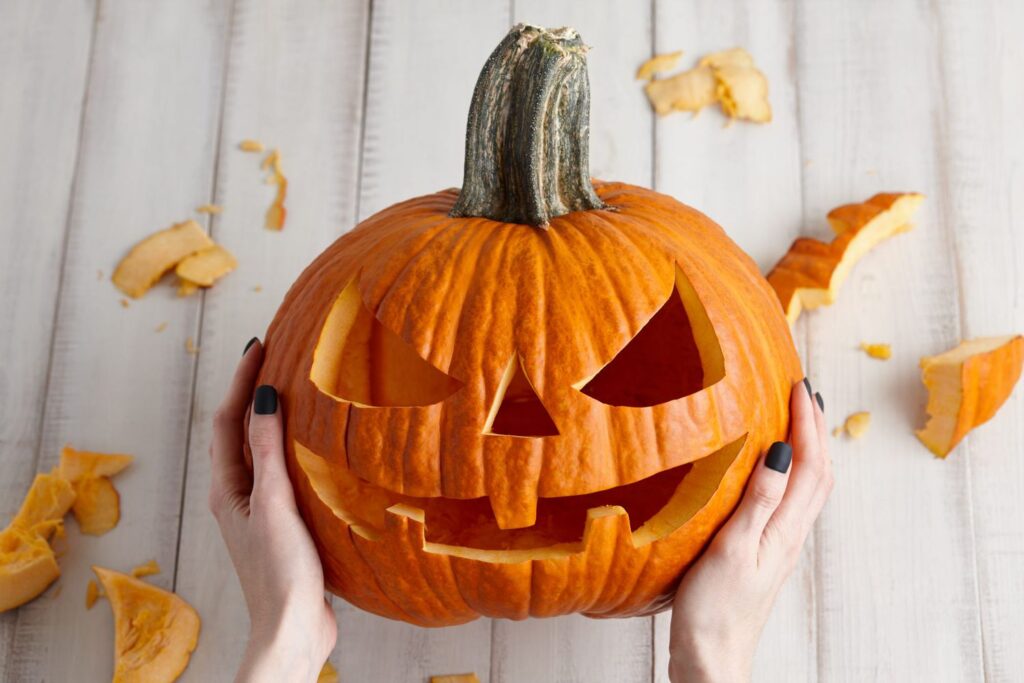
As the weekend arrives, why not spend it carving a pumpkin for Halloween? Not only can you display your spooky creation on your balcony or use it as a centerpiece, but with this simple guide, you’ll be well on your way to creating a jack-o’-lantern that will make everyone’s skin crawl.
Choosing the Right Pumpkin
The first step in making a pumpkin is to select one that’s large enough – at least 50 cm (20 inches) in circumference – and has a relatively symmetrical shape. This will ensure that your design turns out looking its best when lit up inside the pumpkin. When selecting your pumpkin, also make sure it’s firm and free of soft spots or bruises.
When you’re out shopping for pumpkins, keep an eye out for different varieties. Some popular options for carving include:
- ‘Jack Be Little’: A classic choice for carvings, these small to medium-sized pumpkins have smooth, symmetrical shapes that are easy to carve.
- ‘Baby Boo’: These pumpkins have a round shape and a sweet, gentle face that makes them perfect for creating spooky or whimsical designs.
- ‘Connecticut Field’: With their bright orange color and medium size, these pumpkins are great for creating intricate carvings.
Once you’ve found your perfect pumpkin, give it a quick wipe down with a damp cloth to remove any dirt or debris. This will help prevent bacteria from growing inside the pumpkin and keep your design looking fresh.
Preparing the Pumpkin
Next, use a sharp knife to cut a small circle around the stem of the pumpkin, about 4 cm (1.5 inches) deep. This will create a little lid that you can use to store the pumpkin’s seeds and pulp at the end of the process.
Now, grab your gloves and begin to scoop out the seeds and pulp from inside the pumpkin using a gentle sawing motion with a spoon. Be careful not to puncture the walls of the pumpkin as you do this – we’ll need them to be nice and smooth in order for our design to turn out properly.
Once the majority of the pulp has been removed, use a small knife or scoop to carefully remove any remaining bits from the inside of the pumpkin. This is an important step: the smoother the surface, the easier it will be to carve your design into the pumpkin.
To ensure that your pumpkin stays fresh for longer, apply a layer of petroleum jelly or cooking spray to the cut areas before carving. You can also use a commercial pumpkin preservative if you prefer.
Designing Your Pumpkin
Now that your pumpkin is clean and ready to go, it’s time to start thinking about what you want to carve onto its face. Traditional Halloween designs include two large eyes, a small nose, and a wide, toothy grin – but feel free to get creative and come up with something entirely new!
To make the process of carving your design easier, use a pencil or marker to lightly draw out your ideas onto the pumpkin before you start carving. You can also use a stencil or pattern if you’re feeling stuck.
If you want to add some extra details to your design, consider using markers or paint to create texture, shading, or other visual effects. Just be sure to seal any loose particles with a clear coat of varnish or Mod Podge before displaying your pumpkin.
Carving Your Pumpkin
Once you have your design sketched out, it’s time to bring it to life with a sharp knife or cutter. Start by carefully following the lines of your design, using gentle pressure and making sure not to press too hard on the pumpkin – we don’t want any accidents!
As you carve, use your imagination and think about how your pumpkin will look when it’s lit up inside. You can even add some extra details, like a glowy eye or a spooky mouth, to make it truly come alive.
Tips for Carving
- Use a variety of tools to create texture and depth in your design.
- Start with simple designs if you’re new to pumpkin carving – they’ll be easier to carve and require less precision.
- Practice makes perfect! The more you carve, the better you’ll become at judging pressure and making smooth cuts.
Adding a Candle for an Extra Touch
Finally, once your pumpkin is complete, you can light a candle or tea light inside it to give your design an extra eerie glow. This will not only make your pumpkin look even more terrifying, but also add a warm and cozy ambiance to any room in which it’s displayed.
Safety Tips
- Always use caution when handling sharp objects like knives and cutters.
- Make sure the candle or tea light is placed on a stable surface where it won’t be knocked over.
- Keep an eye on the pumpkin at all times, especially if you’re using a candle – we don’t want any accidents!
Tips for Displaying Your Pumpkin
- Choose a spot with good lighting to showcase your design.
- Use a variety of decorations and accessories to add some extra flair to your display.
- Consider displaying your pumpkin on a table or shelf where it can be easily seen from all angles.
Frequently Asked Questions
Q: What type of pumpkin is best for carving?
A: The most popular choice for carving pumpkins is the ‘Jack Be Little’ or ‘Baby Boo’ variety, which have smooth, symmetrical shapes and are relatively small in size.
Q: Can I use a serrated knife to carve my pumpkin?
A: While it’s technically possible to use a serrated knife to carve your pumpkin, we recommend using a sharp, pointed tool like a carving knife or cutter instead – they’ll make the process much easier and safer.
Q: How can I prevent my pumpkin from rotting too quickly?
A: To keep your pumpkin fresh for longer, try applying a layer of petroleum jelly or cooking spray to the cut areas before carving, and store it in a cool, dry place until you’re ready to display it.
Q: Can I use a pre-made stencil or pattern for my design?
A: Absolutely! Using a stencil or pattern can help guide your carving process and ensure that your design turns out exactly as you imagined it – just be sure to transfer the image onto the pumpkin carefully before starting to carve.


