
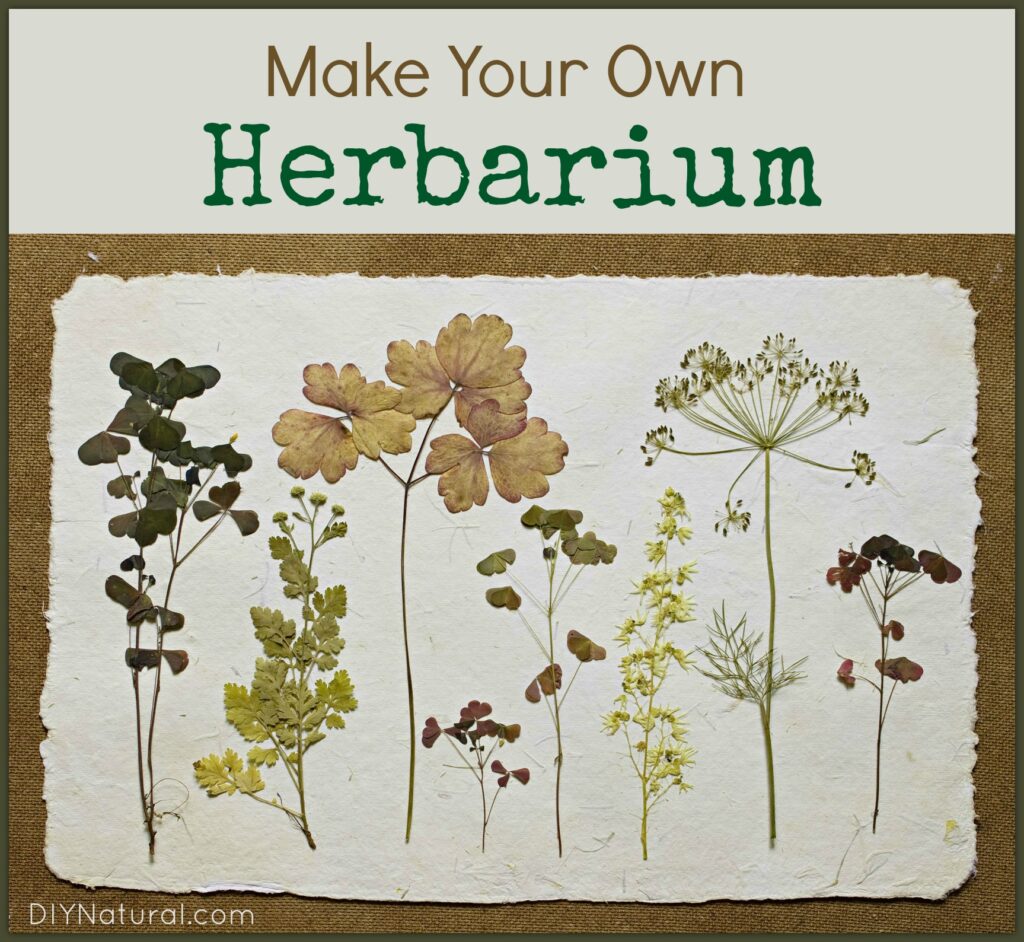
Are you curious about creating your own herbary? Or perhaps you’re not even sure what an herbary is, but it sounds like something worth exploring?
Don’t worry; we’re here to help! In this article, we’ll delve into the world of herbaries and provide a comprehensive guide on how to make your own pressed flowers. We’ll cover everything from what an herbary is, to what you need to get started, and finally, how to create your very own.
What is an Herbary?
In simple terms, an herbary is a collection of dried flowers and leaves. It can take many forms, ranging from traditional books to modern posters. The beauty of an herbary lies in its ability to preserve the natural world and provide a beautiful display of nature’s artistry.
However, it’s essential to note that not all herbs require pressing; some can be preserved by simply drying them between sheets of paper or storing them in a cool, dry place. But for this guide, we’ll focus on creating an herbary using pressed flowers.
What Do You Need to Get Started?
To create your own herbary, you’ll need the following materials:
• Plant material (fresh or dried)
• Cardstock or paper
• A large book with a hard cover
• Pins
• White cardboard
• Artisanal glue
• Paintbrush
• White string or tape
• Fine-tipped pen
You might already have some of these materials at home. If not, you can easily find them at your local craft store.
Benefits of Making Your Own Herbary
There are several benefits to making your own herbary:
- Cost-effective: Creating your own herbary is a cost-effective way to preserve flowers and leaves.
- Unique designs: By using different techniques, colors, and textures, you can create unique and personalized designs for your herbary.
- Connection to nature: Making your own herbary allows you to connect with the natural world and appreciate its beauty up close.
Choosing Your Plant Material
When selecting plant material for your herbary, consider the following factors:
- Color palette: Choose flowers and leaves that complement each other in terms of color.
- Texture variety: Mix different textures such as smooth petals, fuzzy leaves, and delicate stems.
- Shape diversity: Include a range of flower shapes and sizes to add visual interest.
Some popular plants for making an herbary include:
- Roses
- Lavender
- Daisies
- Chamomile
- Wildflowers
Preparing Your Plant Material
Before pressing your plant material, make sure to prepare it by:
- Cleaning the leaves: Gently remove any dirt or debris from the leaves.
- Trimming excess foliage: Cut off any excess stems or petals that may be obscuring the flower.
- Soaking in water: Soak the plant material in water for a few hours to rehydrate it.
Pressing Your Plant Material
To press your plant material, follow these steps:
- Gather your materials: Collect your prepared plant material and cardstock or paper.
- Pin down the leaves: Use pins to hold each leaf in place on the cardstock or paper.
- Repeat the process: Continue adding layers of pressed flowers until all of your plant material has been used.
Creating Layers and Patterns
To create a visually appealing herbary, experiment with different layering techniques:
- Simple layering: Create simple layers by alternating between single colors and textures.
- Pattern creation: Experiment with creating patterns using different shapes, sizes, and colors.
Some popular layering techniques include:
- Alternating colors: Alternate between different colors to create a cohesive look.
- Texture contrast: Combine smooth petals with fuzzy leaves or delicate stems for added visual interest.
Adding Labels and Descriptions
To make your herbary even more special, consider adding labels and descriptions of each plant:
- Labeling the plants: Write down the names of each flower on small pieces of white string or tape.
- Adding brief descriptions: Include a few lines of text describing the characteristics and uses of each plant.
Sealing Your Herbary
Once your herbary is complete, you can seal it with a clear coat of acrylic paint to protect the flowers from damage:
- Apply a thin layer: Apply a thin layer of paint over the entire herbary.
- Allow it to dry: Let the paint dry completely before handling the herbary.
Preserving Your Herbary
To preserve your herbary for years to come, consider following these tips:
- Keep it away from direct sunlight: Direct sunlight can cause the flowers to fade over time.
- Use a clear varnish: Apply a layer of clear varnish to protect against dust and dirt.
Tips & Tricks
- To minimize fading over time, keep your herbary away from direct sunlight.
- Consider adding a layer of clear varnish to protect against dust and dirt.
- You can also use different techniques such as air-drying or using silica gel to preserve the flowers.


