
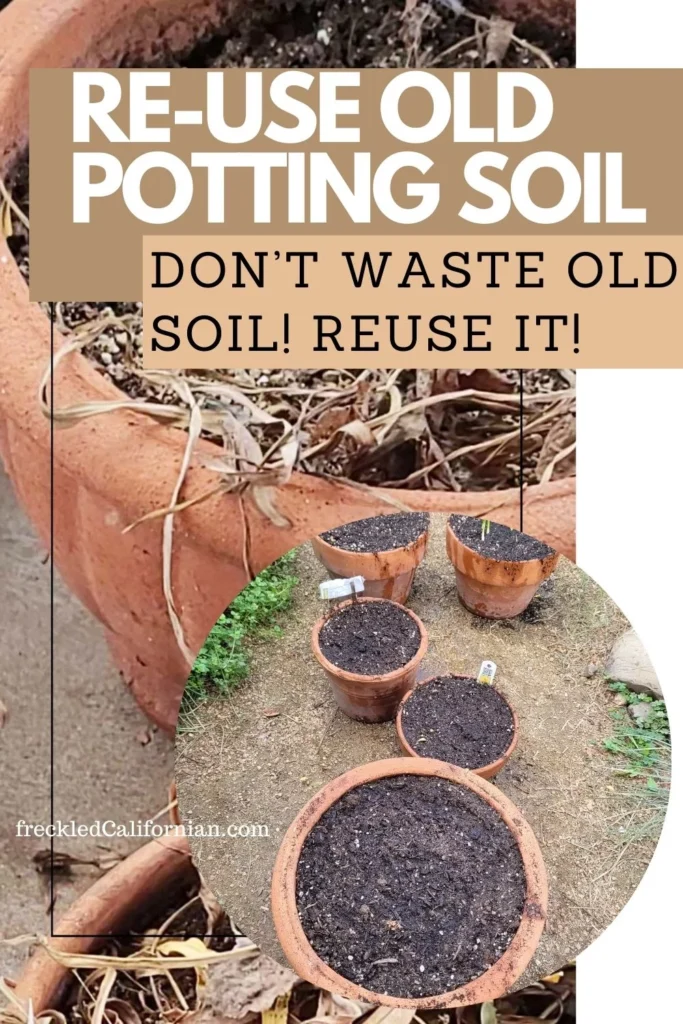
As the spring season arrives, our balconies and patios seem bare, and it’s time to prepare and replenish our pots with fresh greenery. But what about the old pots that have been sitting idle for months? The soil is precious, and we can’t afford to waste it. In this article, we’ll explore ways to revive your old potting soil and give your plants a second chance.
The Importance of Soil Revival
Soil degradation occurs when our potting soil is not replenished or replaced regularly. This can lead to stunted growth, yellowing leaves, and even plant death. But the good news is that old potting soil can be revived and reused with some simple steps.
In fact, reviving old potting soil is an excellent way to reduce waste and minimize environmental impact. When we reuse old potting soil, we’re reducing the demand for new, resource-intensive potting mixes. This approach also helps conserve water and energy used in the production of new potting soils.
Reviving Old Potting Soil: A Step-by-Step Guide
To revive your old potting soil, follow these steps:
- Remove Debris: Begin by removing any debris or dead plant material from the pot.
- Mix with New Soil: Mix a small amount of new potting soil into the old soil to refresh it.
- Add Organic Matter: Add some organic matter like compost or manure to improve soil structure and fertility.
- Inoculate with Beneficial Microorganisms: Inoculate the soil with beneficial microorganisms like mycorrhizal fungi, which can help break down organic matter and make nutrients available to plants.
Signs of Soil Degradation
Before we dive into reviving old potting soil, let’s identify some common signs of soil degradation:
- Yellowing leaves
- Wilted or limp stems
- Slow growth
- Poor root development
These symptoms can be caused by a range of factors, including nutrient deficiencies, pH imbalances, and overuse of water.
Common Nutrient Deficiencies in Plants
Plants often suffer from nutrient deficiencies that can be addressed by reviving old potting soil. Here are some common nutrient deficiencies and their corresponding signs:
- Iron deficiency: Yellowing leaves on the tips of stems
- Nitrogen deficiency: Wilted or limp stems, pale green leaves
- Magnesium deficiency: Interveinal chlorosis (yellowing between leaf veins)
- Phosphorus deficiency: Slow growth, stunted roots
Reviving Old Potting Soil: A More In-Depth Approach
While the simple steps outlined above can help revive old potting soil, there are more advanced techniques to consider:
- Composting: Create a compost pile using kitchen scraps, leaves, and other organic materials to create a nutrient-rich soil amendment.
- Soil Testing: Conduct regular soil tests to identify nutrient deficiencies and pH imbalances.
- Aerating: Aerating the soil can help improve drainage and reduce compaction.
Composting: A Nutrient-Rich Soil Amendment
Composting is an excellent way to create a nutrient-rich soil amendment that can be used to revive old potting soil. By composting organic materials, you’re creating a humus-rich soil that’s teeming with beneficial microorganisms.
To compost, follow these simple steps:
- Collect Organic Materials: Collect kitchen scraps, leaves, and other organic materials.
- Layer the Materials: Layer the materials in a compost bin or pile, starting with brown materials like leaves and ending with green materials like food waste.
- Add Water: Add water to maintain a moist but not soggy texture.
- Turn the Compost Pile: Turn the compost pile regularly to aerate it and speed up decomposition.
Soil Testing: Identifying Nutrient Deficiencies
Soil testing is an essential step in identifying nutrient deficiencies and pH imbalances in your potting soil. By conducting regular soil tests, you can:
- Identify Nutrient Deficiencies: Identify the specific nutrients that are lacking in your potting soil.
- Adjust pH Levels: Adjust the pH levels of your potting soil to ensure it’s within the optimal range for your plants.
Aerating: Improving Drainage and Reducing Compaction
Aerating is an essential step in maintaining healthy root growth and improving drainage in your potting soil. By aerating the soil, you’re:
- Improving Drainage: Improving drainage by breaking up compacted soil.
- Reducing Compaction: Reducing compaction by adding organic matter like compost or manure.
Conclusion
Reviving old potting soil is a simple yet effective way to give your plants a second chance at life. By following these steps, identifying common signs of soil degradation, and addressing nutrient deficiencies, you can breathe new life into your pots and create a thriving garden ecosystem.
In addition to reviving old potting soil, there are many other ways to improve soil health and fertility. Some of the most effective methods include:
- Using Cover Crops: Planting cover crops like legumes or clover to add nitrogen and other nutrients to the soil.
- Implementing Crop Rotation: Rotating crops to avoid depleting specific nutrients and reducing pest and disease pressure.
- Adding Organic Matter: Adding organic matter like compost or manure to improve soil structure and fertility.
By incorporating these strategies into your gardening routine, you can create a healthy and thriving garden ecosystem that’s teeming with life.
Frequently Asked Questions (FAQs)
- Q: Can I use old potting soil for all types of plants?
A: No, some plants are more sensitive to certain nutrients or pH levels. Research the specific needs of your plant before reviving old potting soil. - Q: How often should I revive my old potting soil?
A: Revive your old potting soil every 6-12 months, depending on your plant’s growth rate and nutrient requirements. - Q: Can I reuse potting soil from the same container?
A: Yes, but make sure to sterilize the container first and follow proper sanitation procedures. - Q: How do I know if my soil is too acidic or alkaline?
A: Use a pH test kit to determine your soil’s pH level. Most plants prefer a slightly acidic to neutral pH range (6.0-7.0). - Q: Can I add fertilizers to old potting soil?
A: Yes, but use organic fertilizers whenever possible. Avoid over-fertilizing, as this can cause more harm than good. - Q: How do I maintain healthy root growth in my plants?
A: Provide adequate light, water, and nutrients. Prune roots regularly to prevent overcrowding and promote healthy growth. - Q: Can I use old potting soil for seed starting?
A: Yes, but make sure the soil is sterile and free of contaminants. Start with a fresh batch of potting mix specifically designed for seedlings. - Q: How do I repot my plants using old potting soil?
A: Choose a container that’s slightly larger than the current one. Gently remove the plant, trim the roots if necessary, and transfer it to its new home with fresh potting soil.
By following these simple steps and incorporating advanced techniques into your gardening routine, you can create a thriving garden ecosystem that’s teeming with life.


