
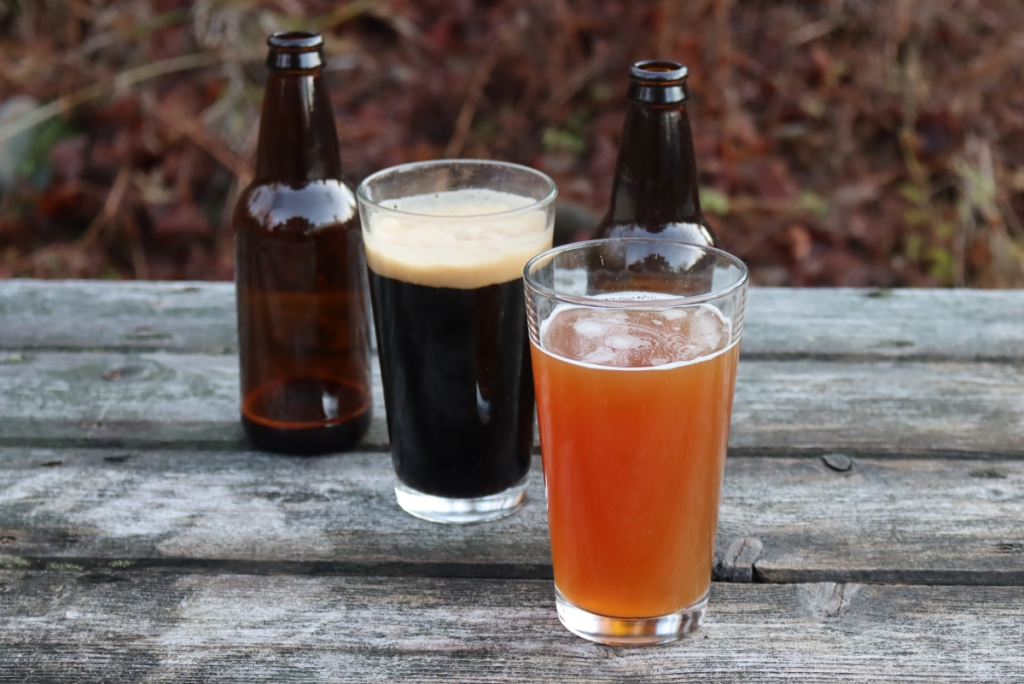
Making Beer at Home: A Step-by-Step Guide to Brewing Delicious and Healthy Beer
As the old adage goes, “the perfect beer is one that you can’t stop drinking.” And if you’re like me, there’s nothing quite like enjoying a cold pint with friends or savoring a freshly brewed batch on your own. But have you ever wondered what goes into making this beloved beverage? In this article, we’ll take you through the process of brewing beer at home, from start to finish.
The Benefits of Homemade Beer
Research has shown that moderate beer consumption can have several health benefits, including providing essential vitamins and minerals for our bodies. When brewed in moderation, beer maintains a healthy balance between ethanol and other nutrients. This makes it a great addition to an overall balanced diet. So, if you’re looking to try something new or simply want to enjoy a refreshing drink with friends, consider giving homemade beer brewing a shot.
Not only is homebrewing a great way to create delicious and healthy beers, but it’s also a fun and rewarding hobby that allows for creativity and experimentation. With the rise of homebrewing kits and online communities, it’s easier than ever to get started and share your passion with others.
Getting Started: Choosing the Right Equipment
In recent years, the popularity of homebrewing has skyrocketed, thanks in part to the availability of high-quality kits that include everything needed to brew a delicious batch. These kits are available at most hardware stores and online retailers, with prices ranging from $60 to $90. I recently purchased a comprehensive kit on Amazon for $69.90, which included all necessary equipment and was shipped free of charge.
When choosing a homebrewing kit, consider the following factors:
- Quality of ingredients: Look for kits that use high-quality grains, hops, and yeast.
- Ease of use: Choose a kit with clear instructions and simple setup procedures.
- Price: Kits can range from under $60 to over $100, so set a budget and look for deals or discounts.
Some popular homebrewing kit options include:
- All-Grain kits: These kits allow for more control over brewing parameters and are ideal for experienced brewers.
- Partial-Mash kits: These kits combine elements of all-grain and extract brewing, offering a balance between flexibility and ease of use.
- Extract kits: These kits provide a convenient and easy-to-use option for beginners.
Preparing the Must
The first step in brewing beer is to prepare the “must,” also known as the pre-ferment. To do this, mix 1.5 kg of malted barley with water to create a mash. The resulting liquid is called the “wort.” Next, add 1 kg of sugar to the wort and stir until it’s fully dissolved. This creates a sweet, malty liquid that will serve as the foundation for your beer.
Sterilizing Equipment
When brewing at home, it’s crucial to maintain cleanliness and hygiene throughout the process. Sterilize all equipment with the provided sterilization solution, which is included in most kits. This ensures that no unwanted bacteria or yeast contaminate your brew.
Using proper sanitation techniques will help prevent contamination and ensure a healthy fermentation process.
Filling the Fermenter
Once the must has cooled slightly, transfer it into the fermenter. Fill the fermenter with cold water to a total volume of 23 liters (as indicated on the fermenter). Use a hydrometer to ensure that the temperature is within the optimal range of 18°C to 24°C.
Adding Yeast
Now it’s time to add yeast to your must. Follow the manufacturer’s instructions for proper addition and handling techniques. Once added, seal the fermenter with an airlock, which allows CO2 to escape while keeping air out.
Waiting for Fermentation to Begin
Fermentation typically takes 7-8 days, depending on temperature. Keep an eye on your brew and wait patiently for it to start producing bubbles in the airlock. This is a sign that fermentation has begun and your beer is starting to take shape.
Bottling Your Beer
Once fermentation is complete, it’s time to bottle your beer. Sterilize empty bottles using the sterilization solution provided with your kit. Fill each bottle with the brewed beer, leaving about 3 cm of space at the top. Add a small amount of sugar using the doser, which helps initiate a secondary fermentation process.
Sealing and Conditioning
Once sealed, store the bottles in a cool, dark place for several days to allow the beer to mature. The longer it ages, the better it will taste and smell. This allows any flavors or aromas to develop and settle, resulting in a more refined and complex beer.
Tips and Tricks
- Always follow proper sanitation techniques to avoid contamination.
- Use high-quality ingredients to ensure the best flavor.
- Monitor your brew’s temperature and fermentation progress closely.
- Be patient – good things come to those who wait!
- Consider investing in a hydrometer and pH meter to track your brew’s progress.
- Don’t be afraid to experiment with different recipes and techniques.
Frequently Asked Questions (FAQs)
- How long does it take for homemade beer to be ready?
Typically 7-8 days, depending on temperature and brewing conditions.
- What is the optimal temperature range for fermentation?
Between 18°C and 24°C.
- Can I use different types of yeast?
Yes, but make sure they are compatible with your recipe and environment.
- How often should I consume my homemade beer?
Moderation is key; drink responsibly and enjoy in moderation.
- What happens if I don’t sanitize properly?
Contamination risks, which can lead to off-flavors or even spoilage.
- Can I reuse equipment for multiple batches?
Yes, but make sure to thoroughly clean and sterilize each piece before use.
- How do I store my homemade beer long-term?
Store in a cool, dark place, away from direct sunlight.
- What are some common mistakes when brewing at home?
Underestimating yeast activity, over- or under-hydration, and poor sanitation techniques can all lead to disappointment.
Conclusion
Brewing beer at home is a fun and rewarding hobby that requires patience, attention to detail, and a willingness to experiment. With the right equipment and a solid understanding of the brewing process, you’ll be well on your way to creating delicious, healthy beers that will impress friends and family alike. So why not give it a try? Grab some ingredients, gather your gear, and join the ranks of homebrew enthusiasts around the world.
Some final tips to keep in mind:
- Join online forums or local brewing clubs to connect with other brewers and learn from their experiences.
- Experiment with different recipes and techniques to find what works best for you.
- Be patient and don’t get discouraged if your first batch doesn’t turn out as expected – it’s all part of the learning process!
With these guidelines, you’re ready to start brewing your own beer at home. So go ahead, grab a brew day schedule, gather your ingredients, and get ready to tap into the world of homebrewing!


